_______________________________________________________________________________ Don't Forget: As an Affiliate, I Earn from Qualifying Purchases. If you click on any Amazon, Chewy, Walmart, or other links on my site and make a purchase through those companies, I may receive a small percentage of that sale at no extra cost to you. This helps me pay for the upkeep and maintenance of my site. You'll also notice advertisements on my site, which help contribute to the costs of running the site. _______________________________________________________________________________
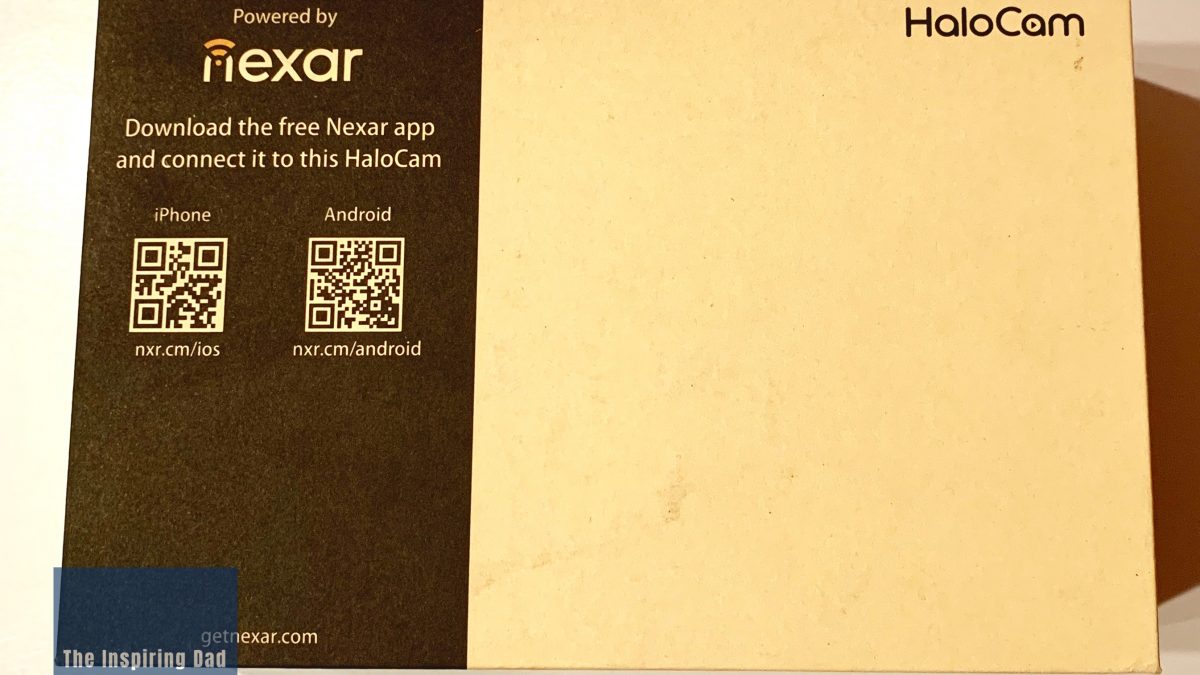
The Nexar HaloCam Box 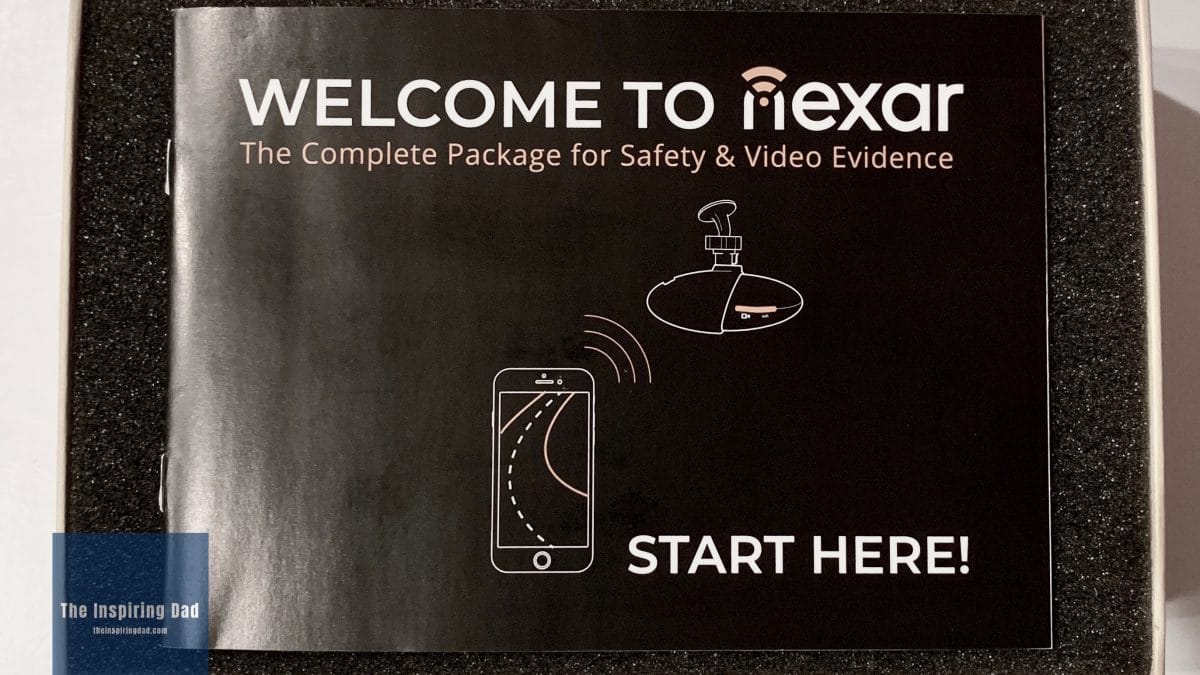
The Manual! 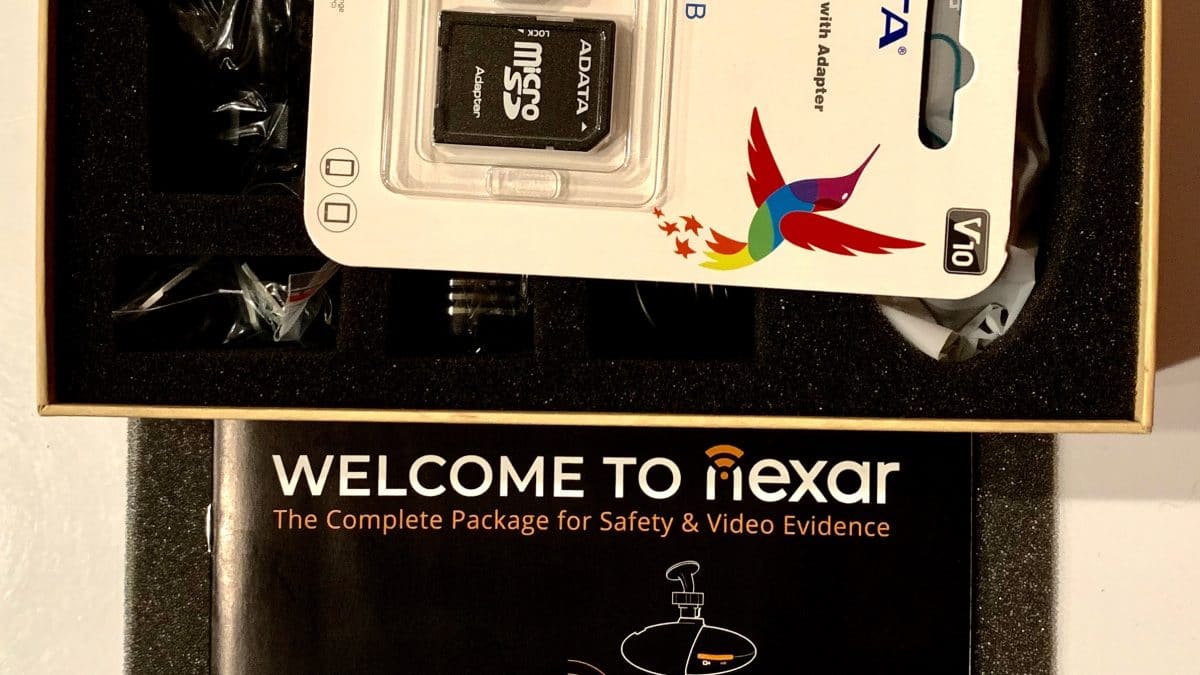
The SD Card Under The Manual 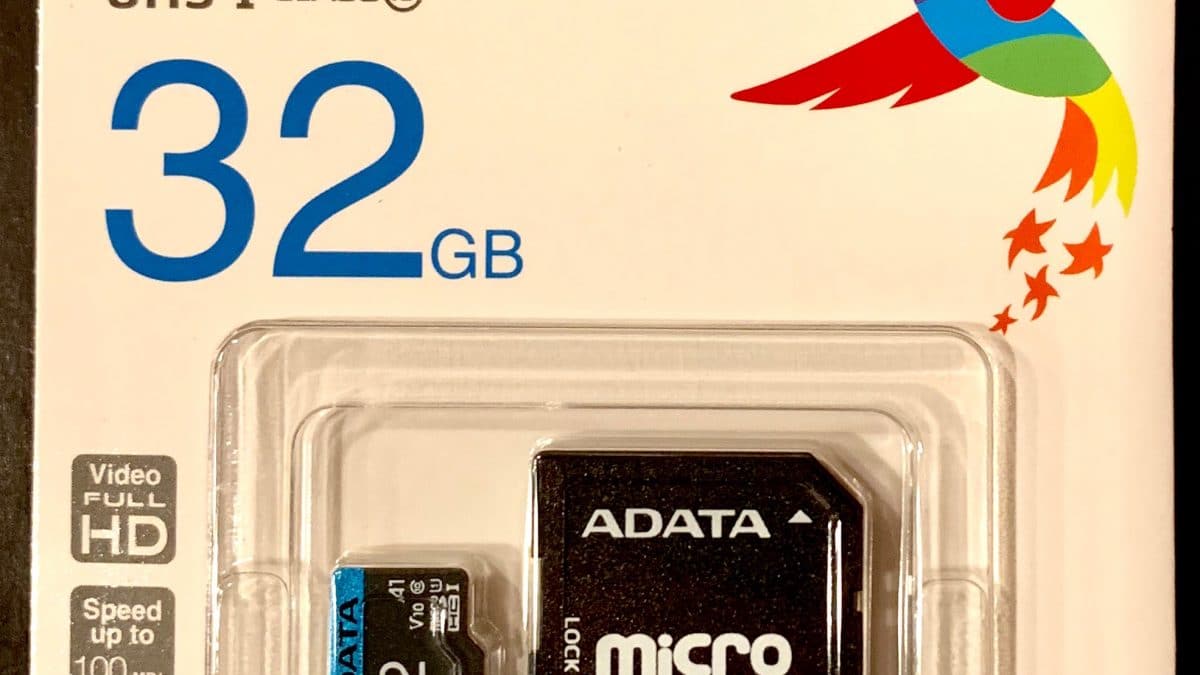
Close Up Of The SD Card – Just In Case You Never Seen One Before… Not Sure Why I Took It, But I’m Leaving It 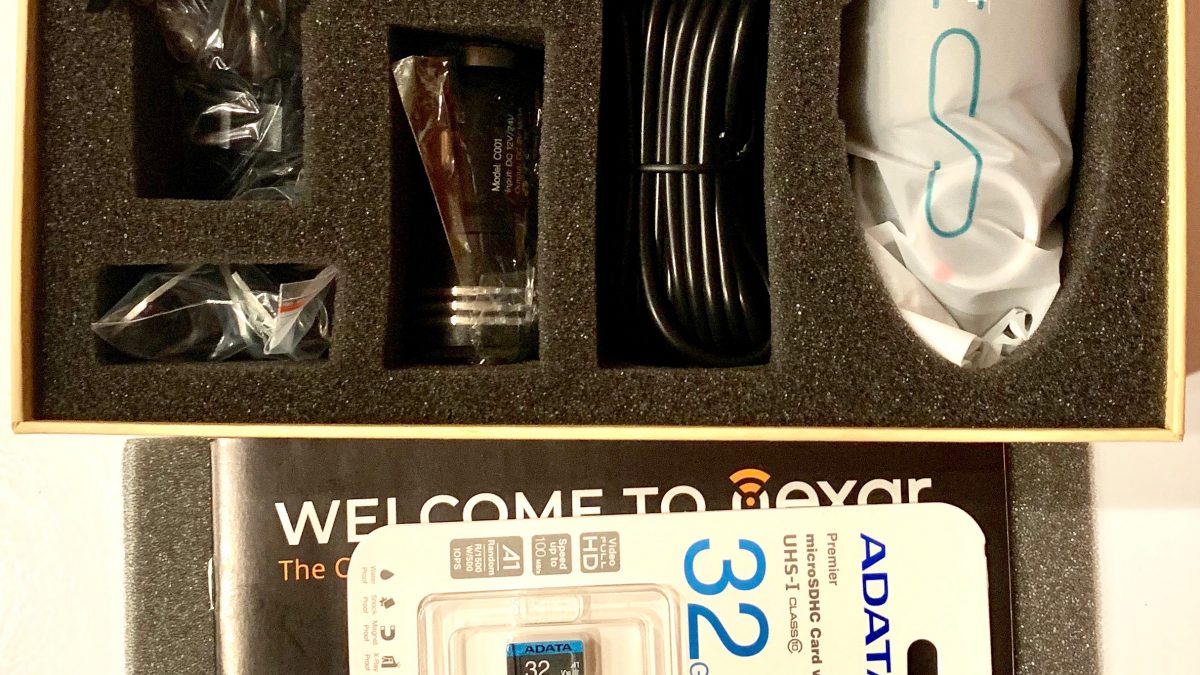
Everything Bundled In It’s Own Styrofoam Compartment 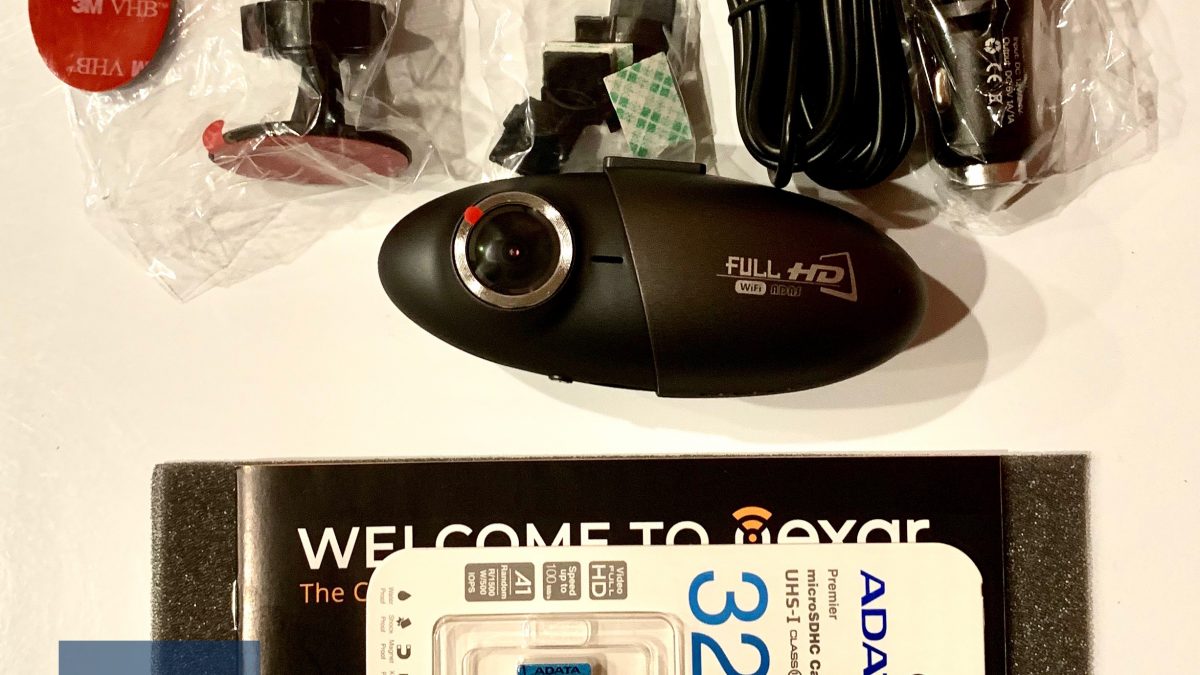
Everything In The Box Out Of The Box 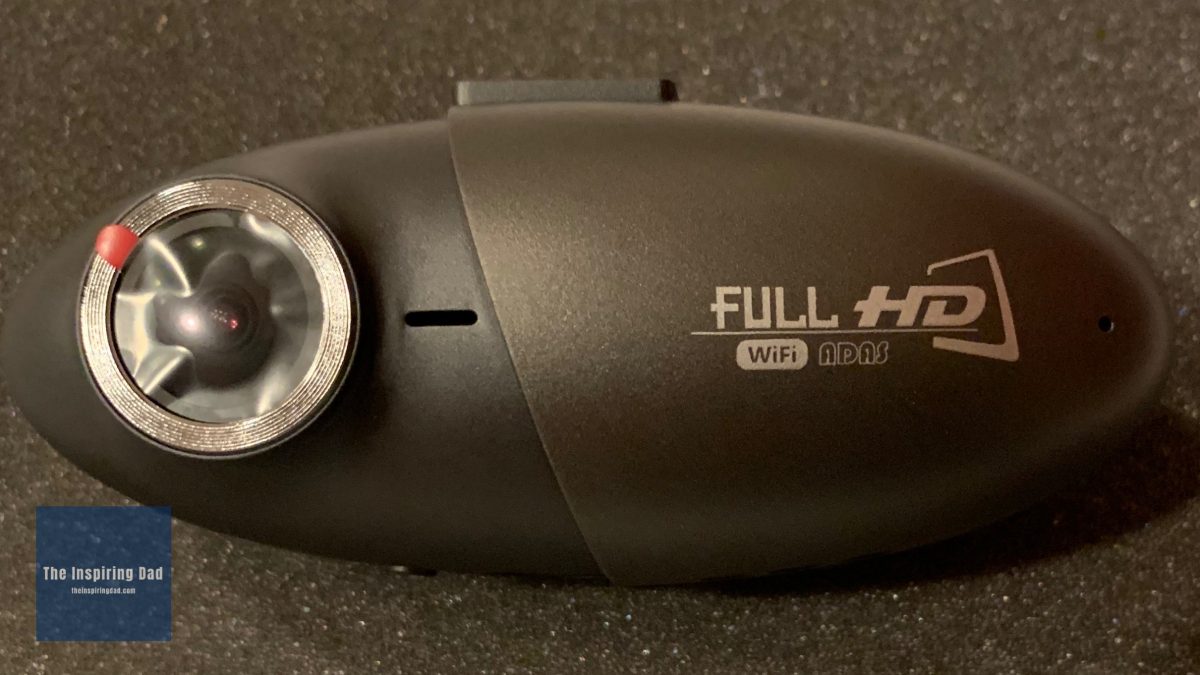
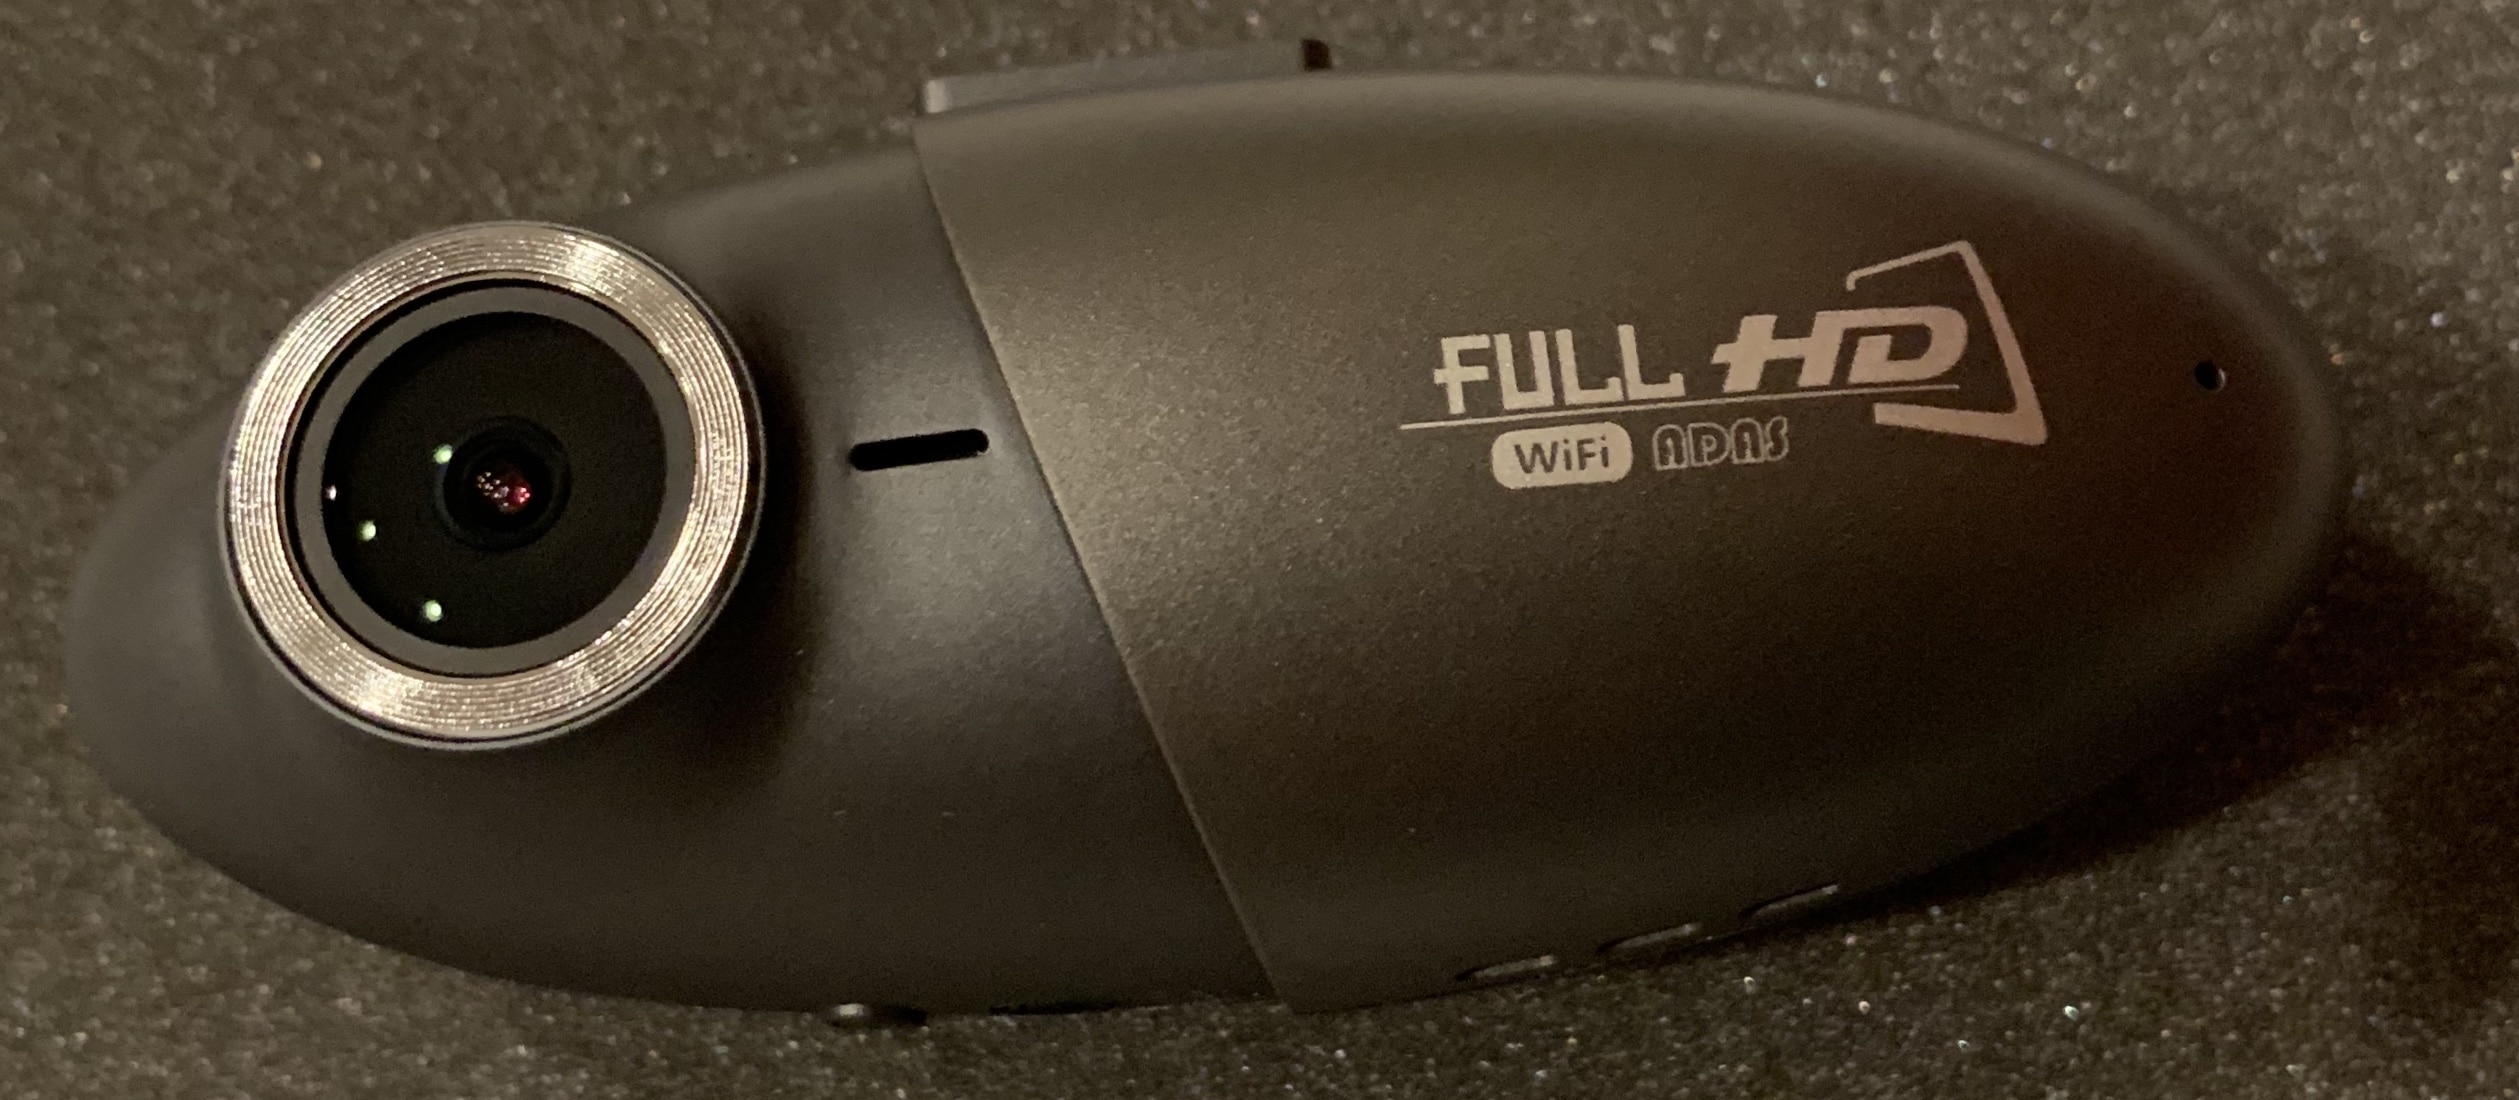
Close Up Of The Nexar HaloCam 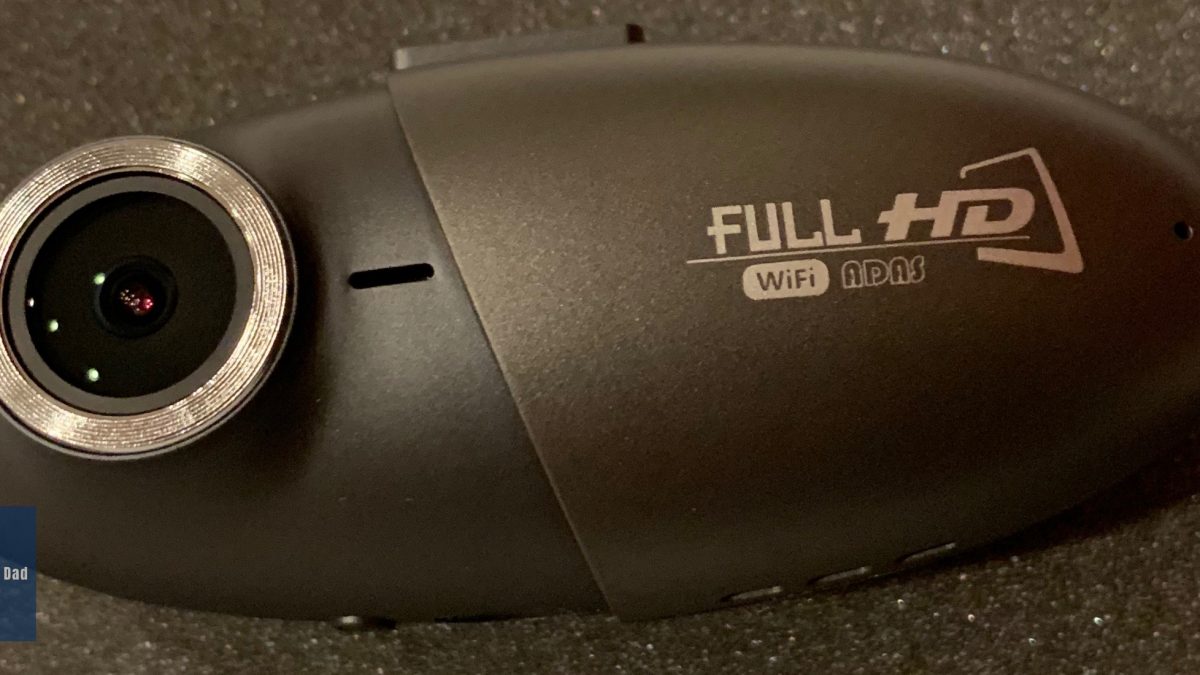
Another Close Up Of The Nexar HaloCam 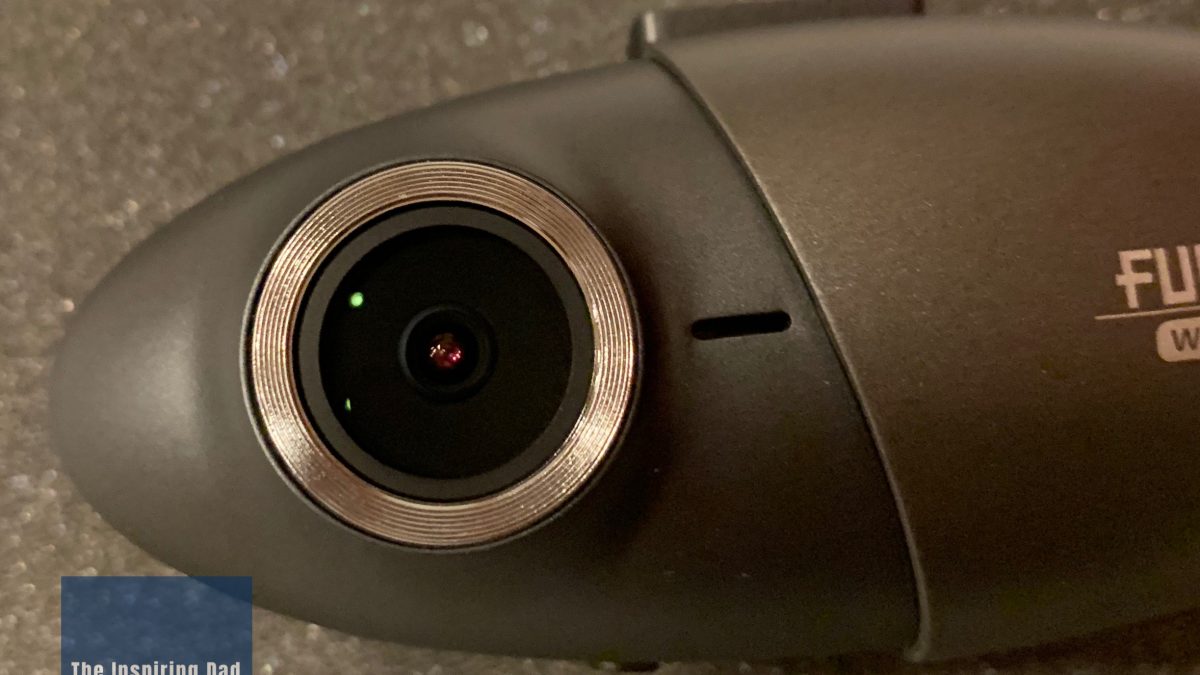
A Close Up Of The Lens And Microphone 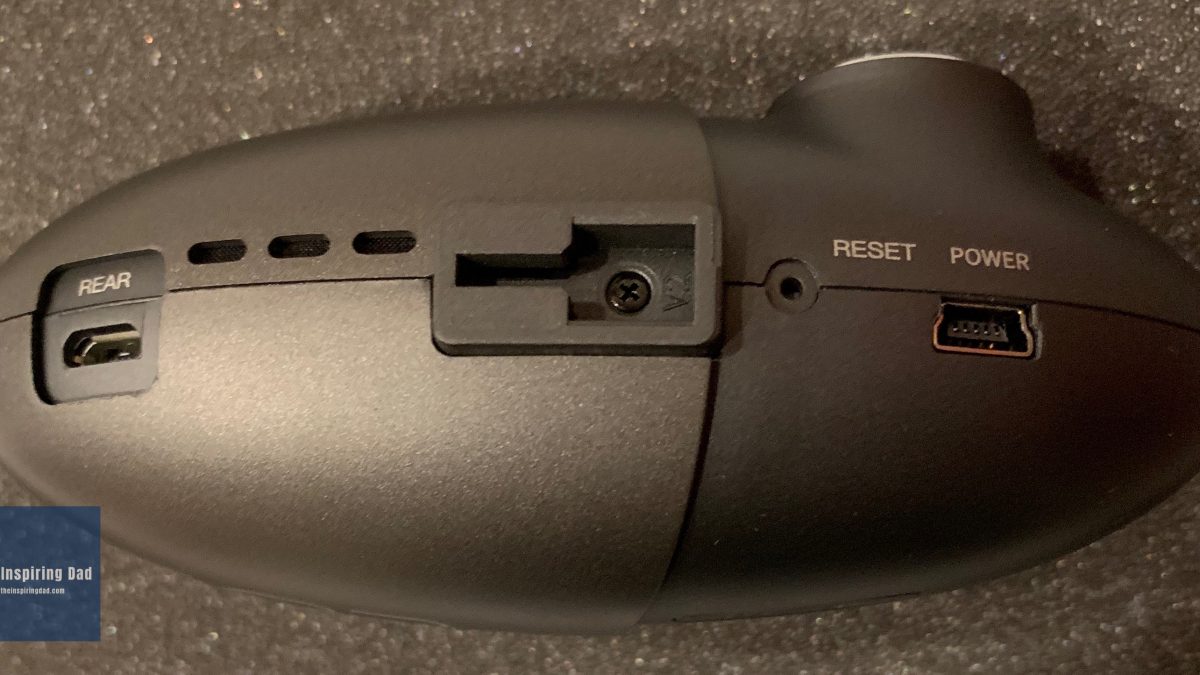
The Top 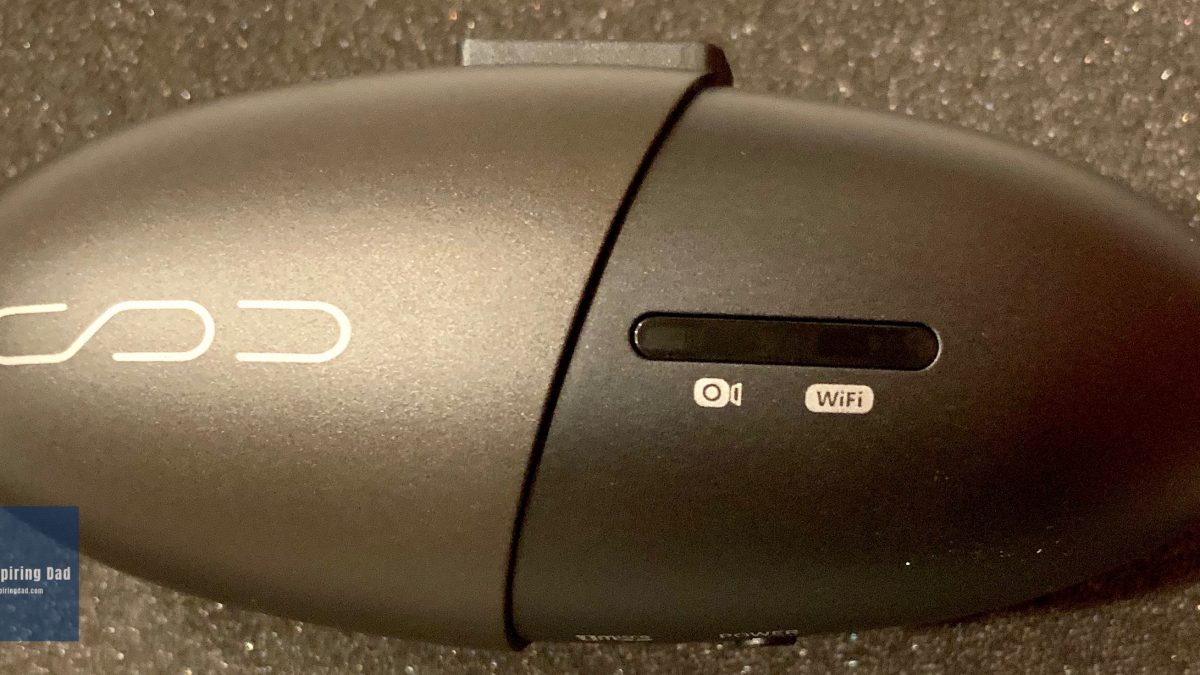
The Camera Power and Wifi Lights (Off) 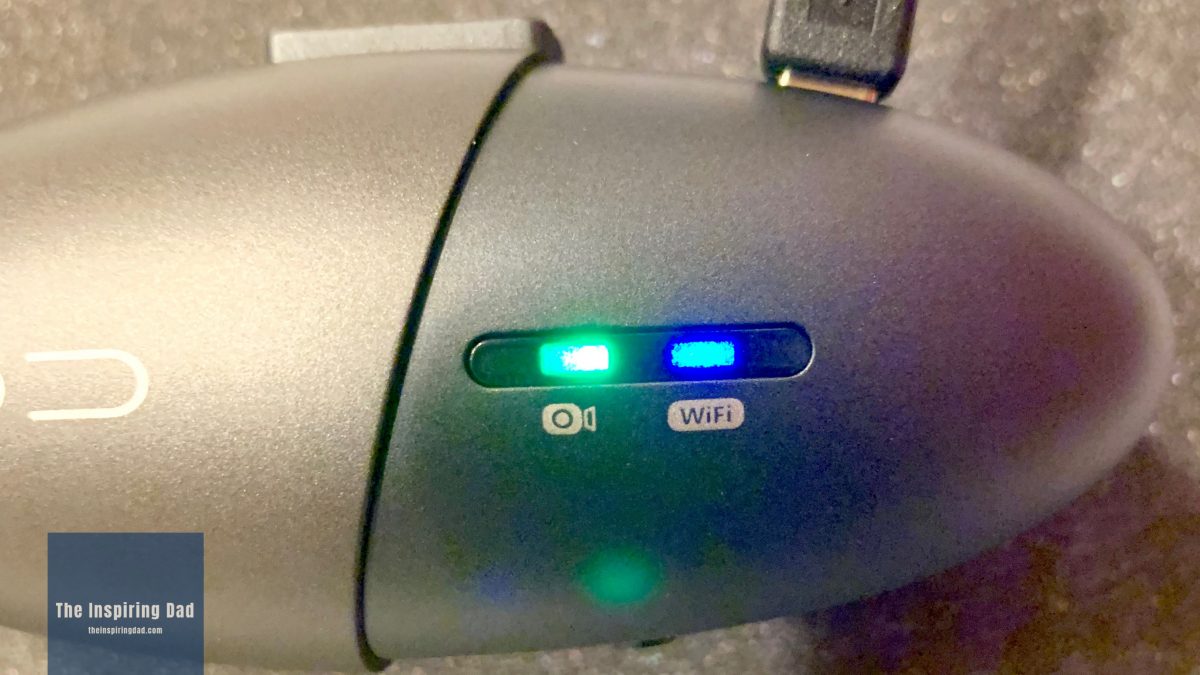
The Camera Power and Wifi Lights (On) 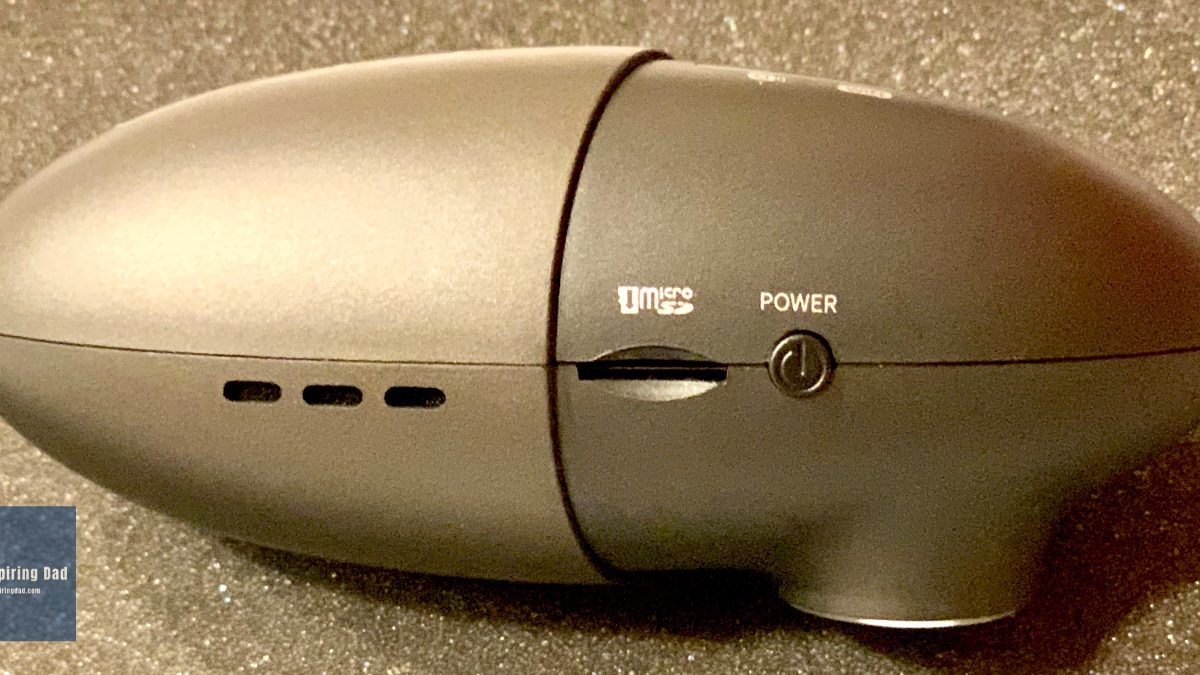
The Air Vents, SD Card Slot and Power Button 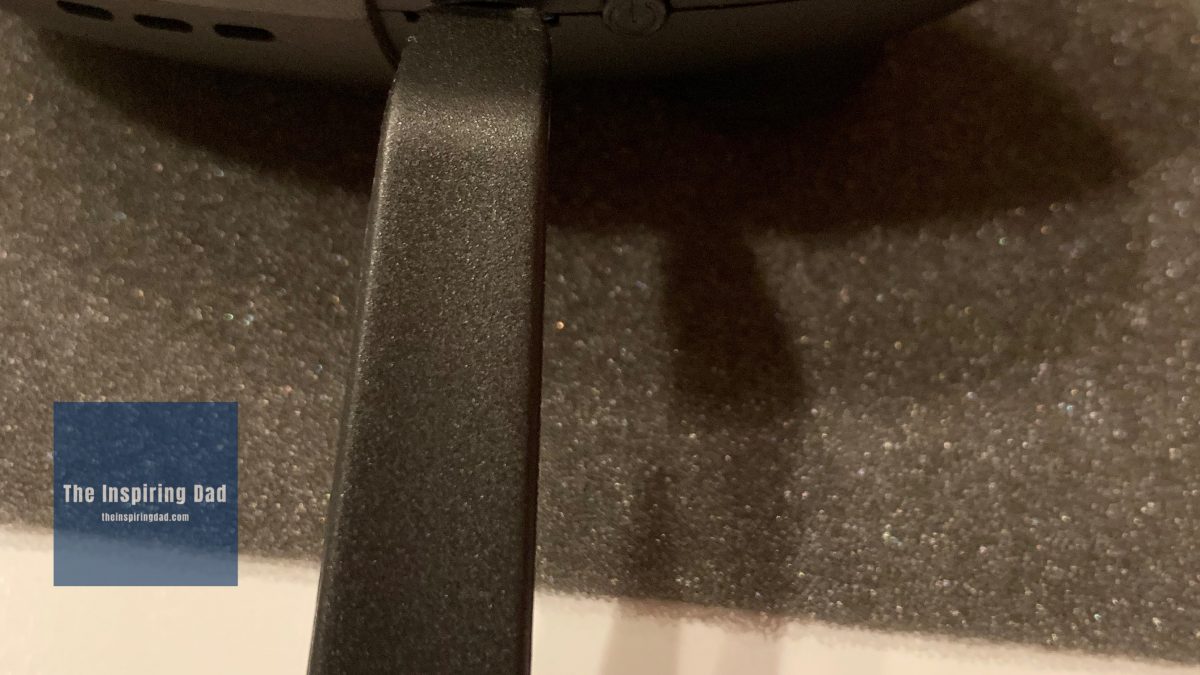
Tip: Use the Tool To Help Gently Push The SD Card Into The Slot To Lock 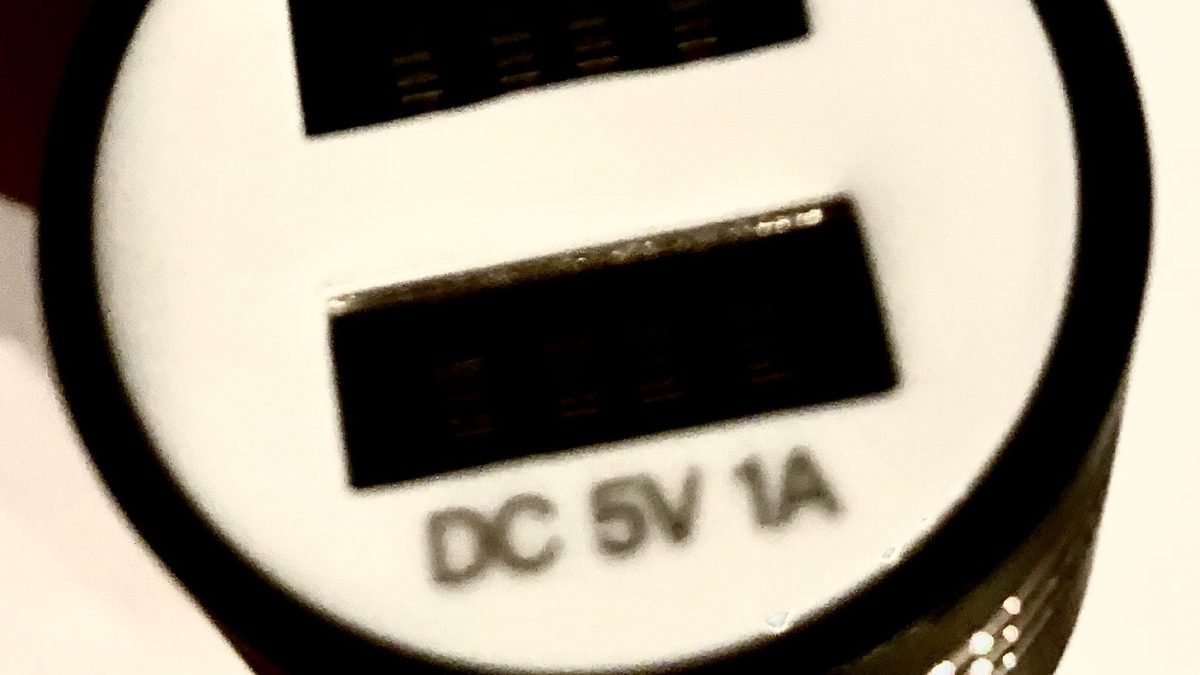
The Dual Slot USB Car Charger
I’m not sure if you’re able to see in the first picture, but the outer box is a little dirty and scuffed up and it didn’t have any cellophane around it (I’m not sure if it was supposed to or not); but whenever I see something like that, I become a little leery and start to wonder if it was a returned package.
I’m not saying returned packages are necessarily bad; I just think they should be sold as “New/Other” or something, just in case there are missing parts or the product is actually defective.
Anyway… the second picture is what you’re greeted with when you lift the top of the box off – it’s the manual!
The third picture is the SD card for the dash cam and it’s used to store audio files from your recordings.
The fourth picture is a close up of the SD card… Not sure why I took it… maybe some people never seen one before… I don’t know.
The fifth is everything bundled in their own compartment.
The sixth picture is everything that was in the box, out of the box. Included in the box is:
- The HaloCam Mount with an additional Adhesive Pad,
- Adhesive Wire Holders (if you don’t want to route the wire through cracks in your car,
- Installation Tool to help you push the wire into cracks to hide it from view,
- USB Power Cable
- Dual USB Car Charger to power the camera and your phone at the same time
- 32GB Micro SD Card that goes into the camera and is used to save audio clips
- The Manual
- The HaloCam
The seventh is a close up of the Nexar HaloCam.
The eighth is another close up of the dash cam.
The ninth picture showcases the lens of the dash cam
The tenth picture is the top side of the camera where the rear camera port (a rear facing camera is going to be released by Nexar soon and apparently will connect to that port), air vents, holder slot, reset button and power cable port is located.
The eleventh picture shows the Power and Wifi Lights that are off.
The twelfth picture shows the Power and Wifi Lights that are on. The Power light is green (it blinks red when the firmware is being updated) and the Wifi light is blue. The blue wifi light will blink if it is not connected to your phone and will be steady blue when it’s connected.
The thirteenth picture is of the air vents, SD card slot and the power button.
The fourteenth picture is just a tip to help you insert the SD card into the slot to make it click.
When I was trying to push it in, I couldn’t push far enough to get it to lock into place and so I used the one side of the installation tool to slowly push the SD card further into the slot to lock. If you do this, be gentle and don’t go jamming it in there. I only did it because I have big fingers and I couldn’t get it pushed in far enough to lock into place.
The fifteenth and final picture is of the dual USB car charger that you can use to power the dash cam and charge your phone at the same time. Using the Nexar App can drain your battery faster than normal. Now that I have the dash cam, I do not leave my phone unlocked anymore, because it’s not needed and so I can save battery.
Your right on the app requiring “always on” to auto-record but also if you have “background app refresh” on it still auto-records in the background without the app being up, just as long as you do not close out the app entirely and it’s running somewhere in the background.
[…] you think you’re better off with an actual dash cam, check out my review of the Nexar HaloCam and see if that will be a better alternative than a dash cam […]