A Lot More Evidence PhotosA Lot More Evidence Photos

_______________________________________________________________________________ Don't Forget: As an Affiliate, I Earn from Qualifying Purchases. If you click on any Amazon, Chewy, Walmart, or other links on my site and make a purchase through those companies, I may receive a small percentage of that sale at no extra cost to you. This helps me pay for the upkeep and maintenance of my site. You'll also notice advertisements on my site, which help contribute to the costs of running the site. _______________________________________________________________________________

A Lot More Evidence Photos

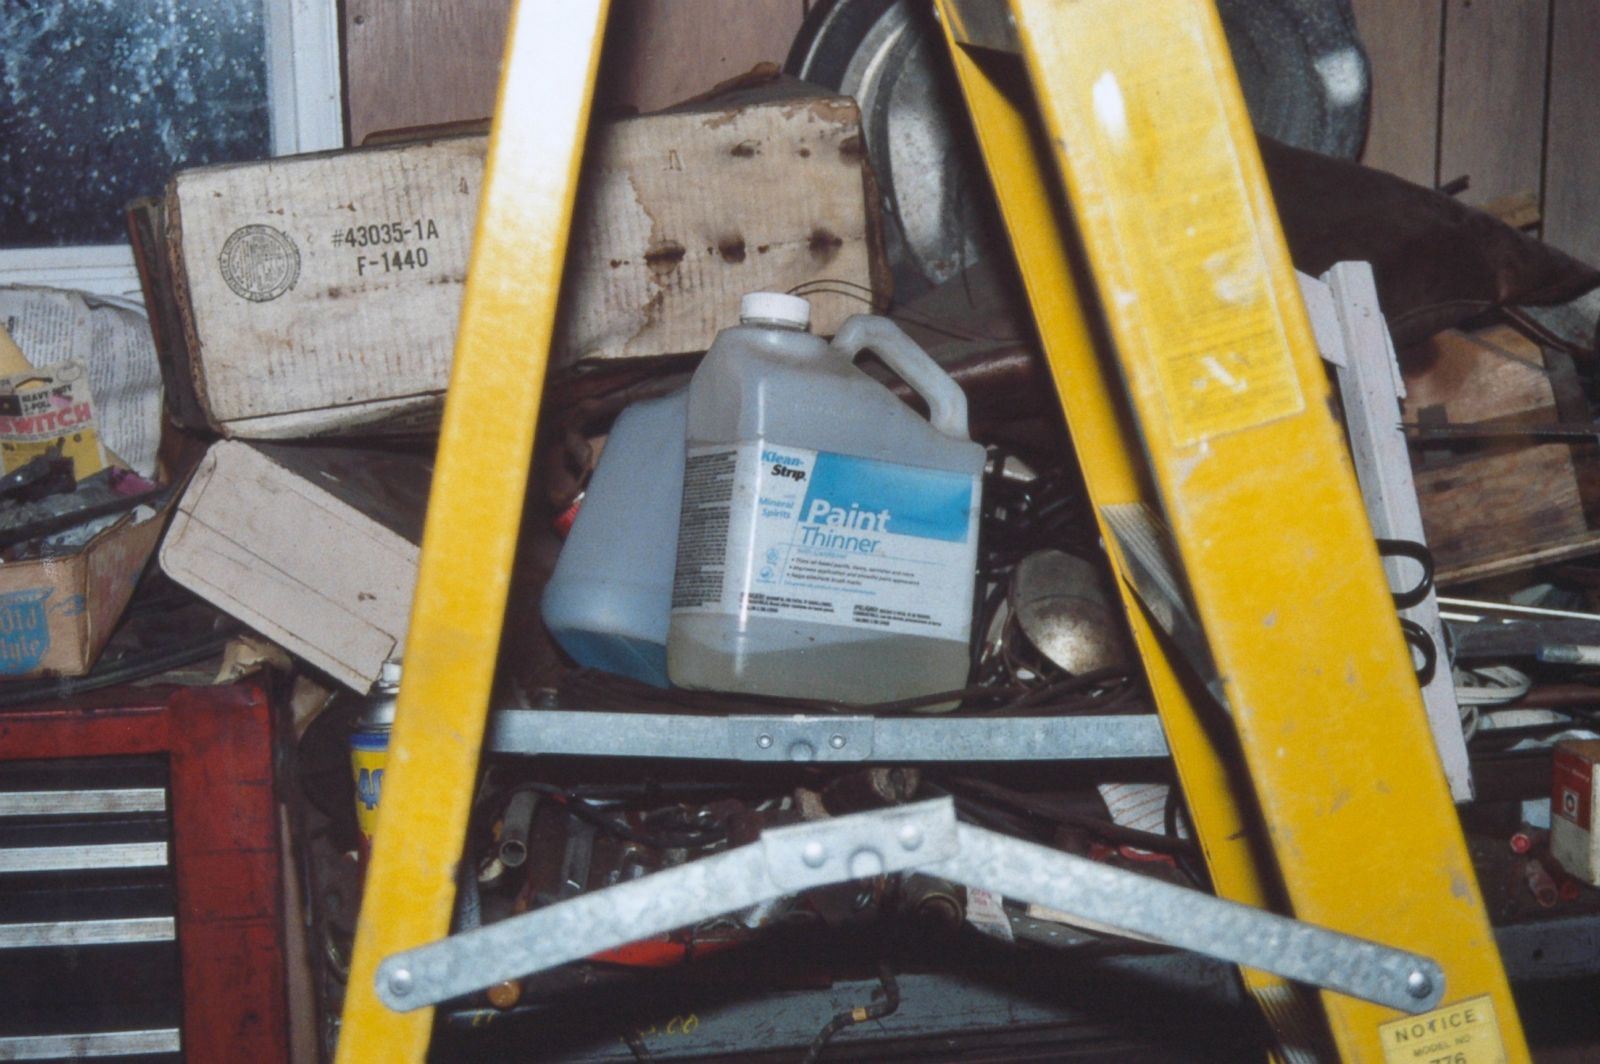
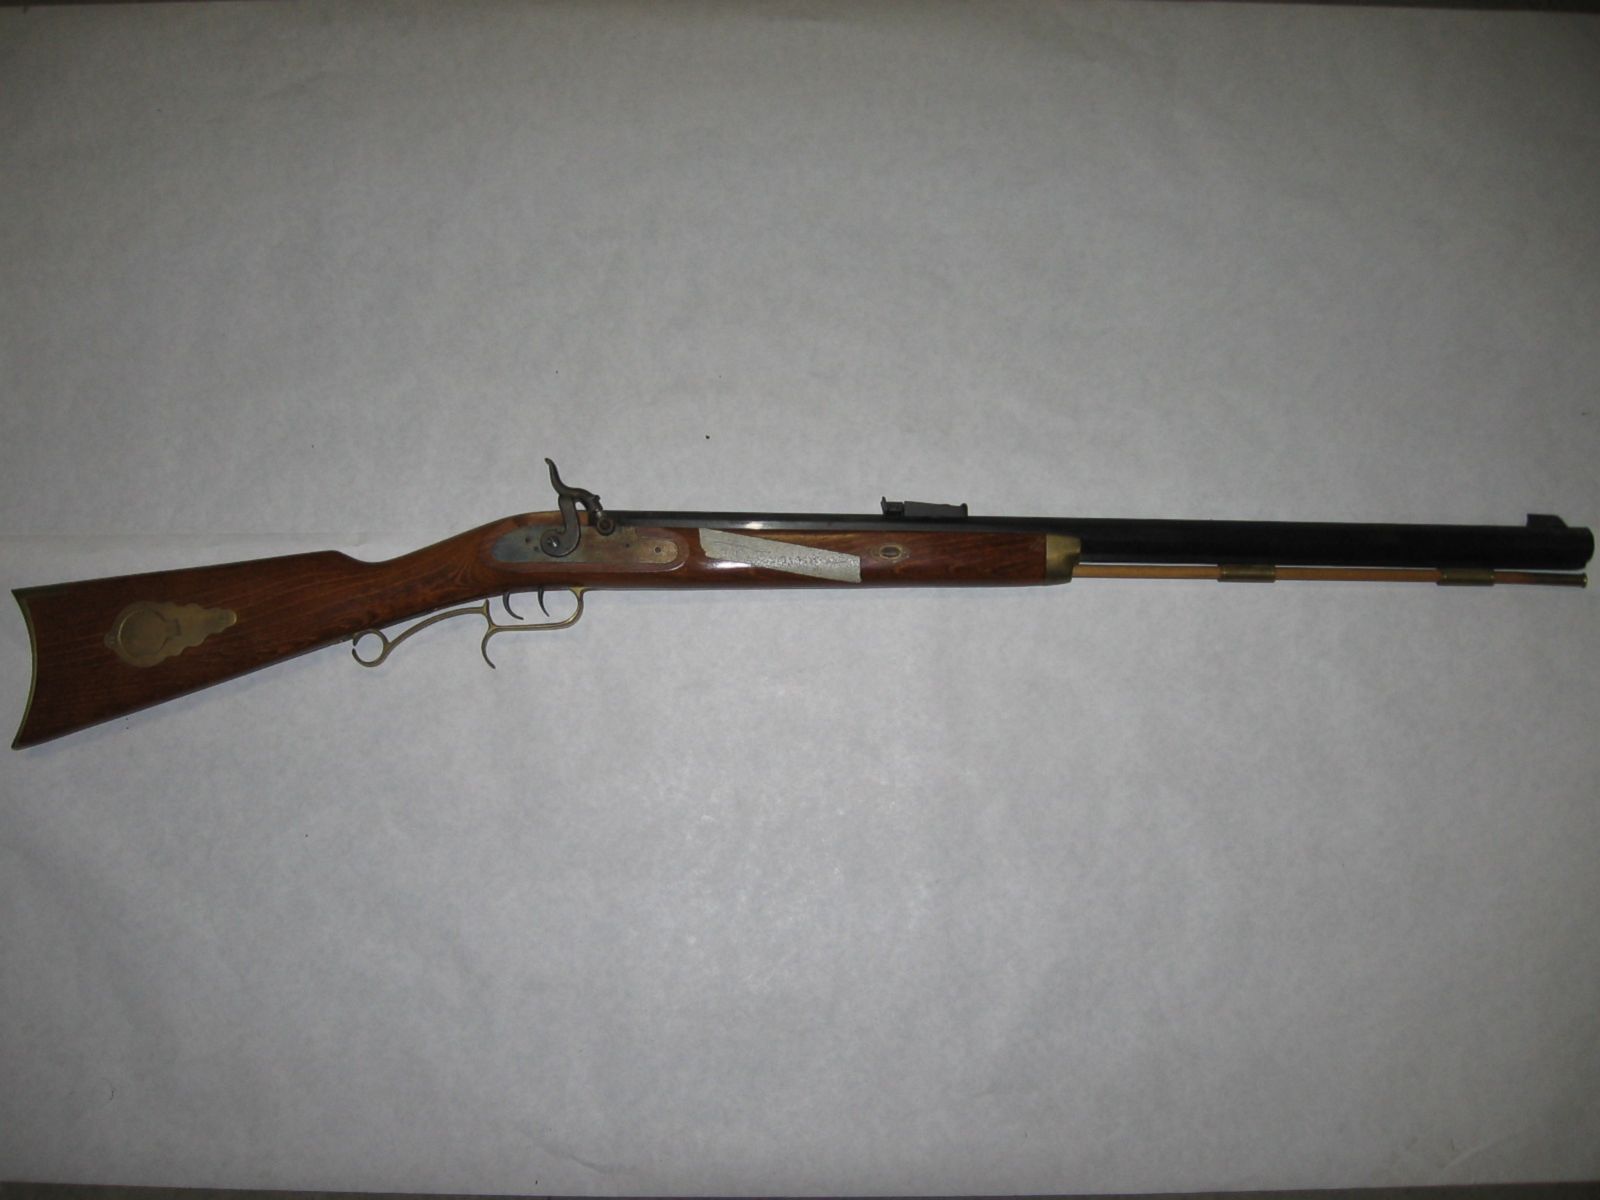
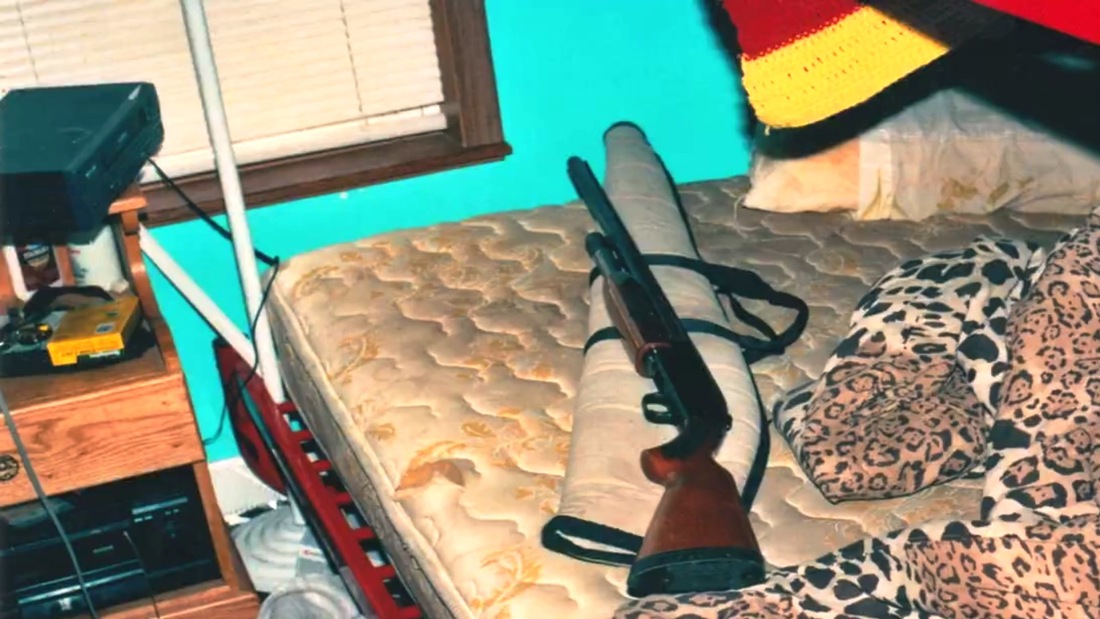
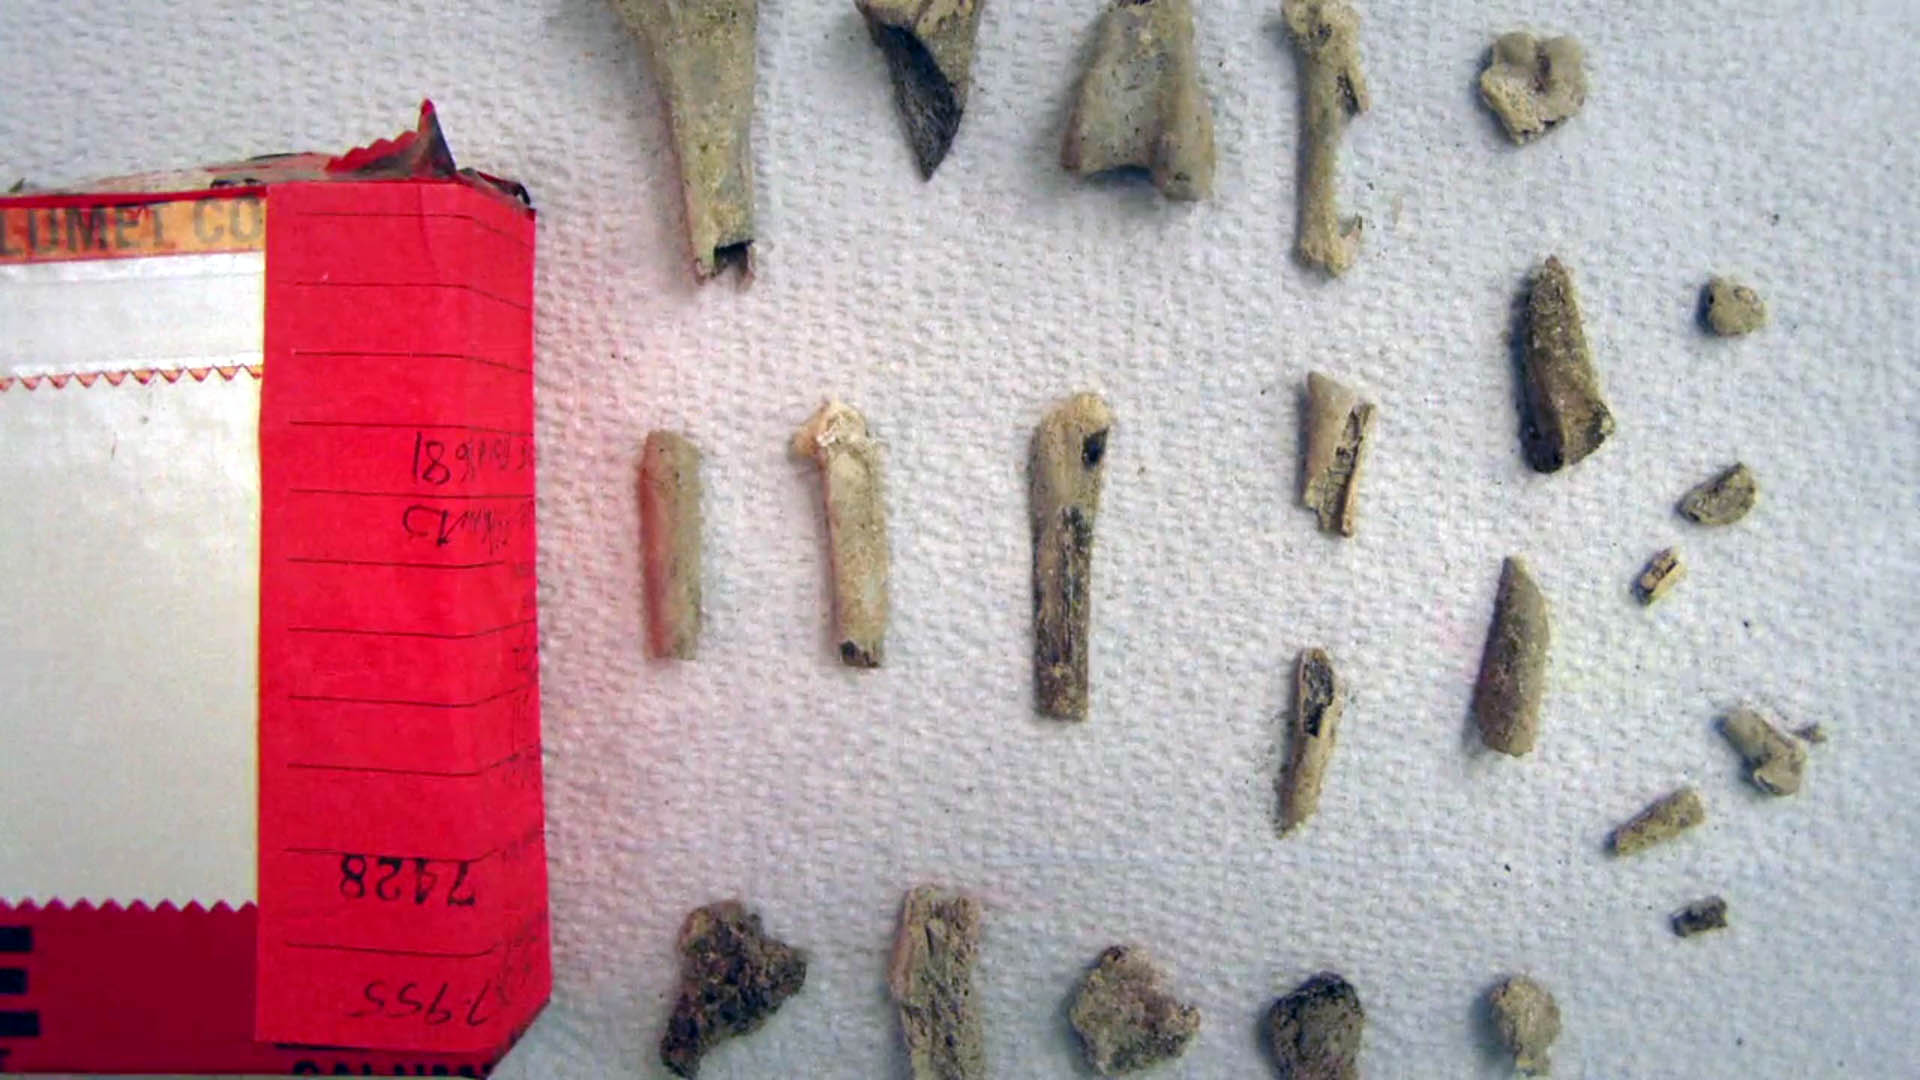
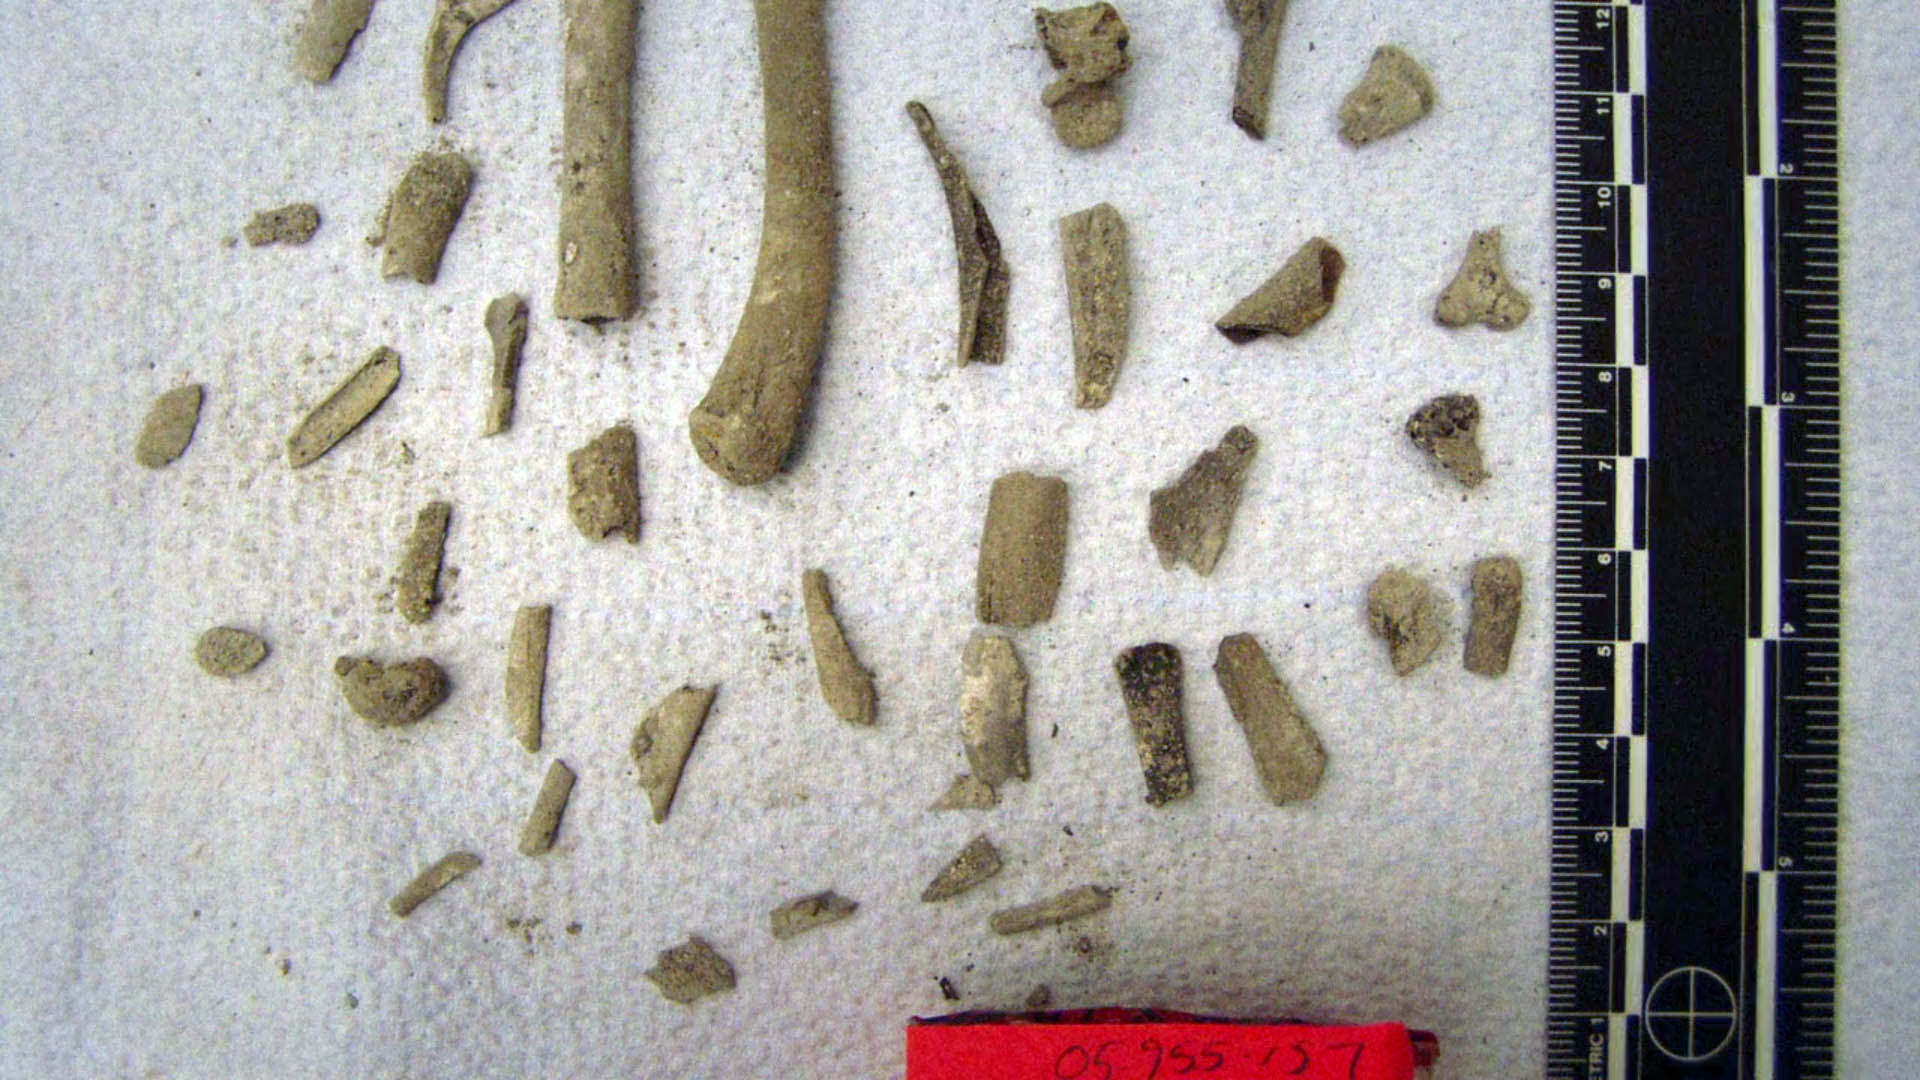
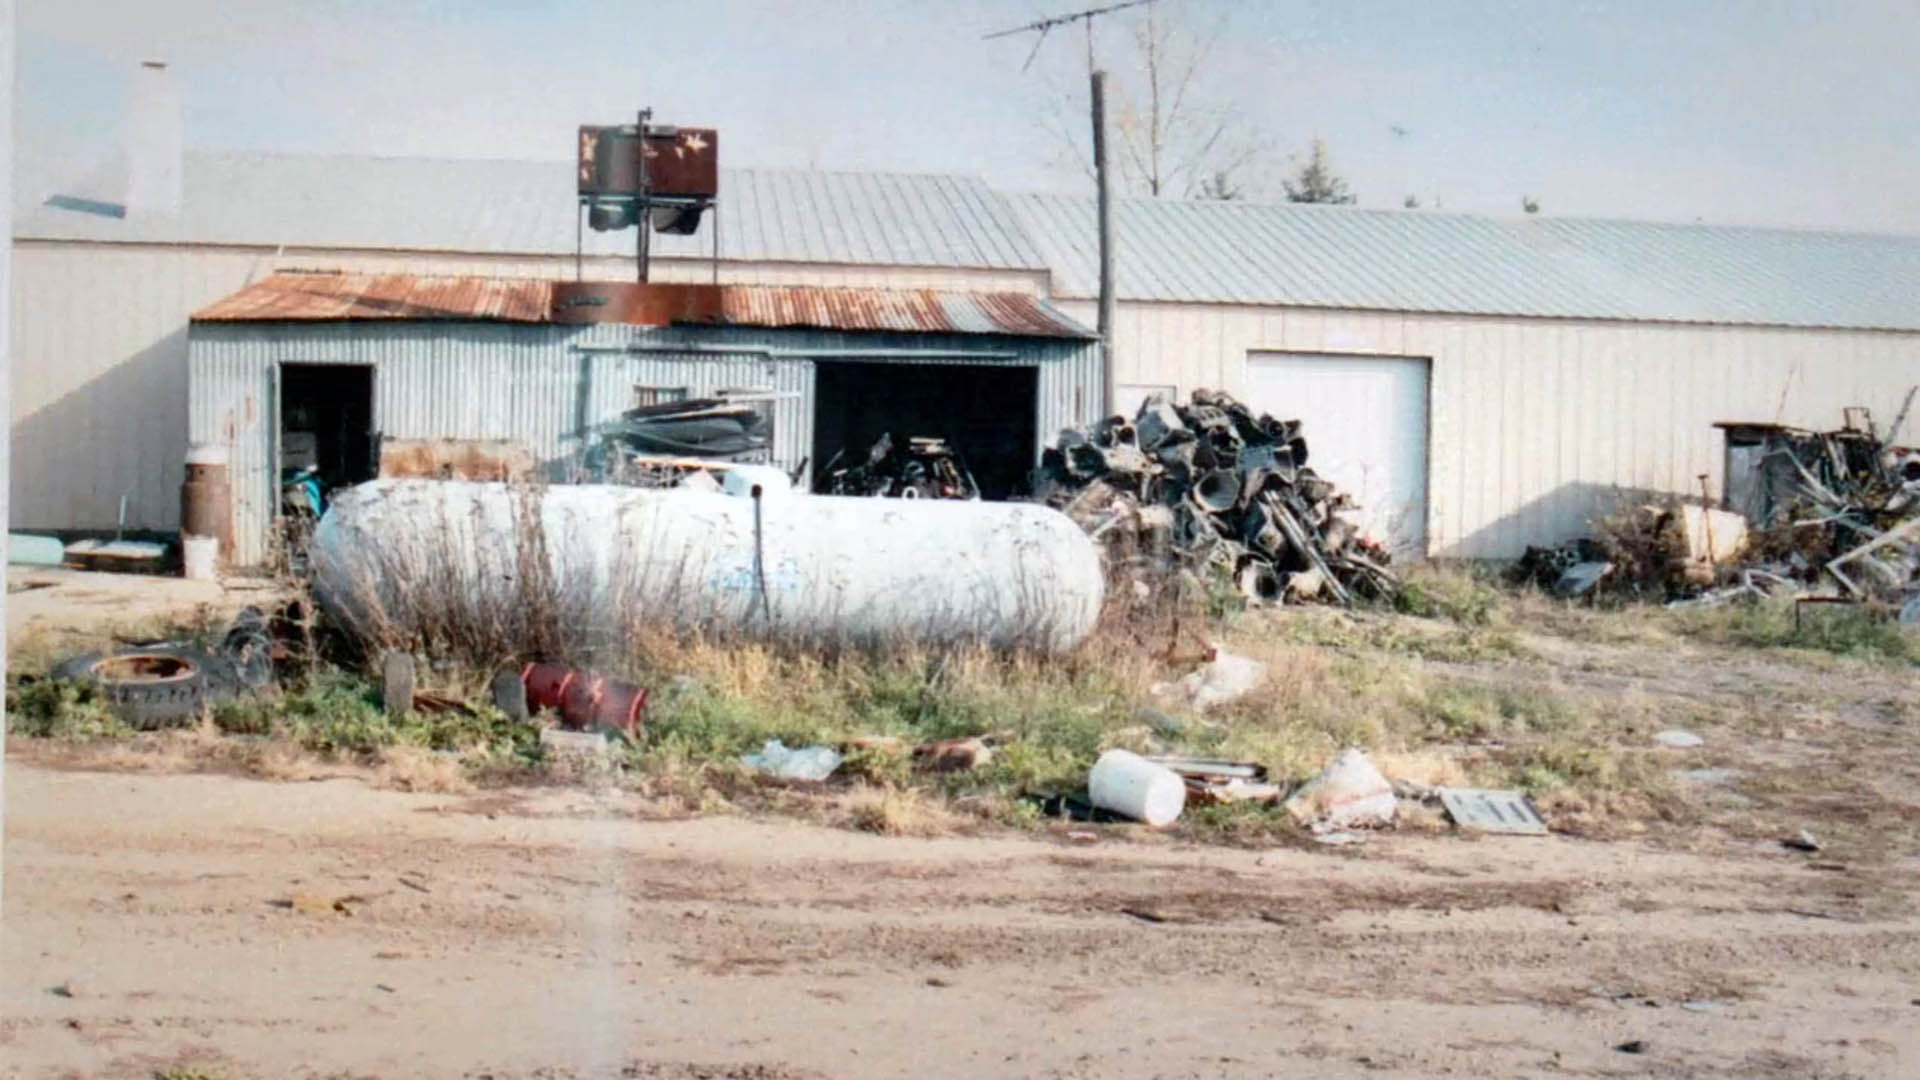
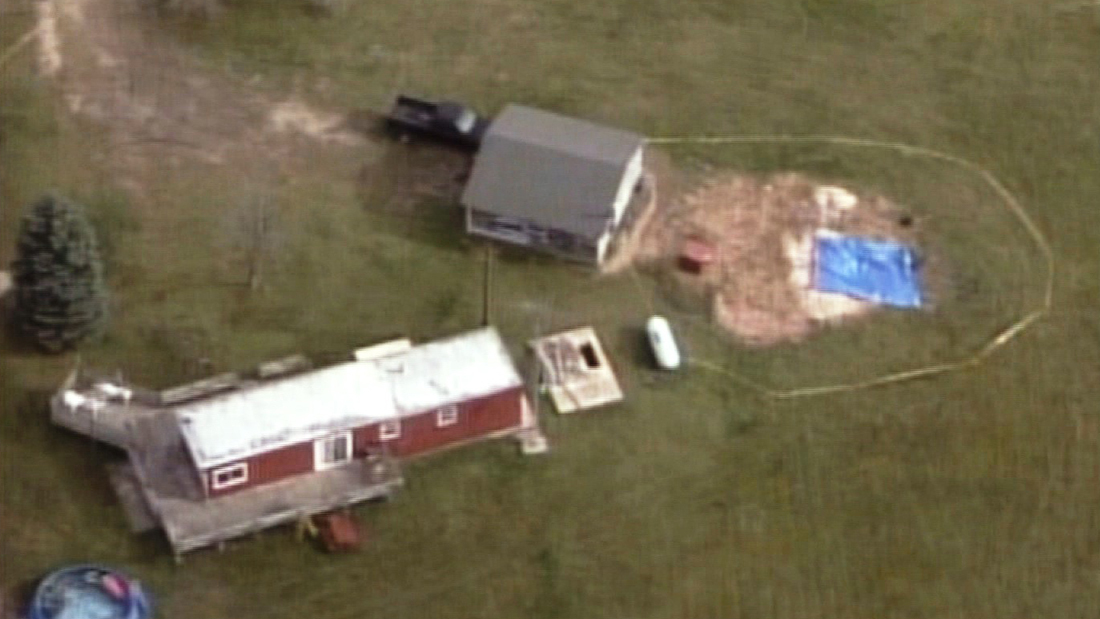
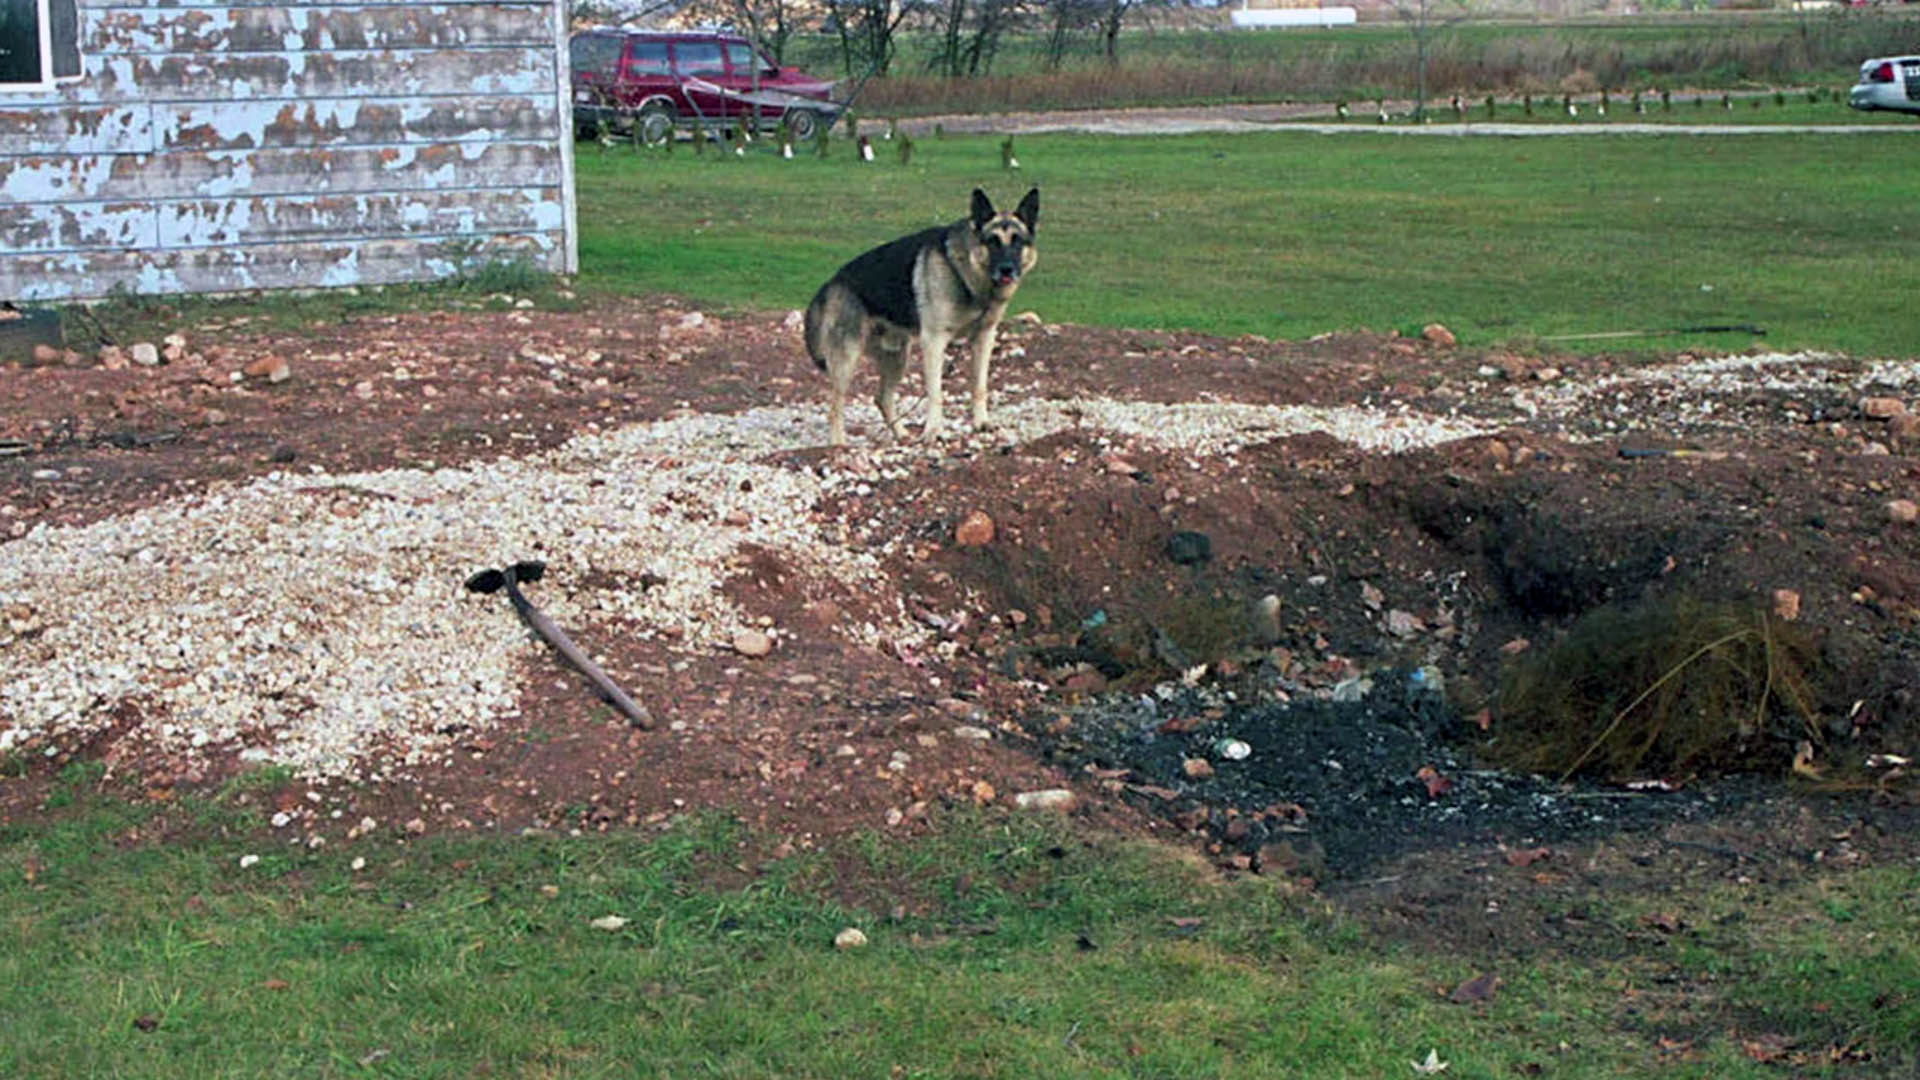
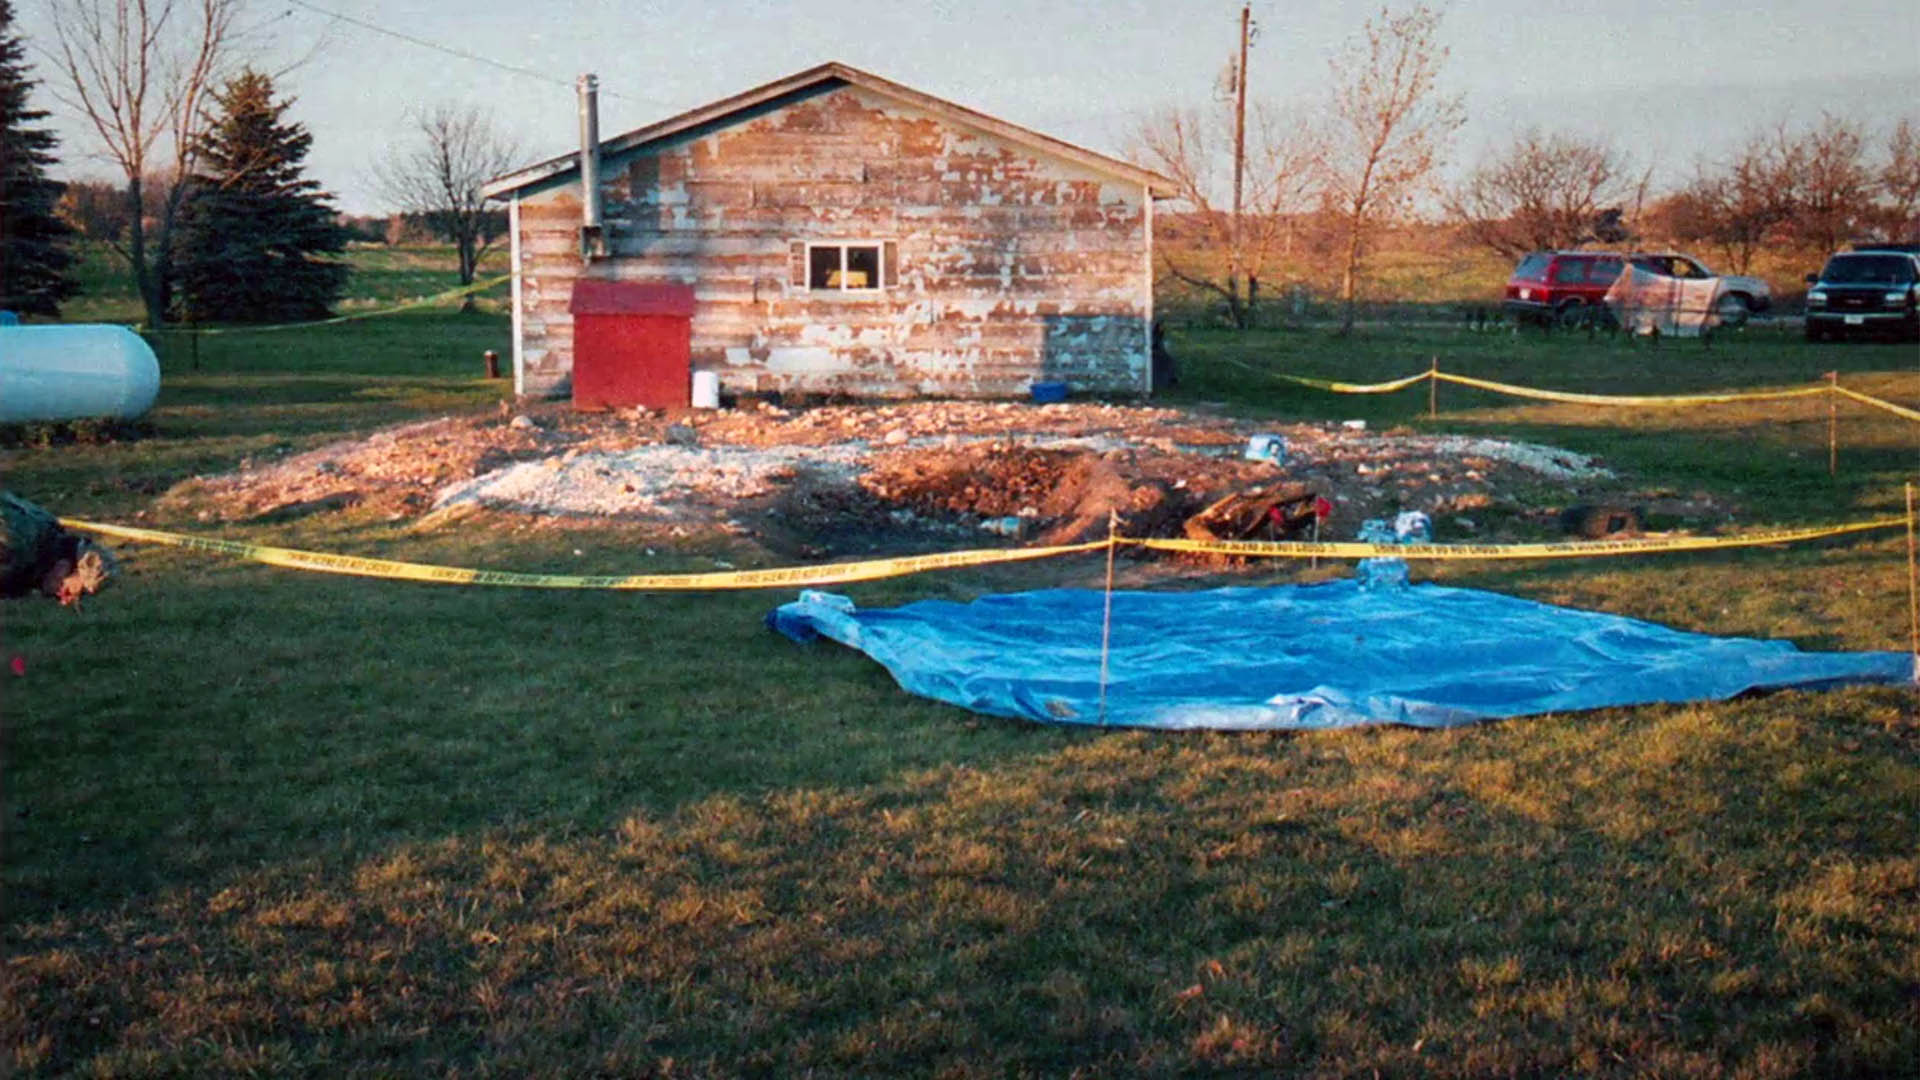
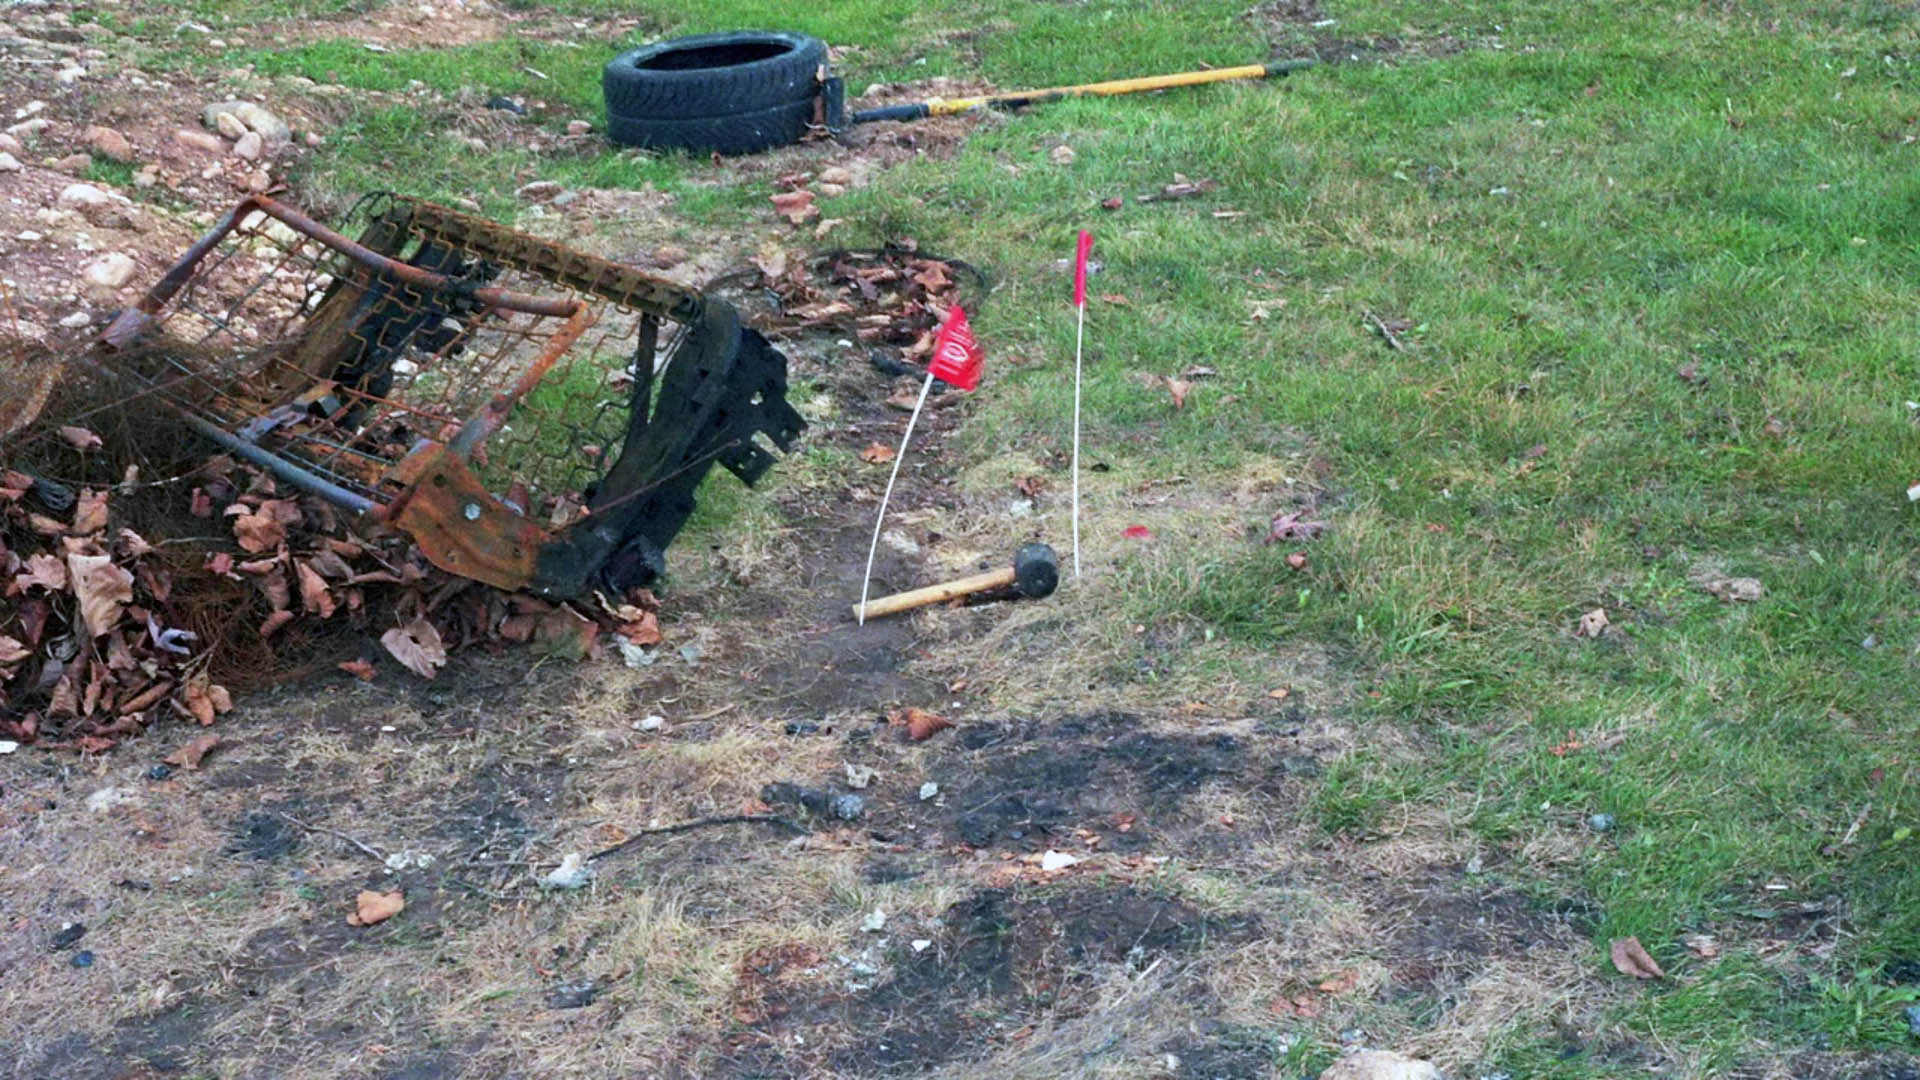
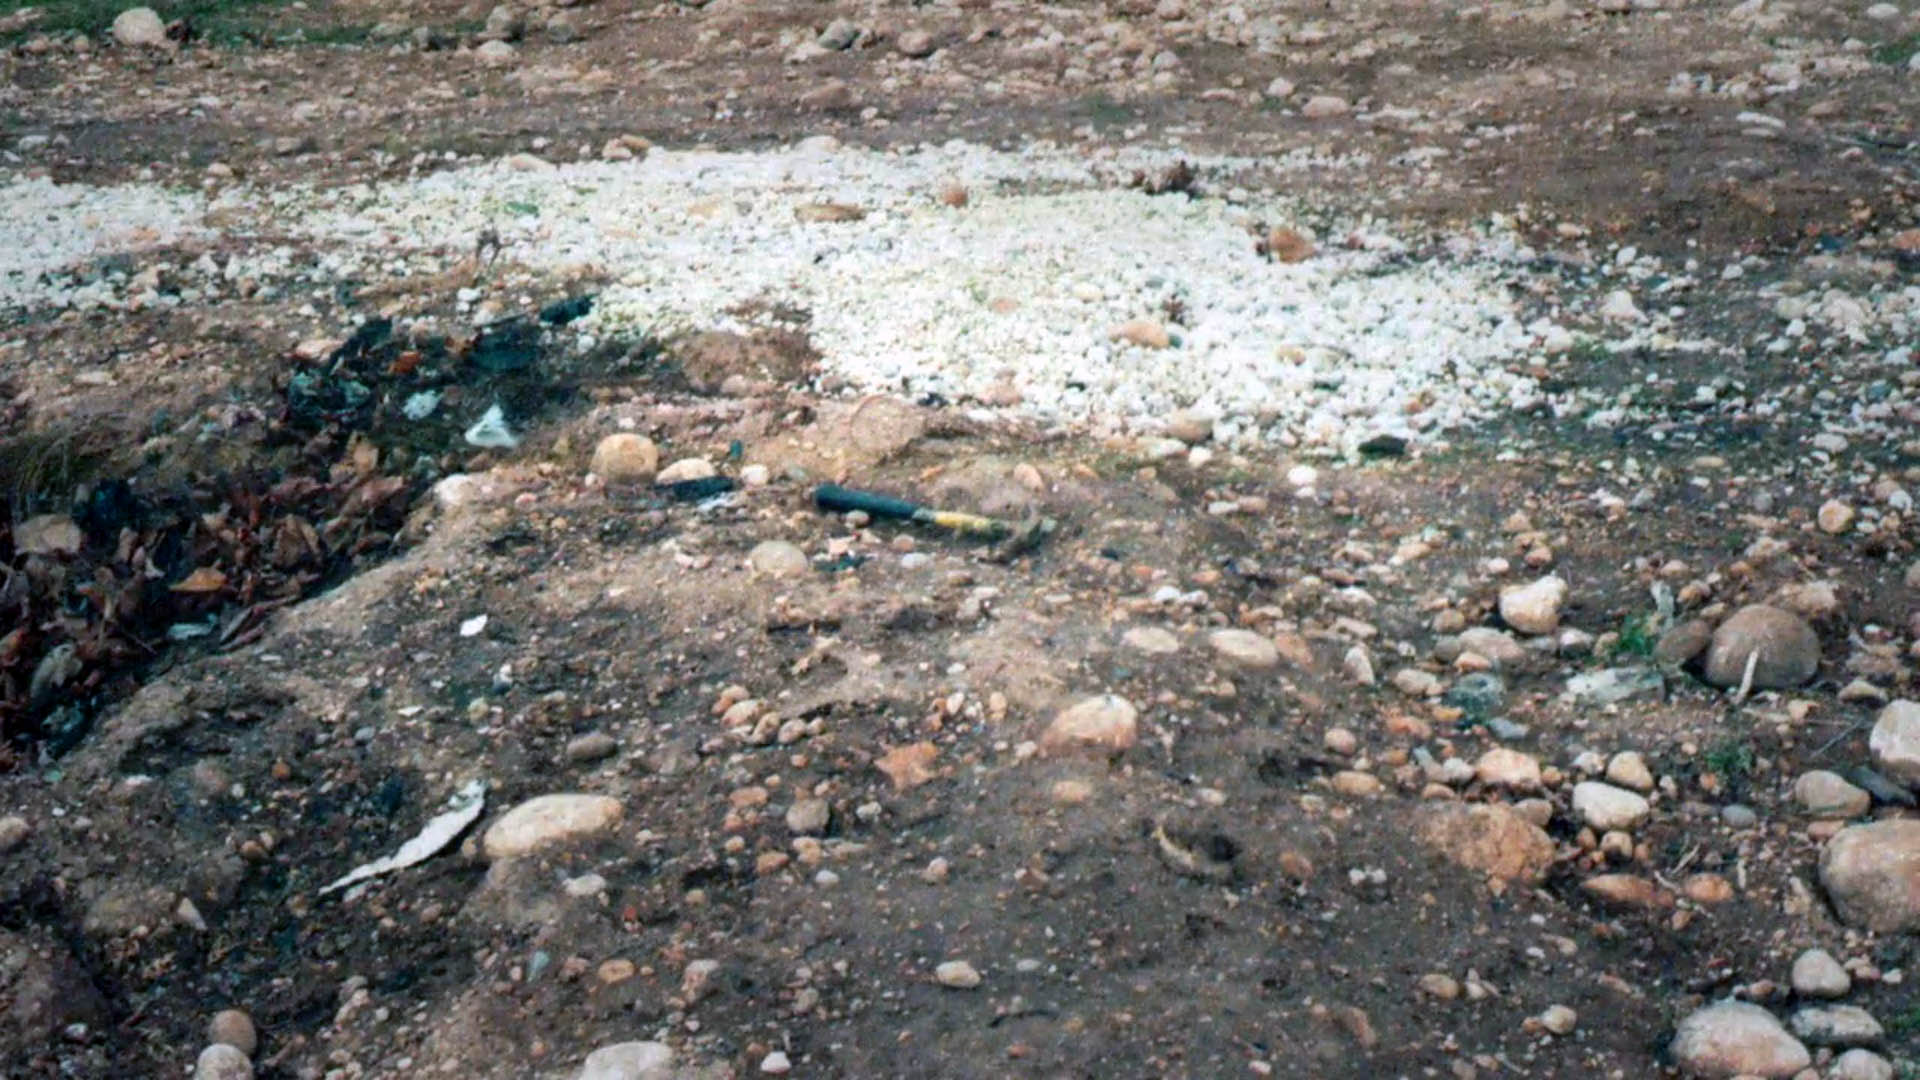
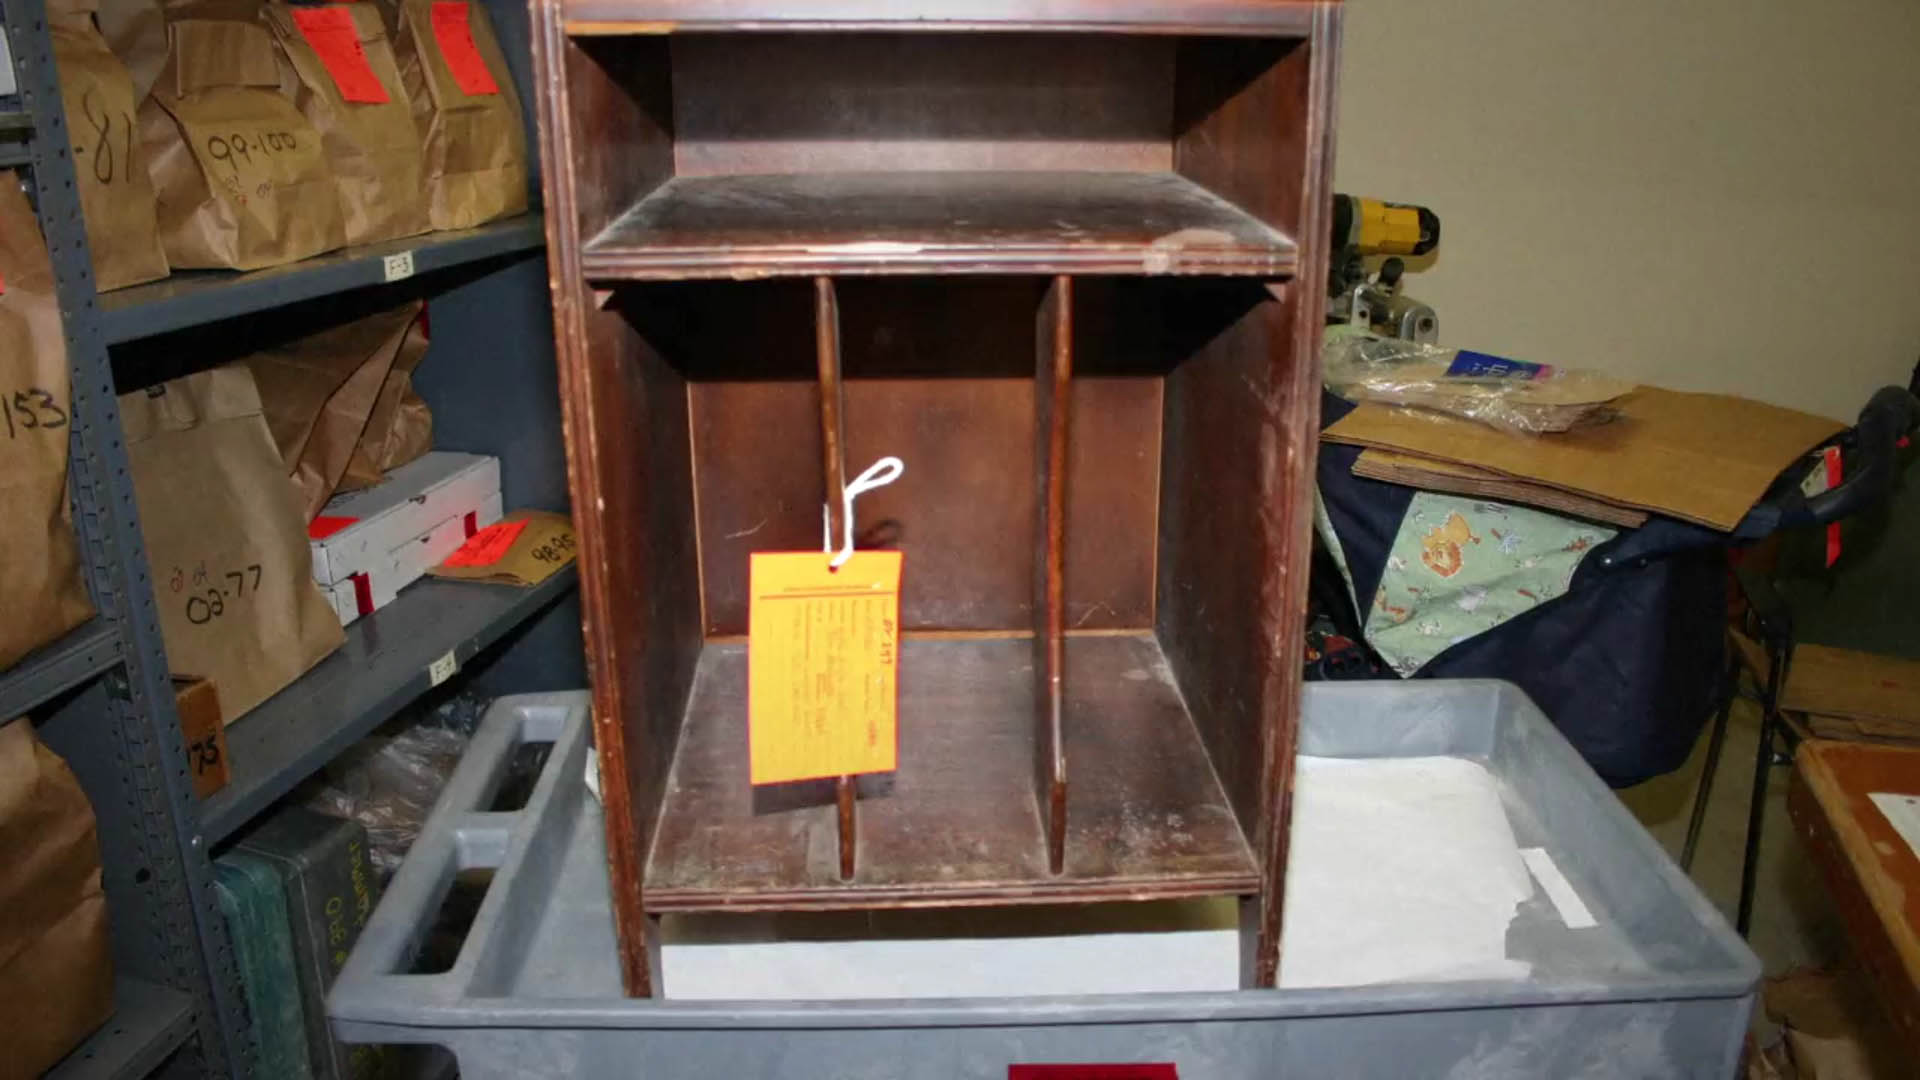
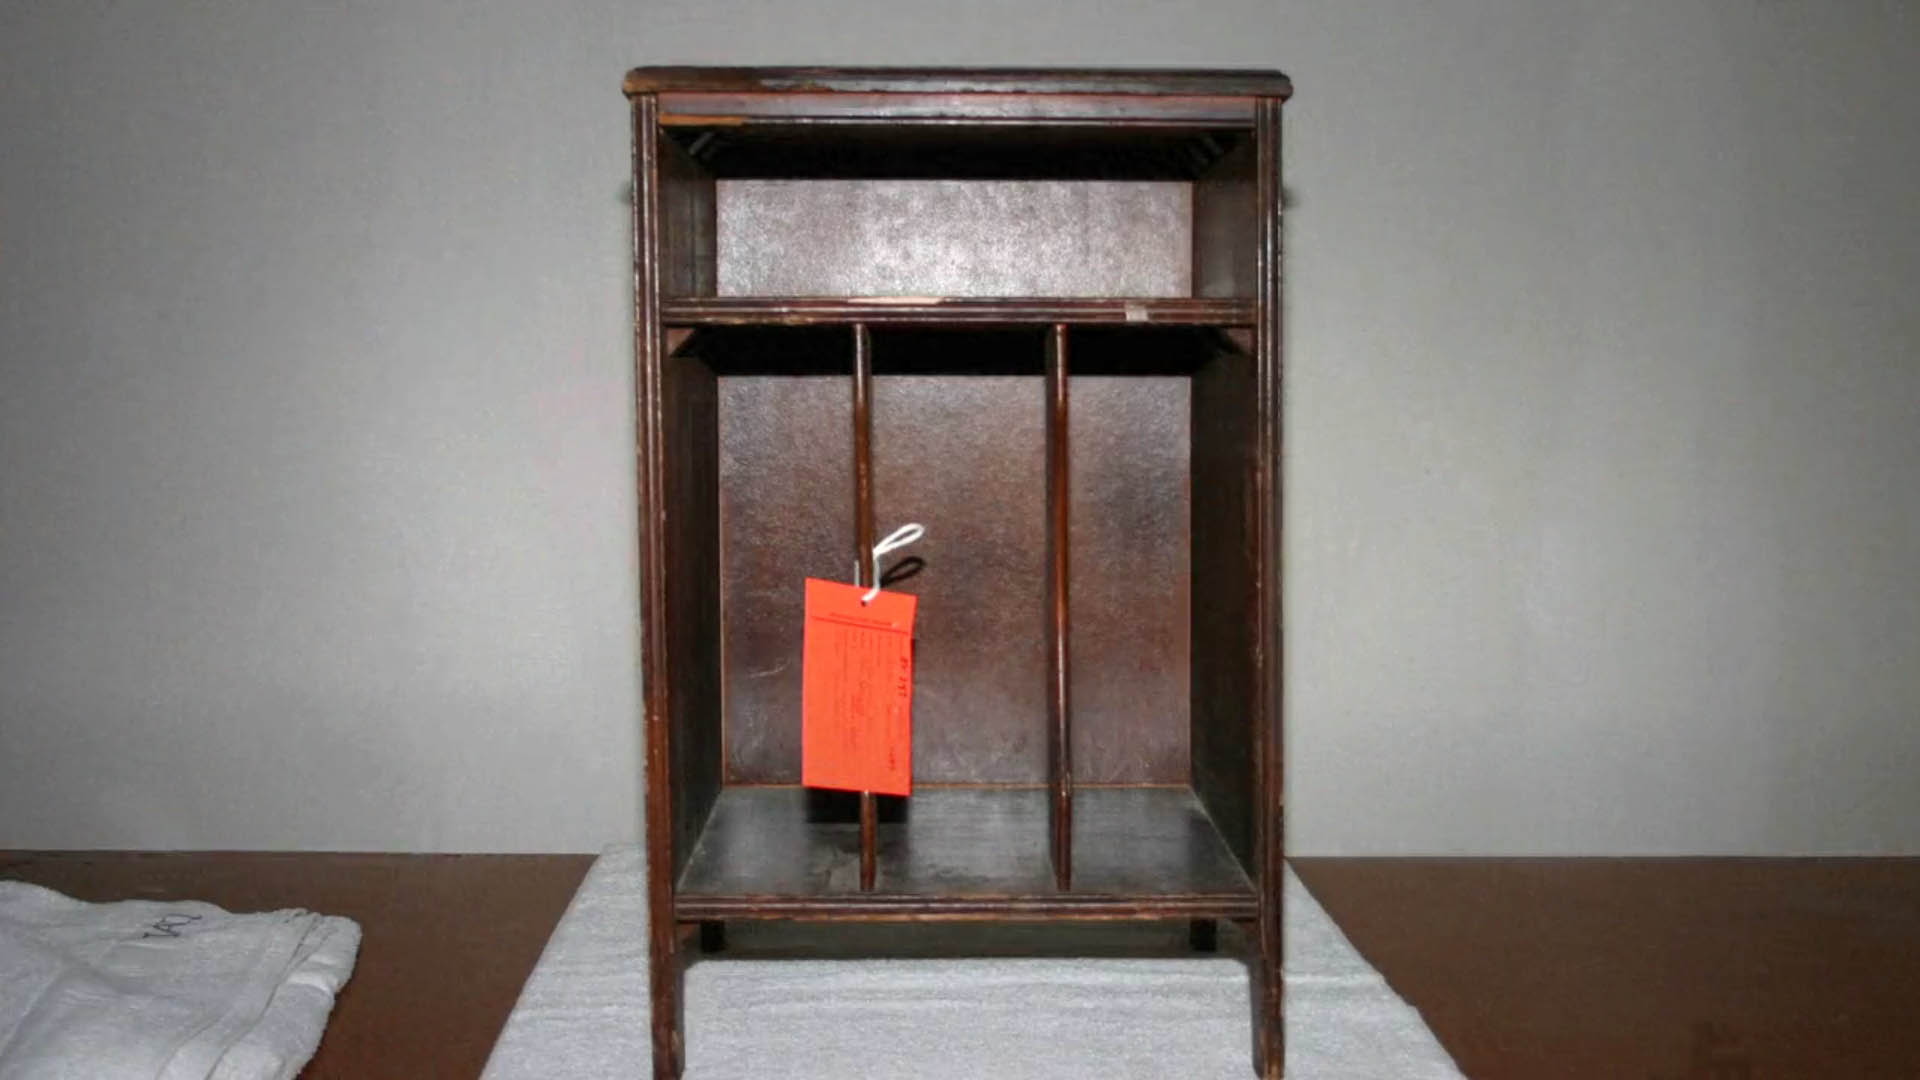
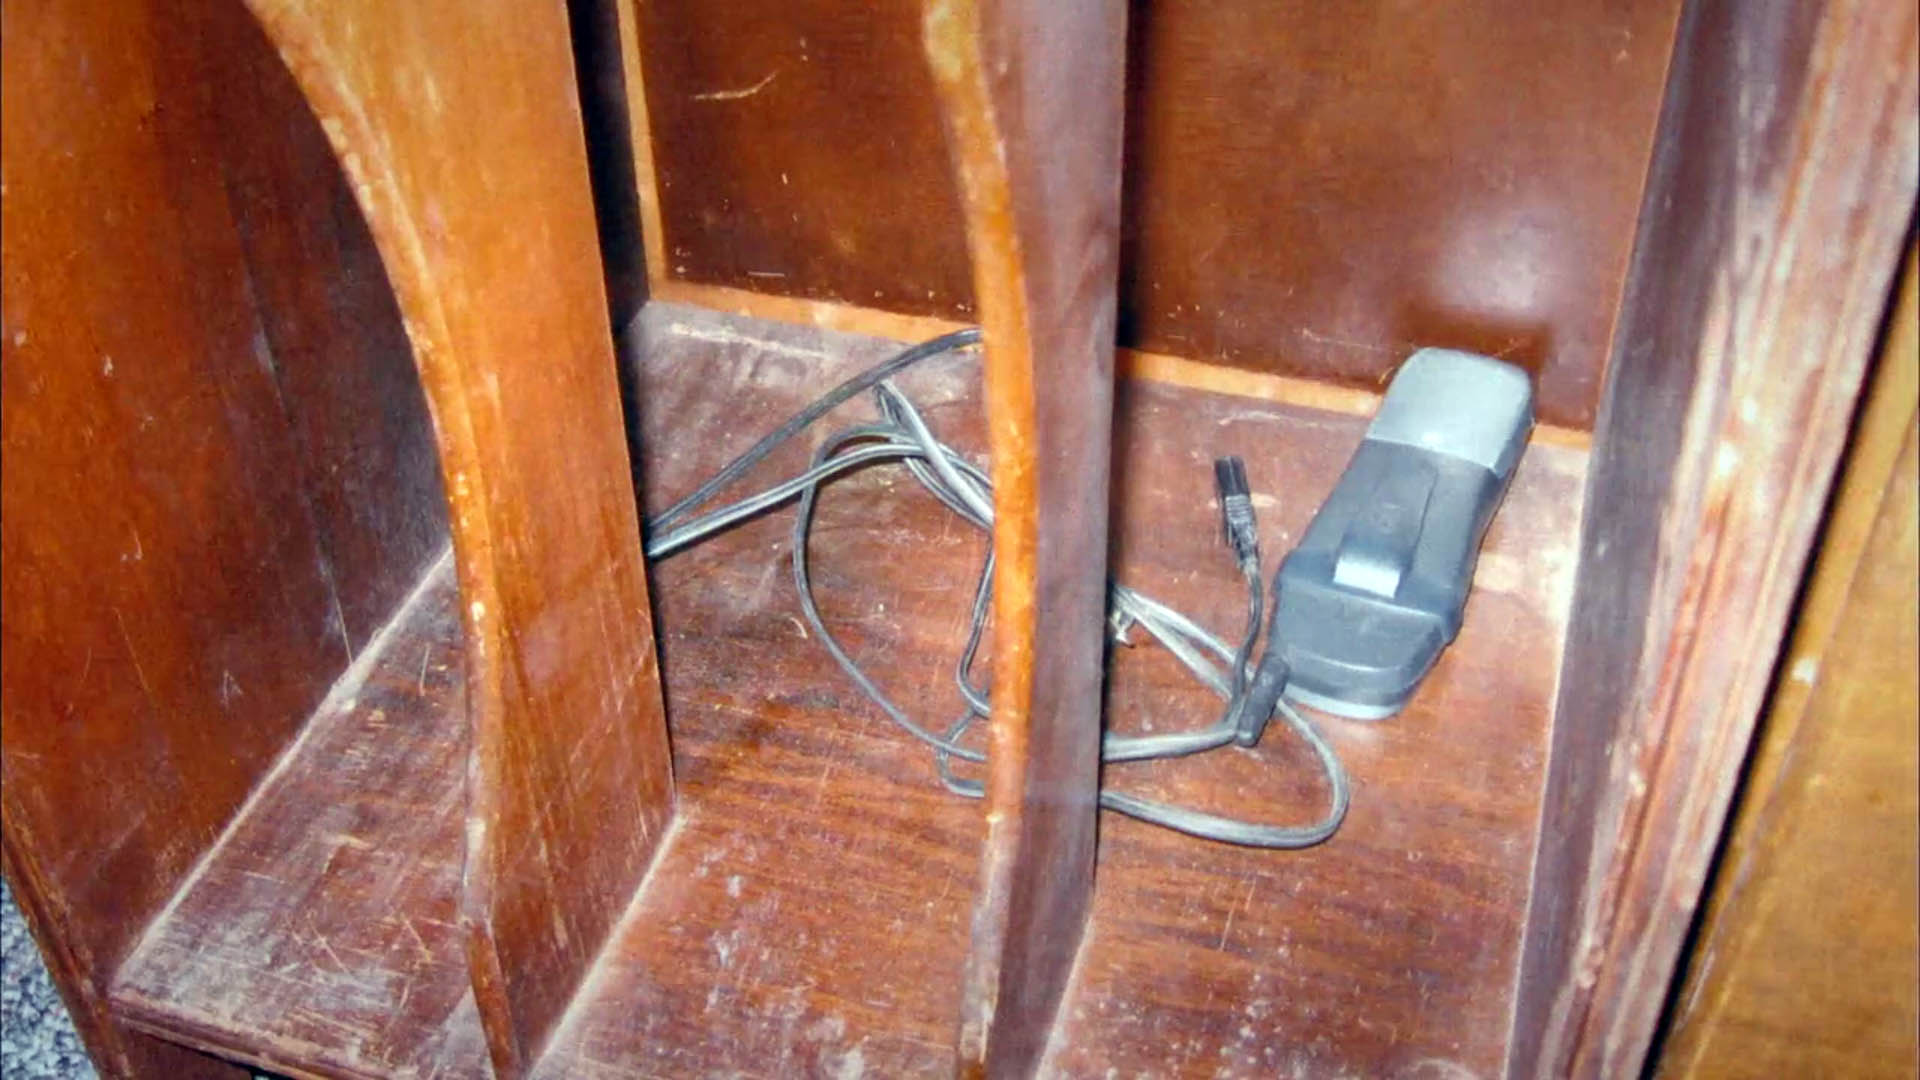
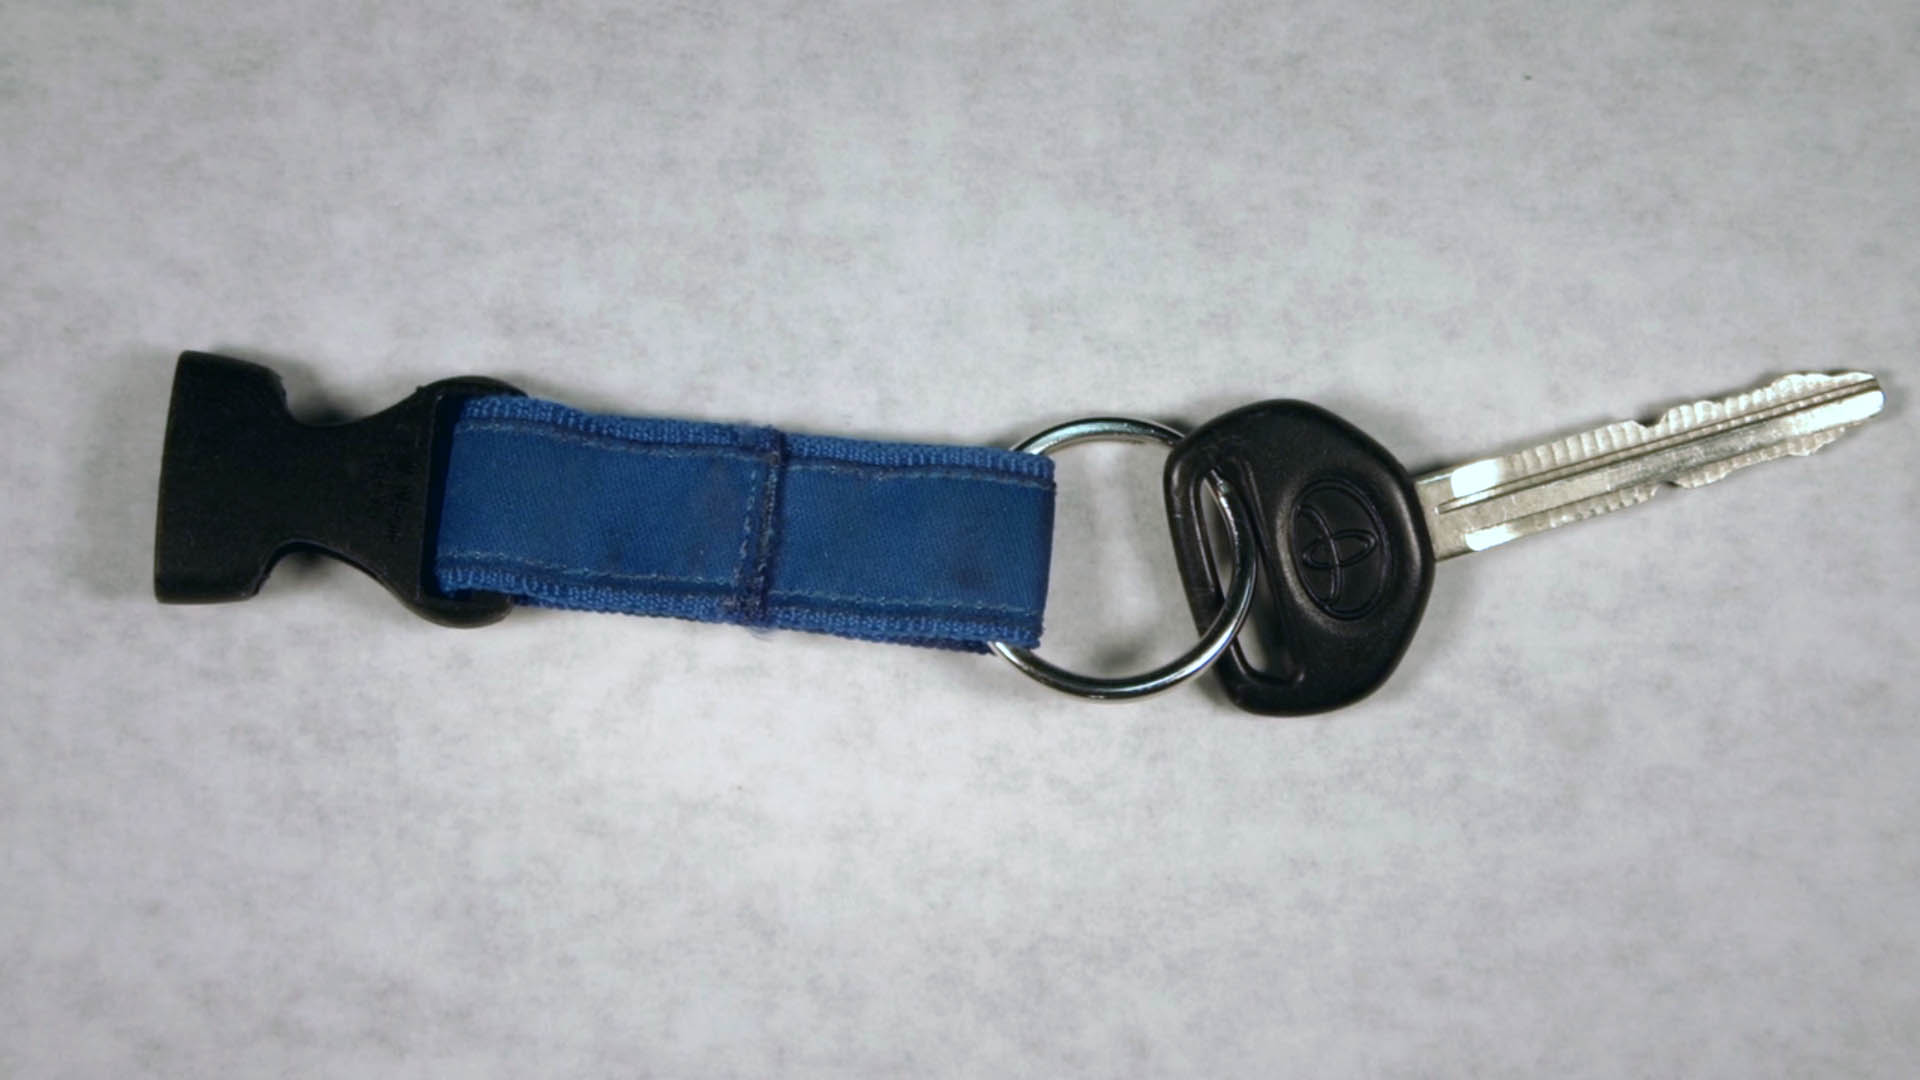
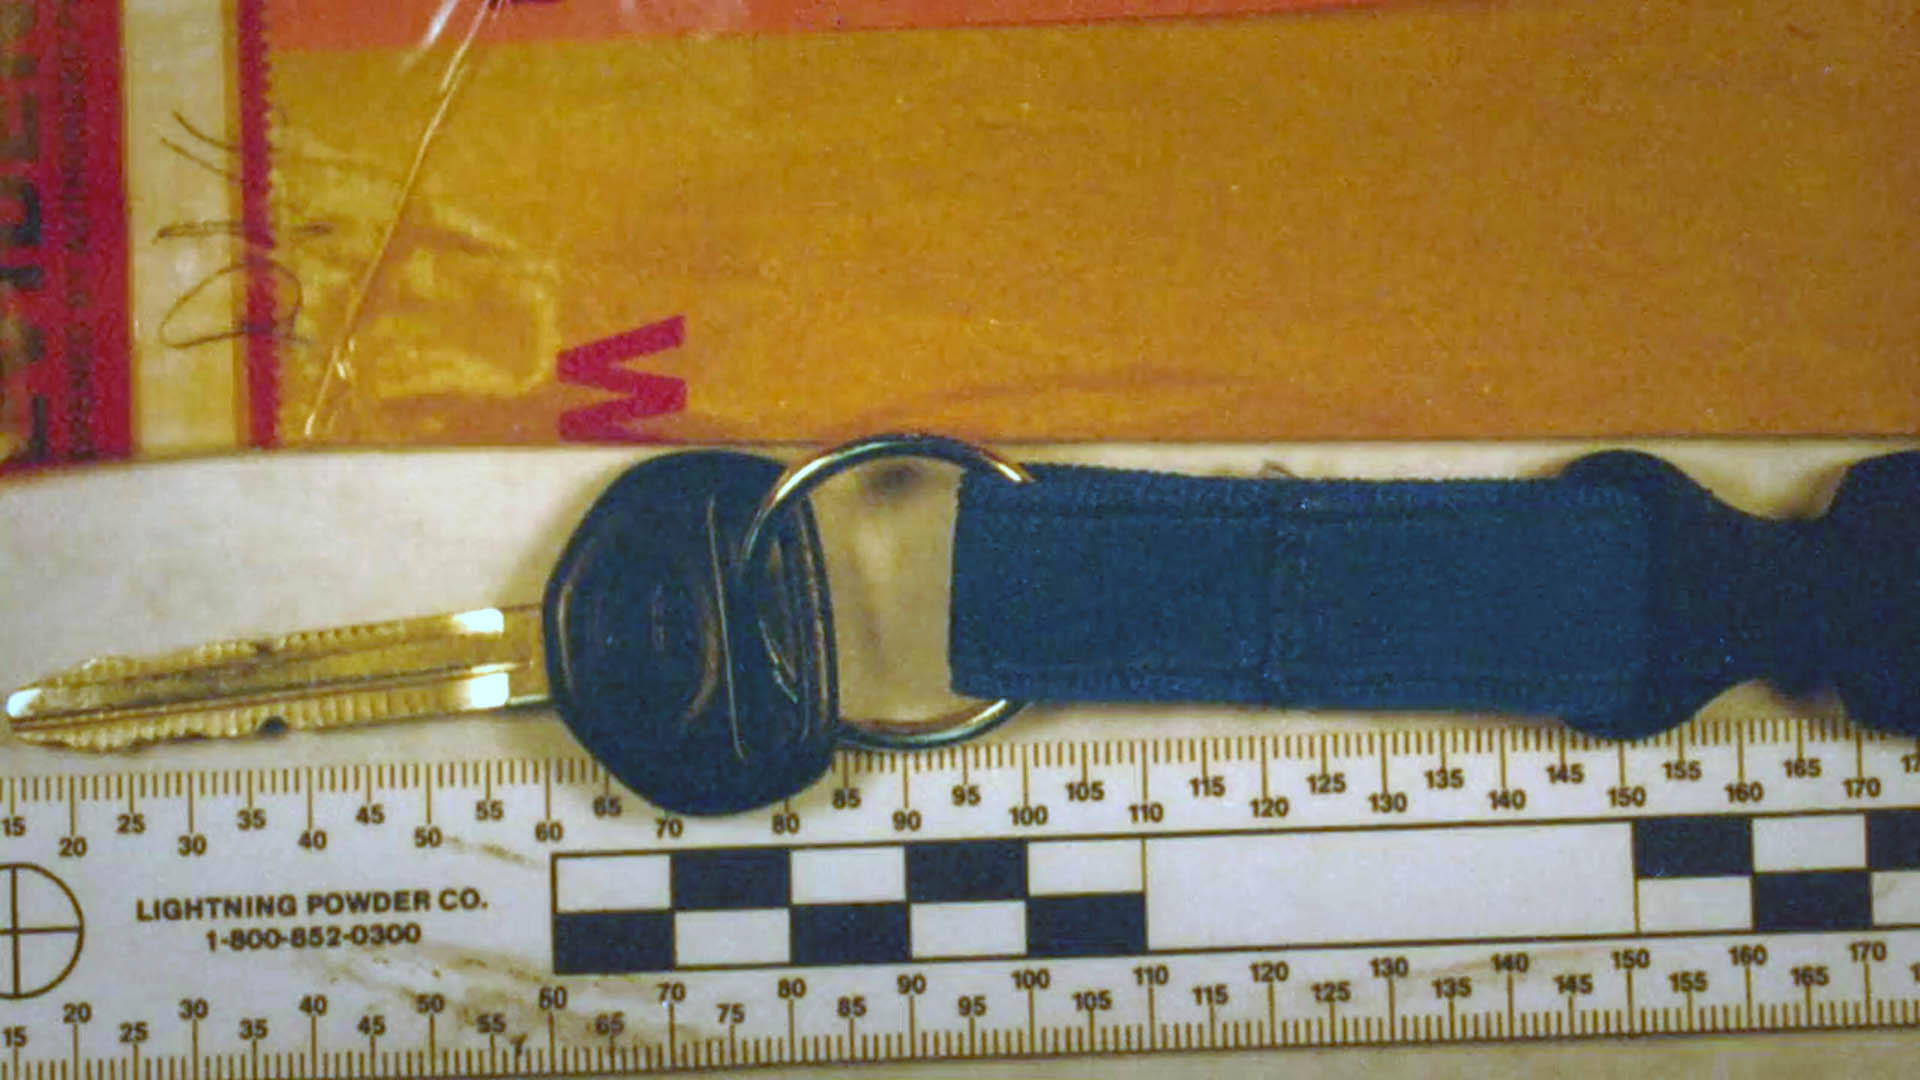
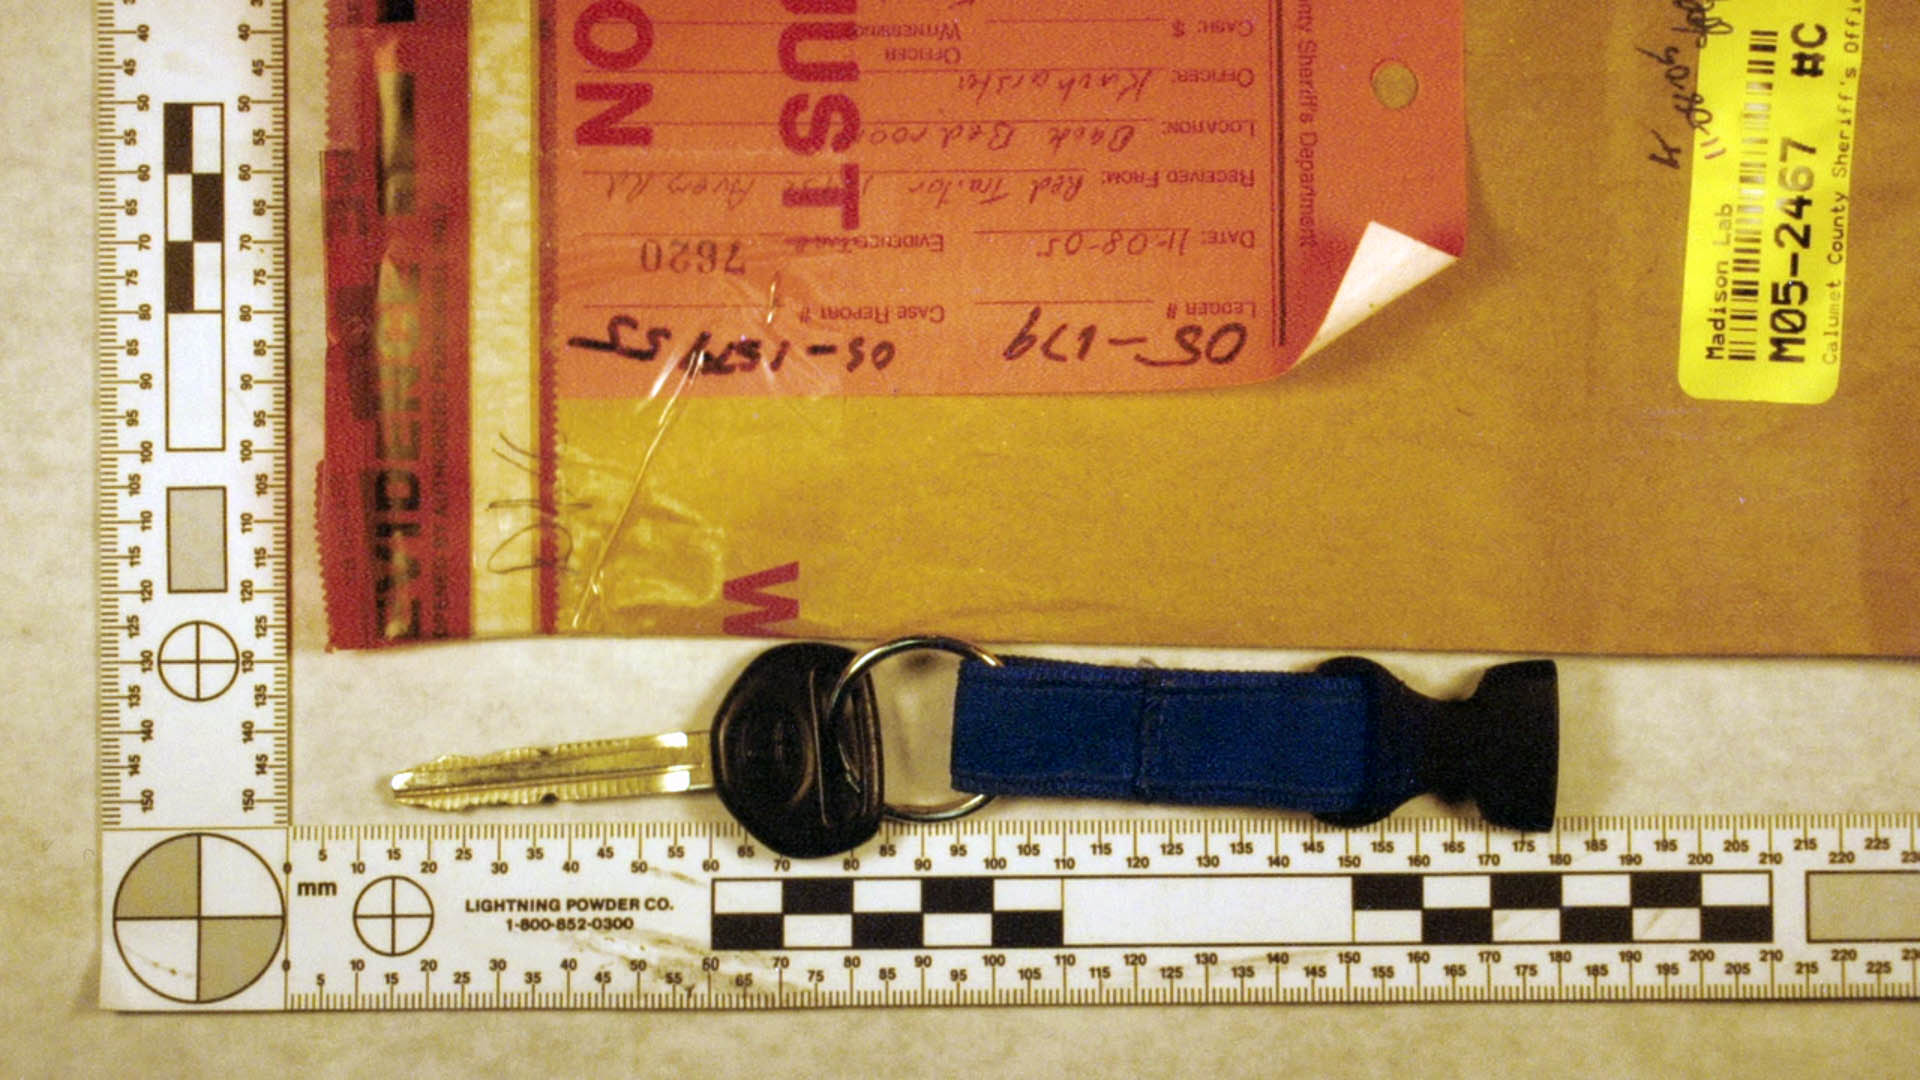
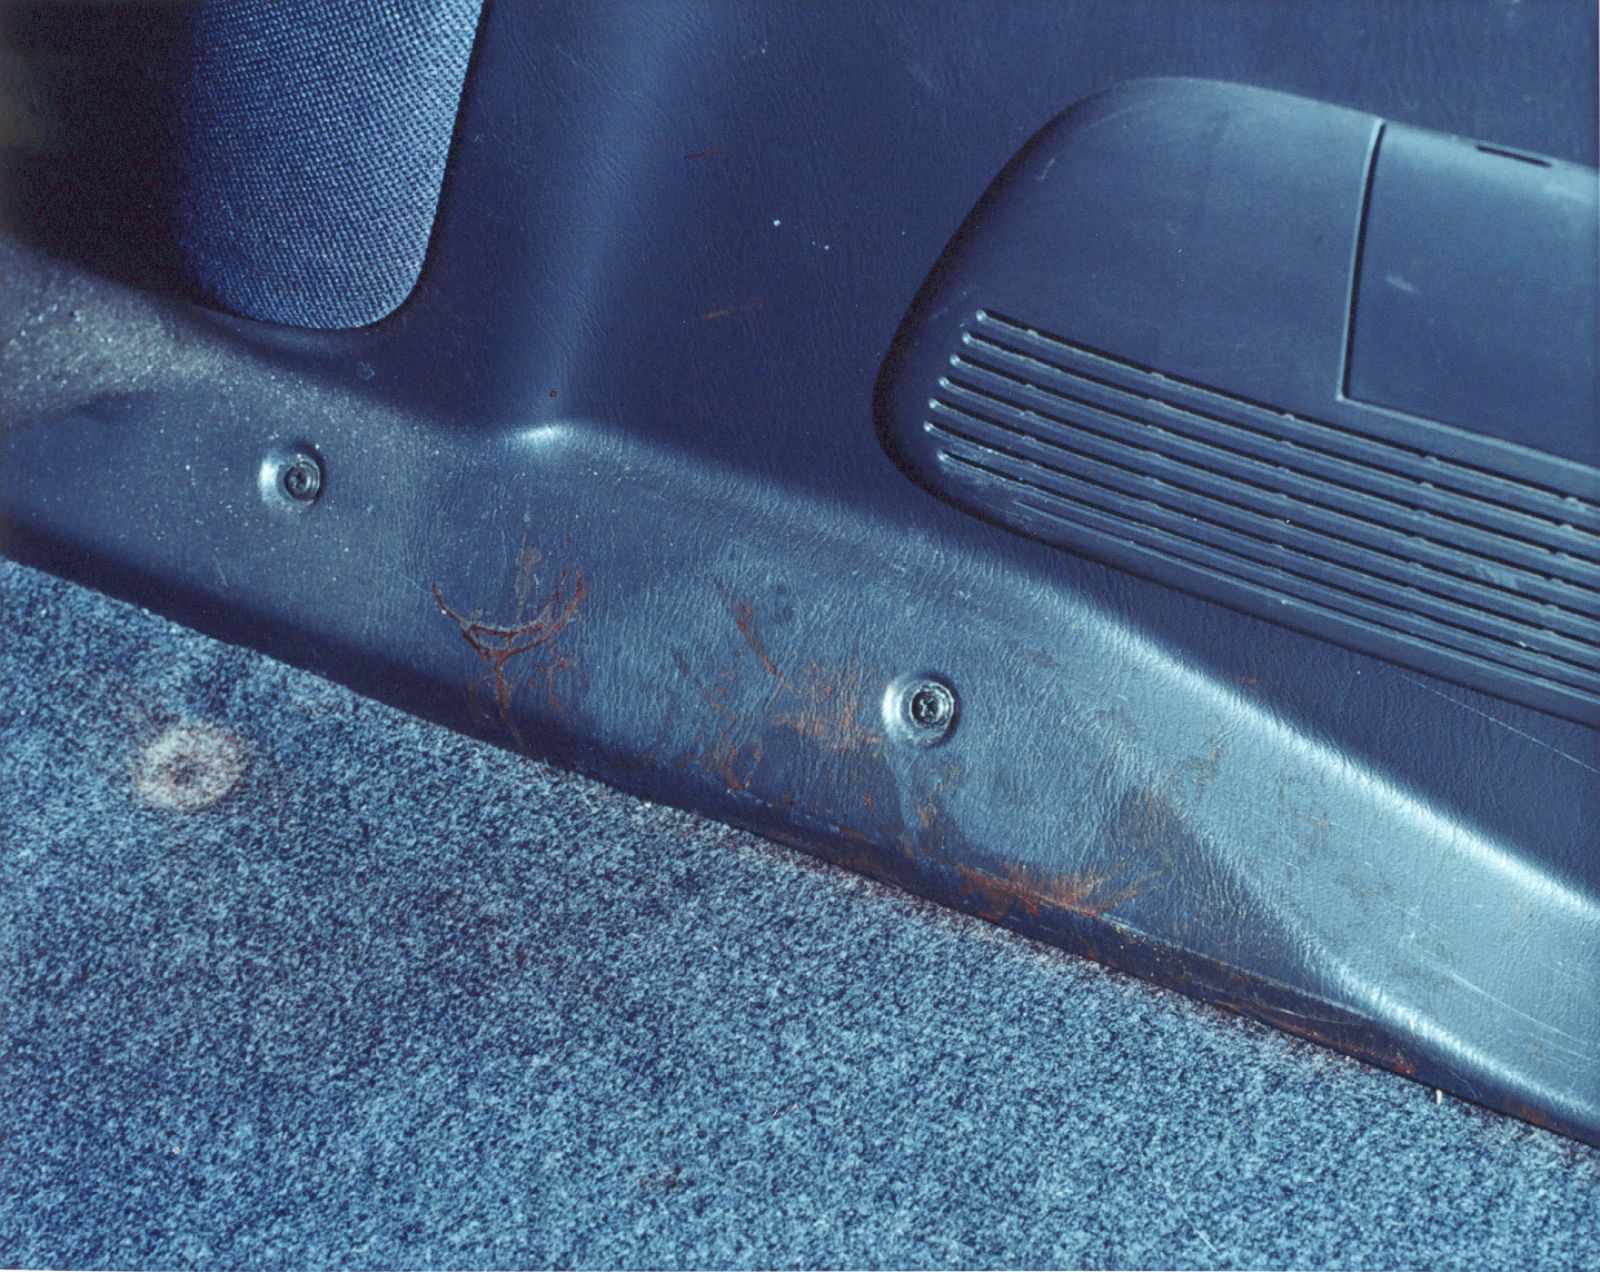
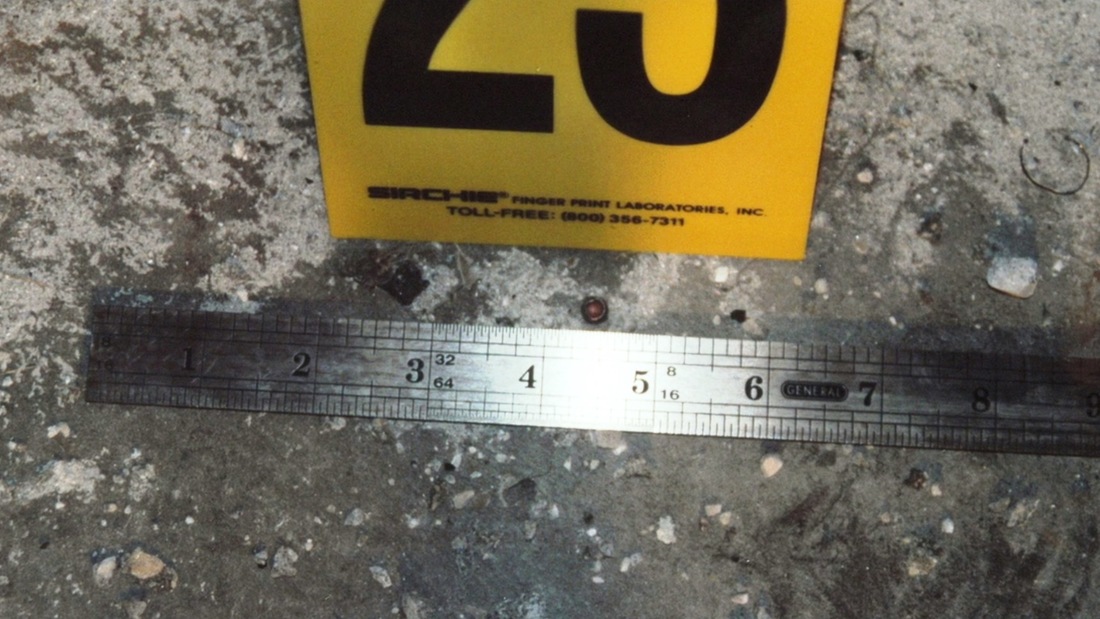
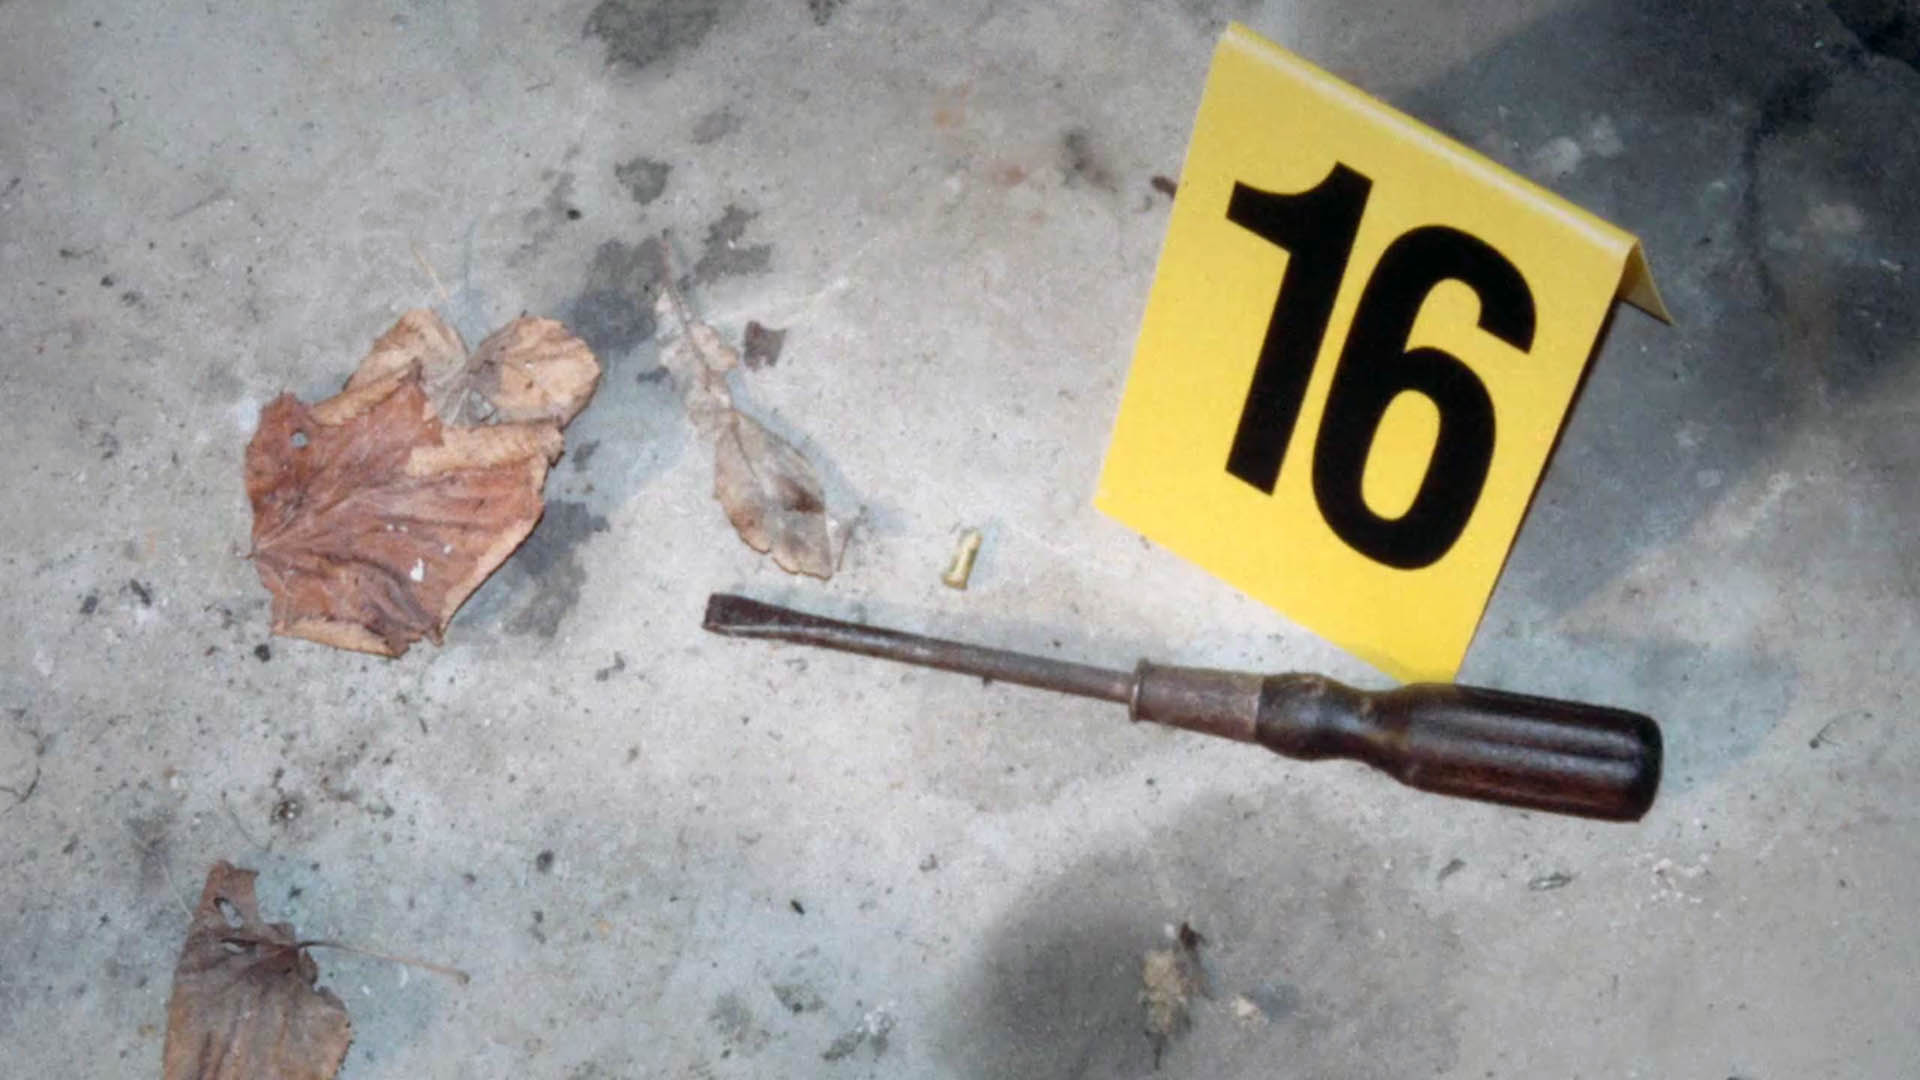
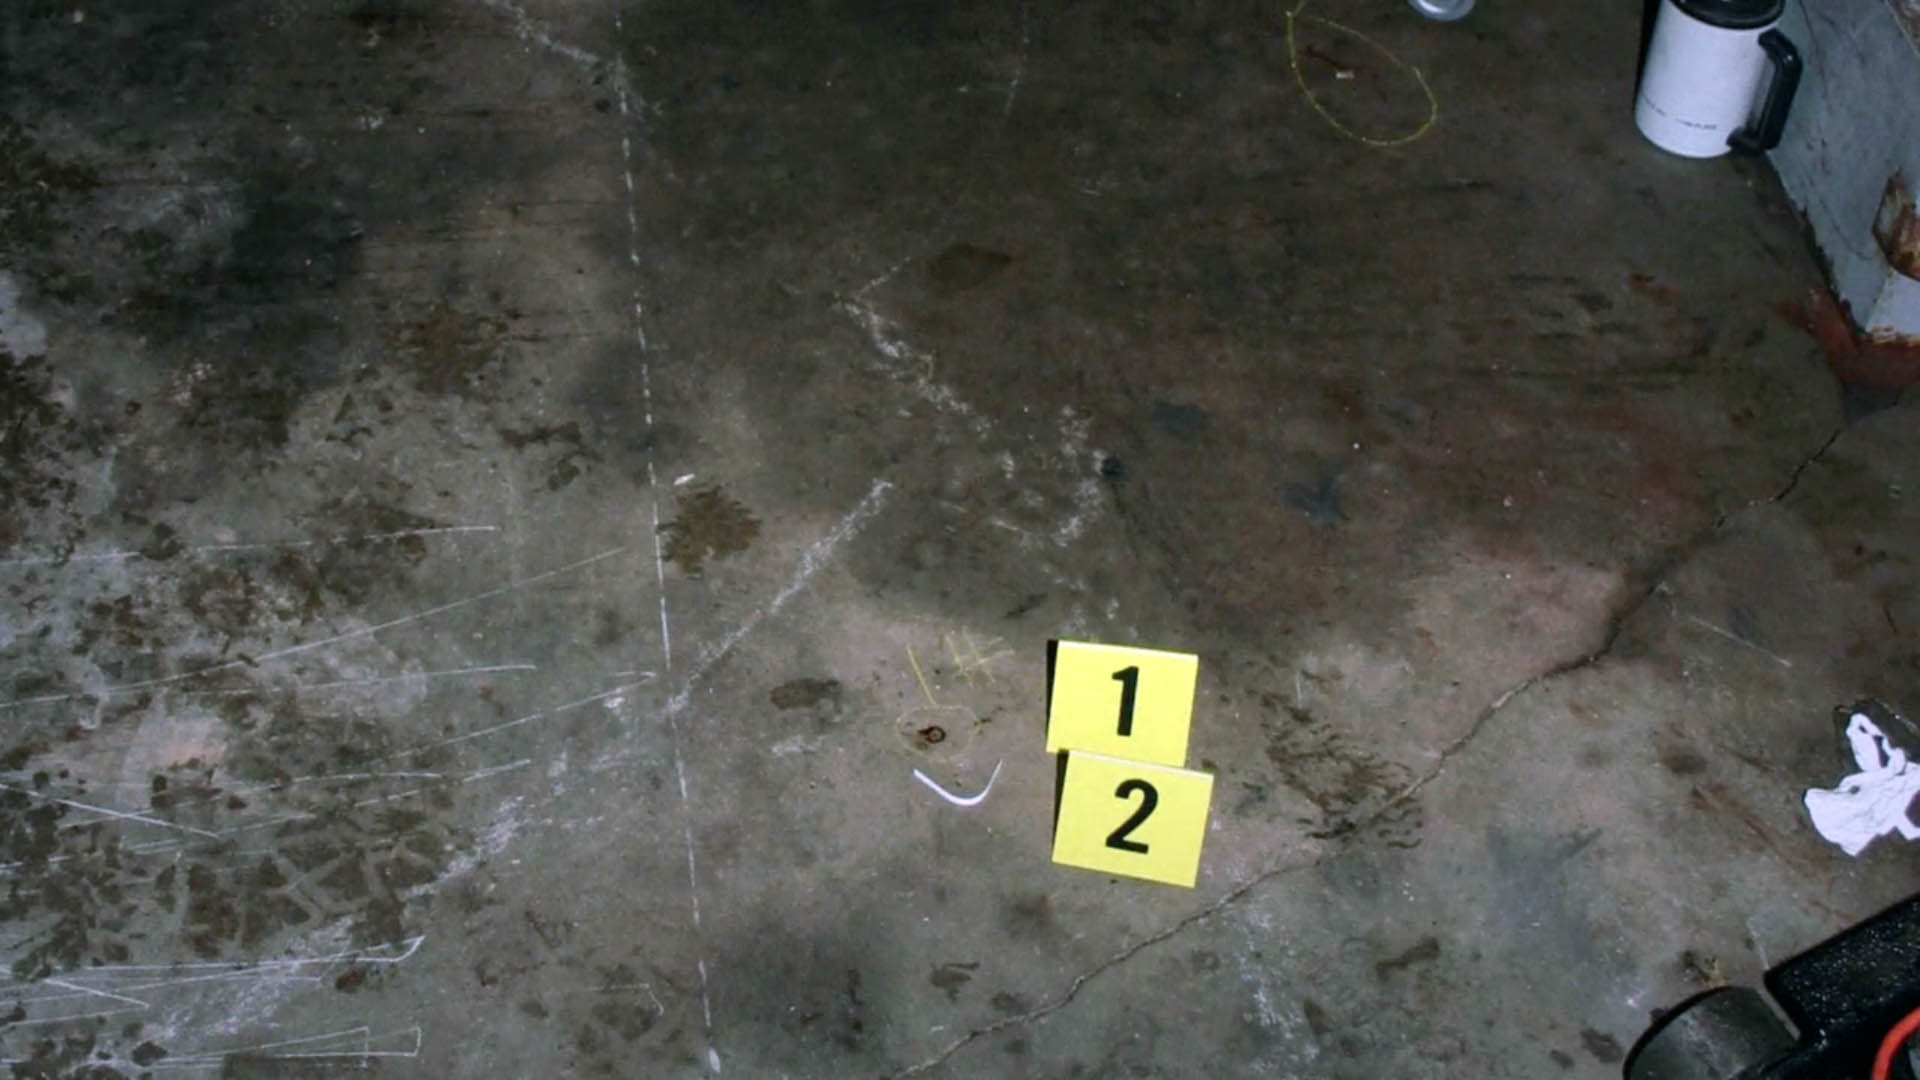
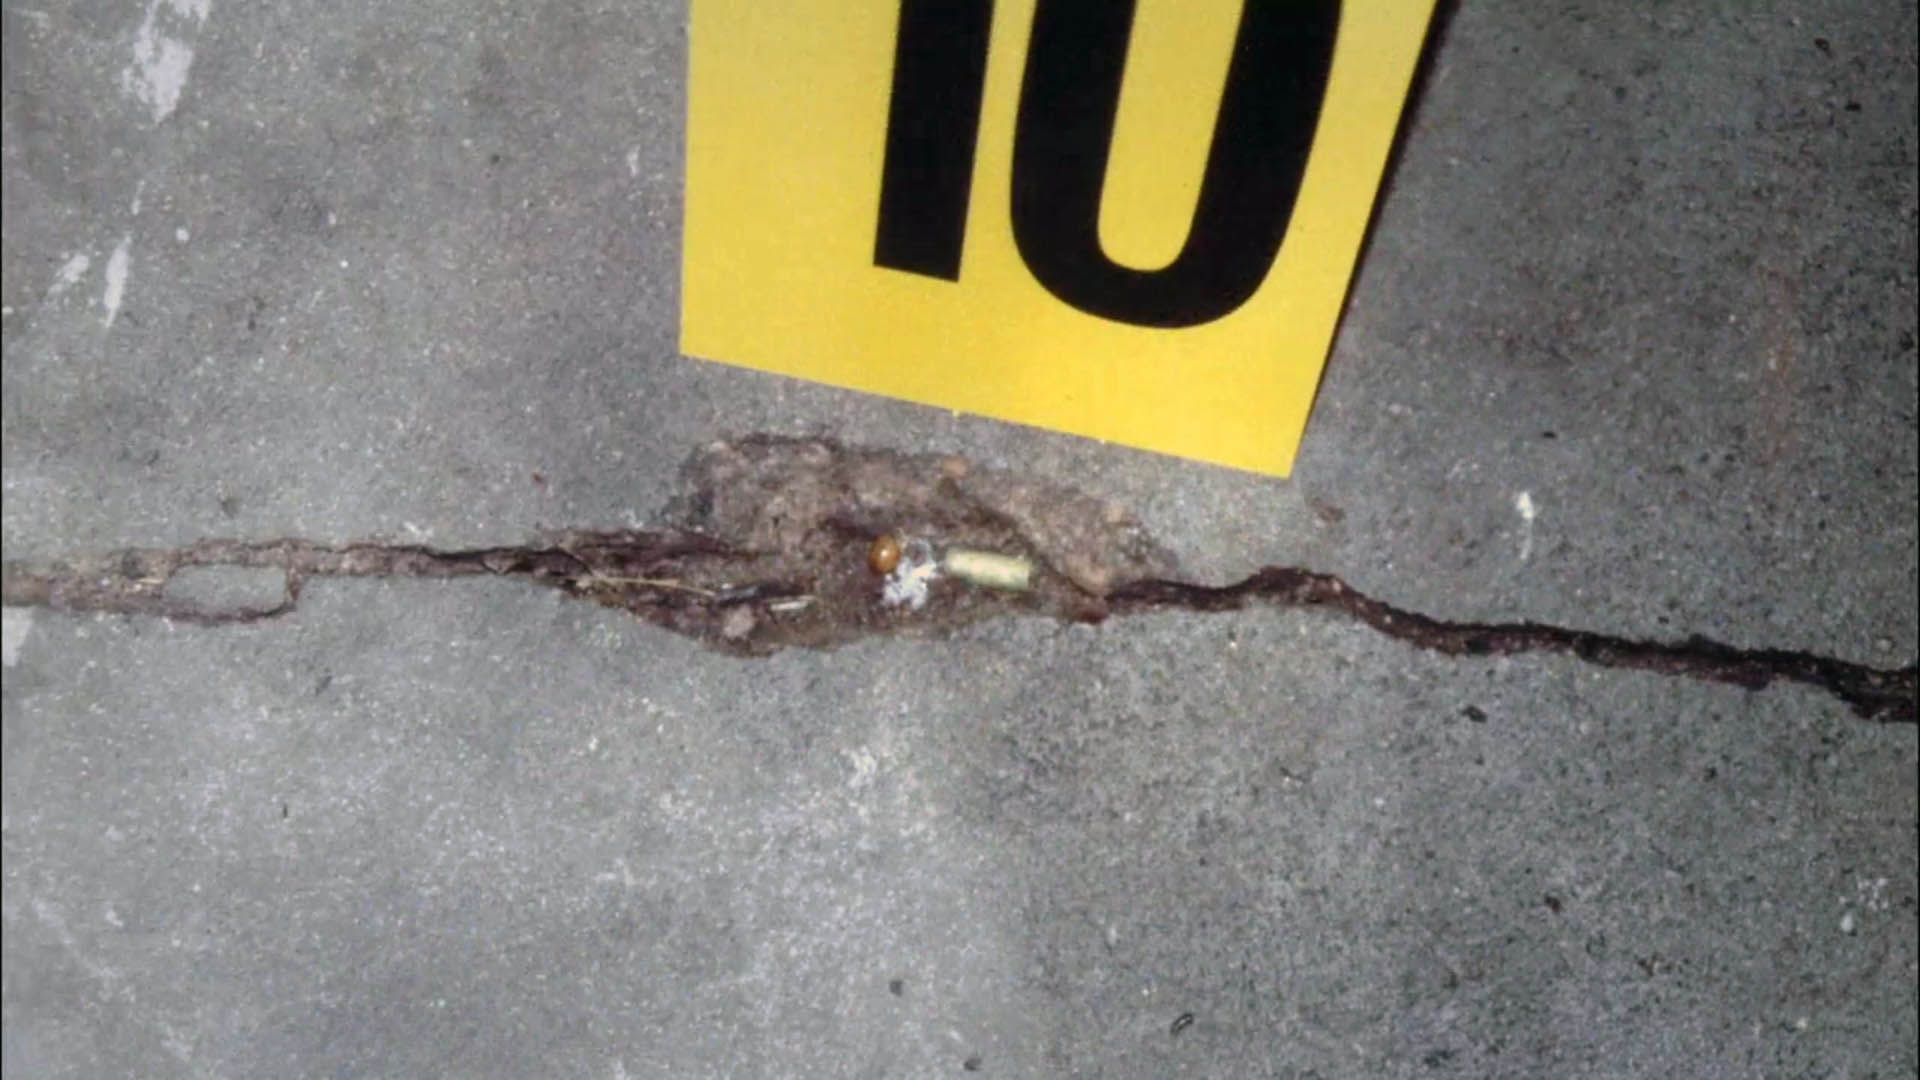
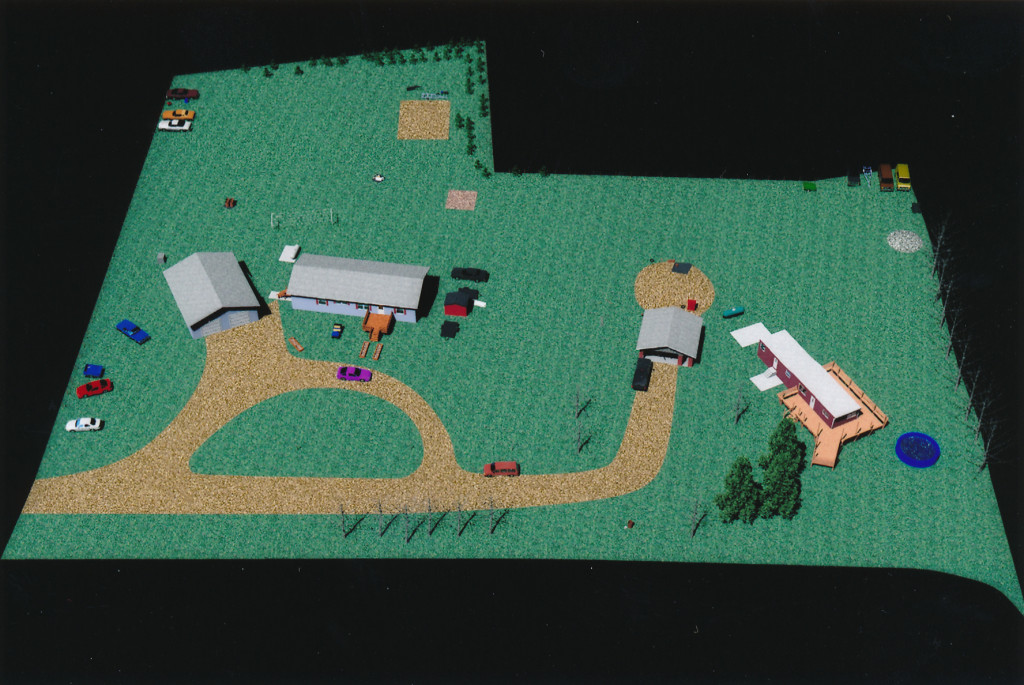
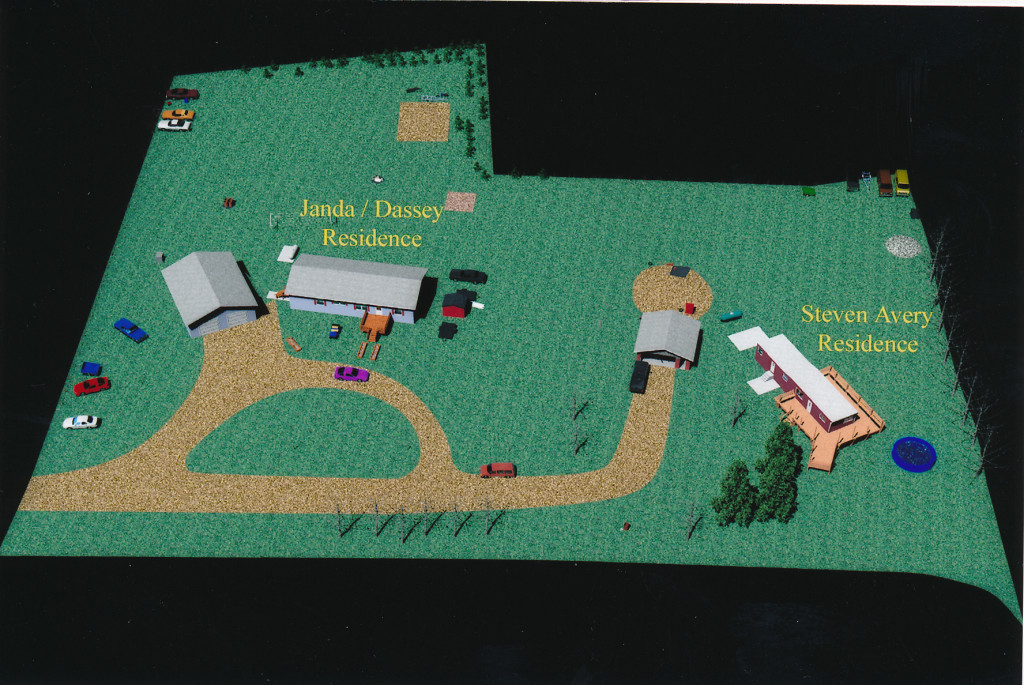
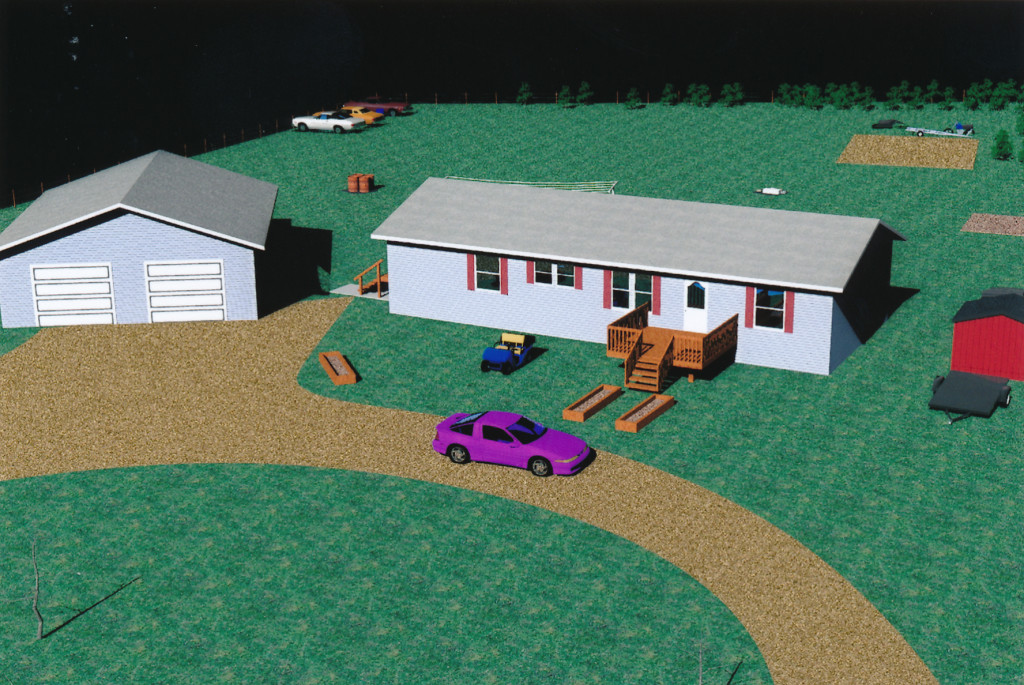
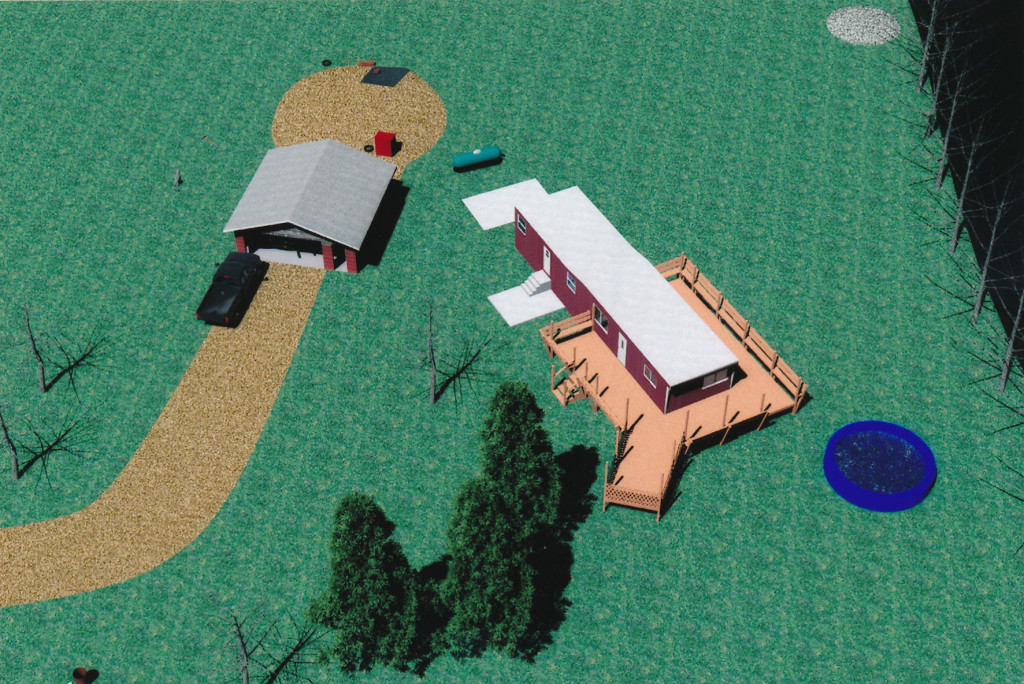
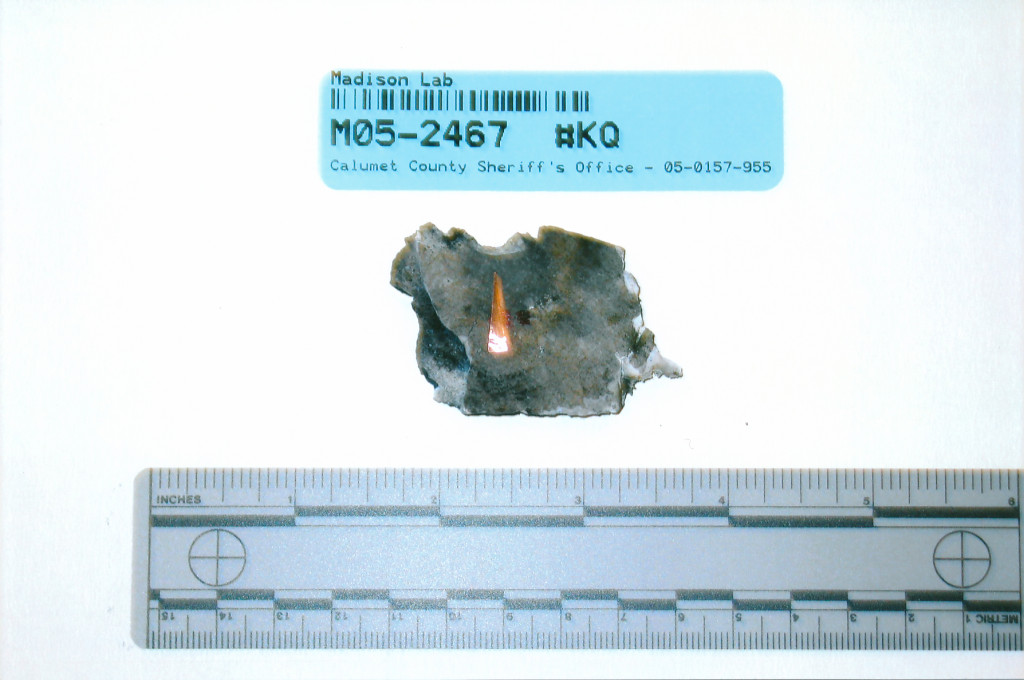
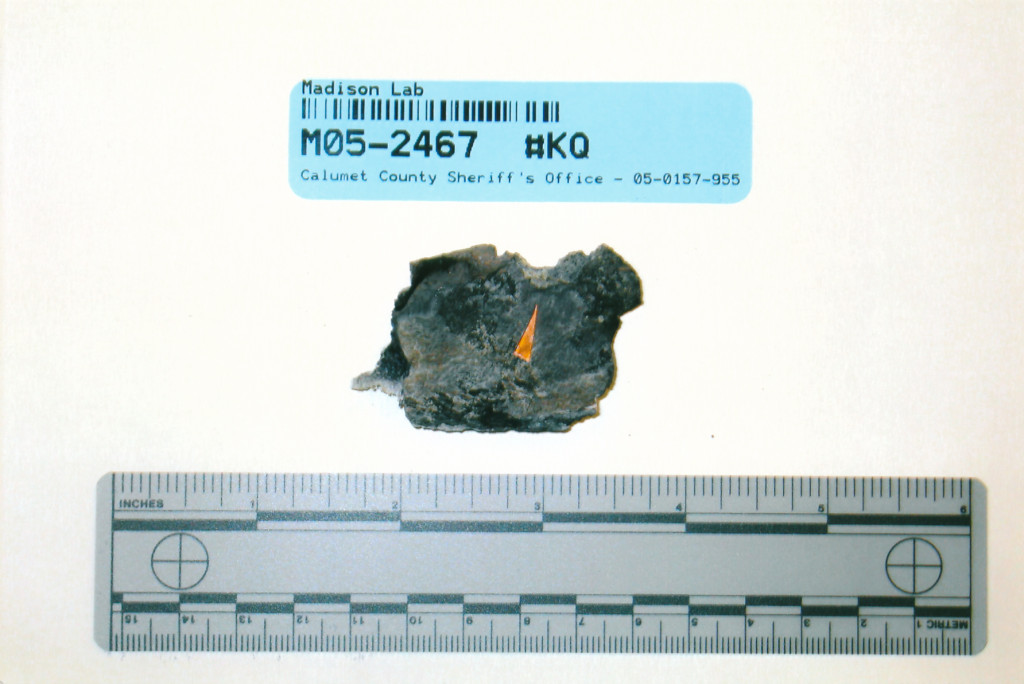
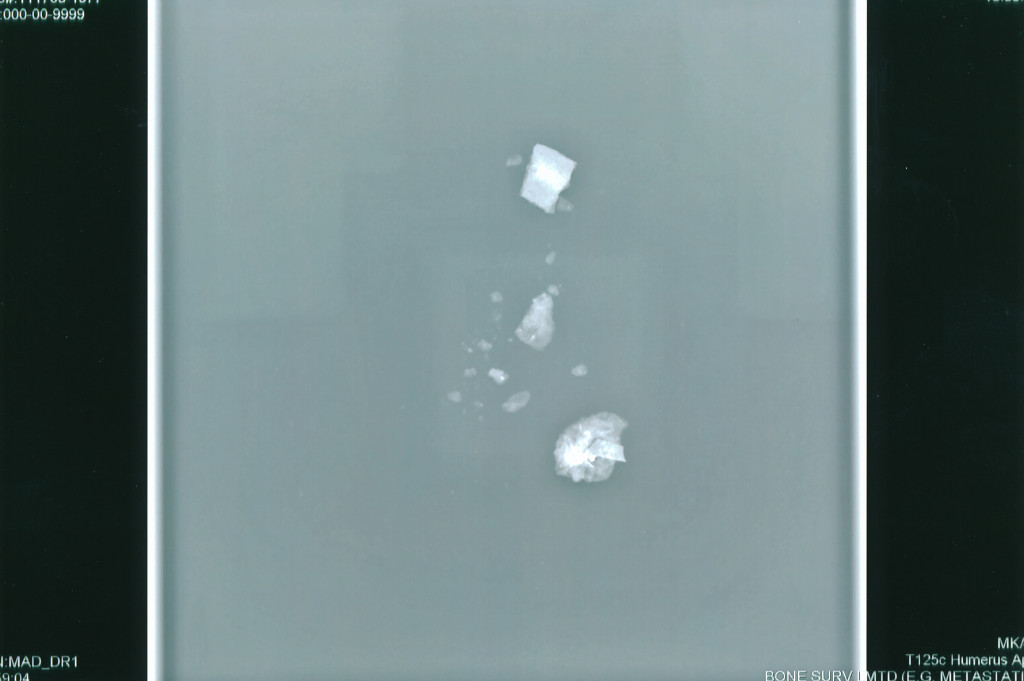
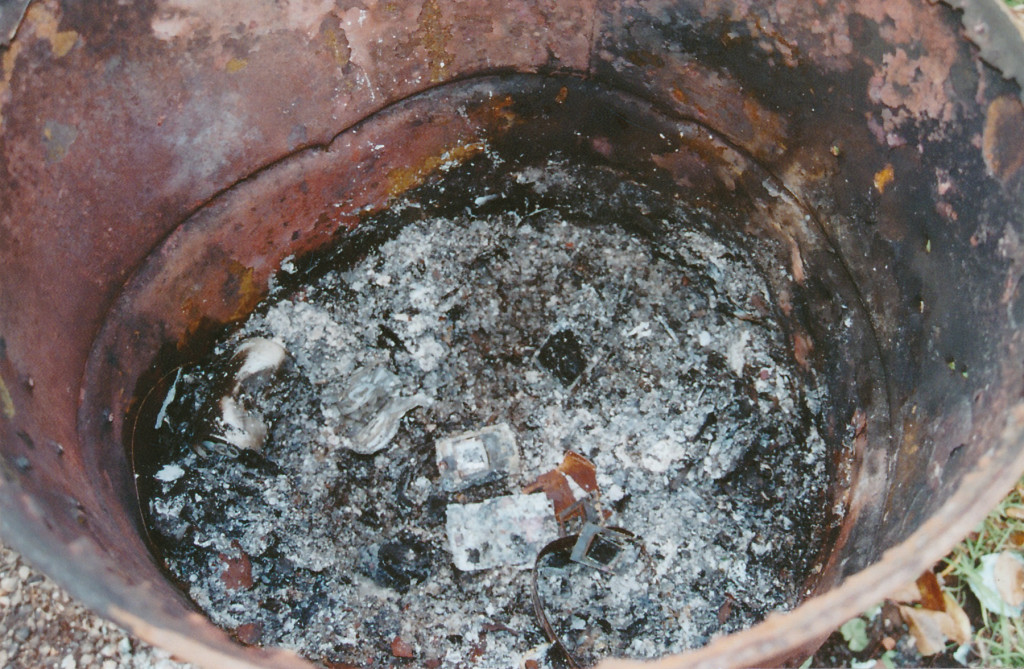
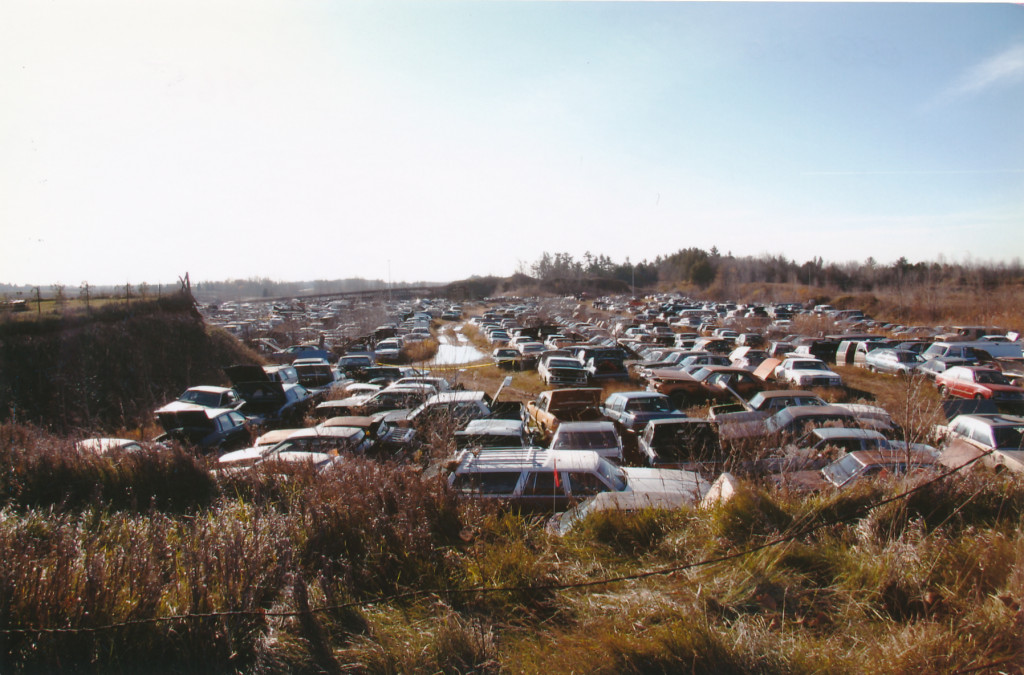
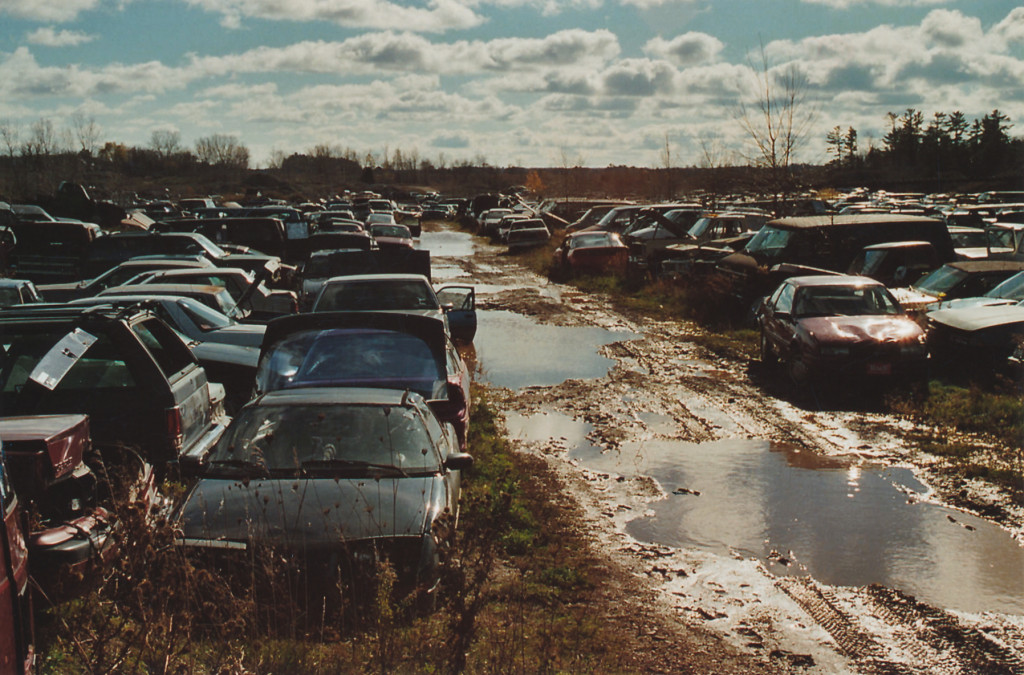
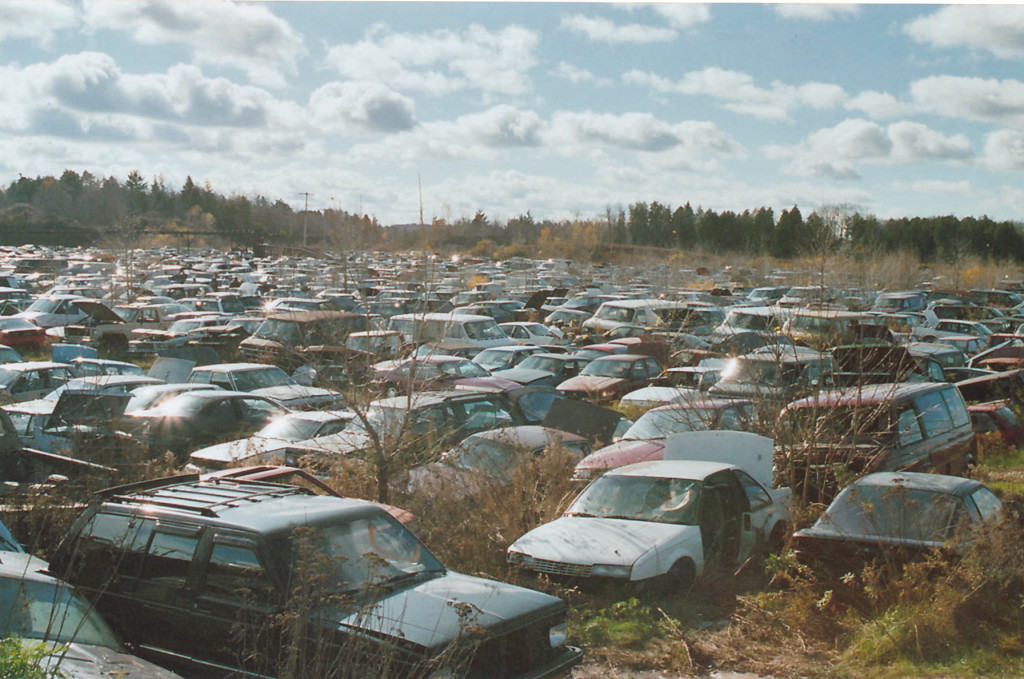
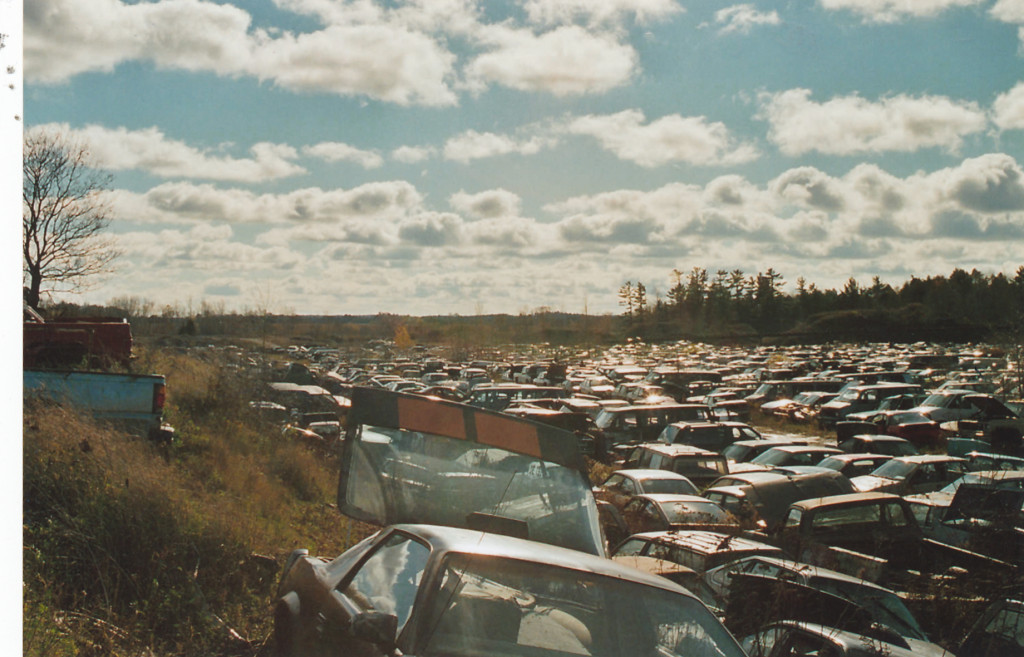
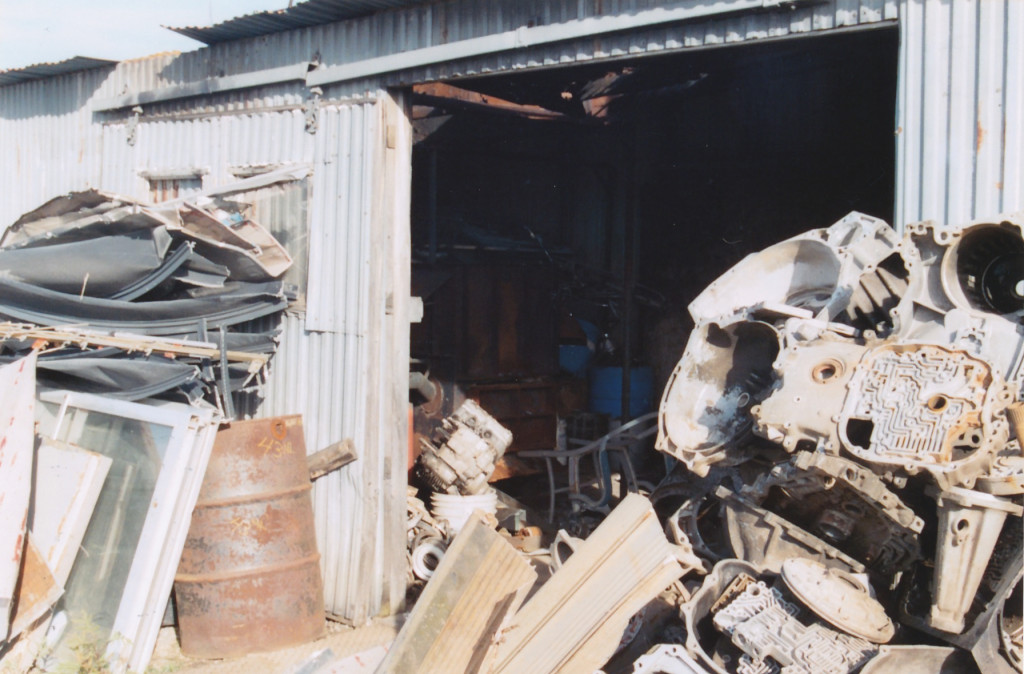
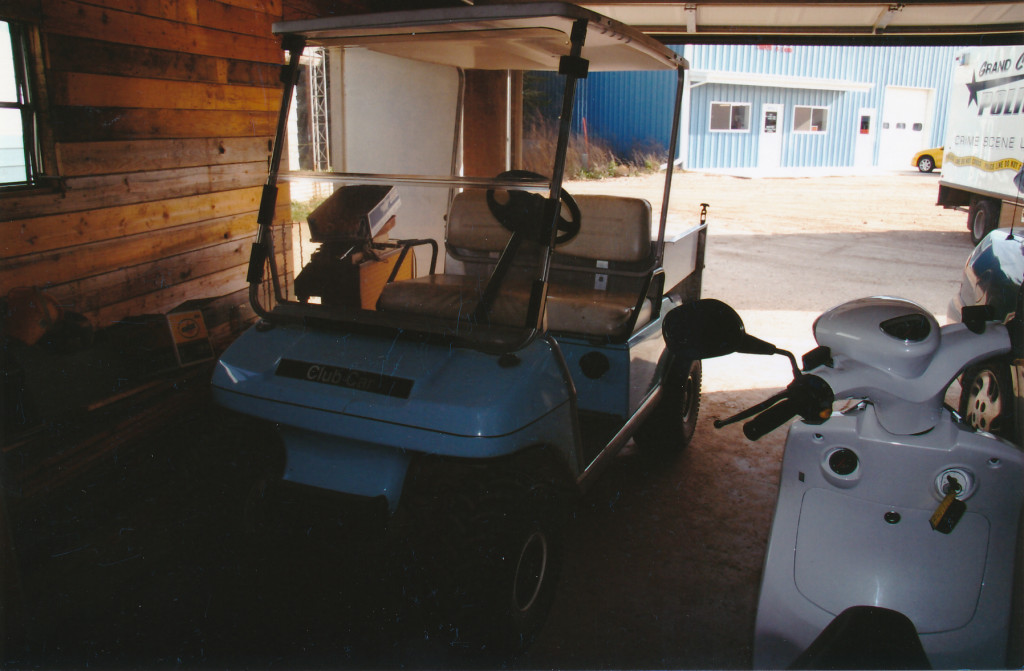
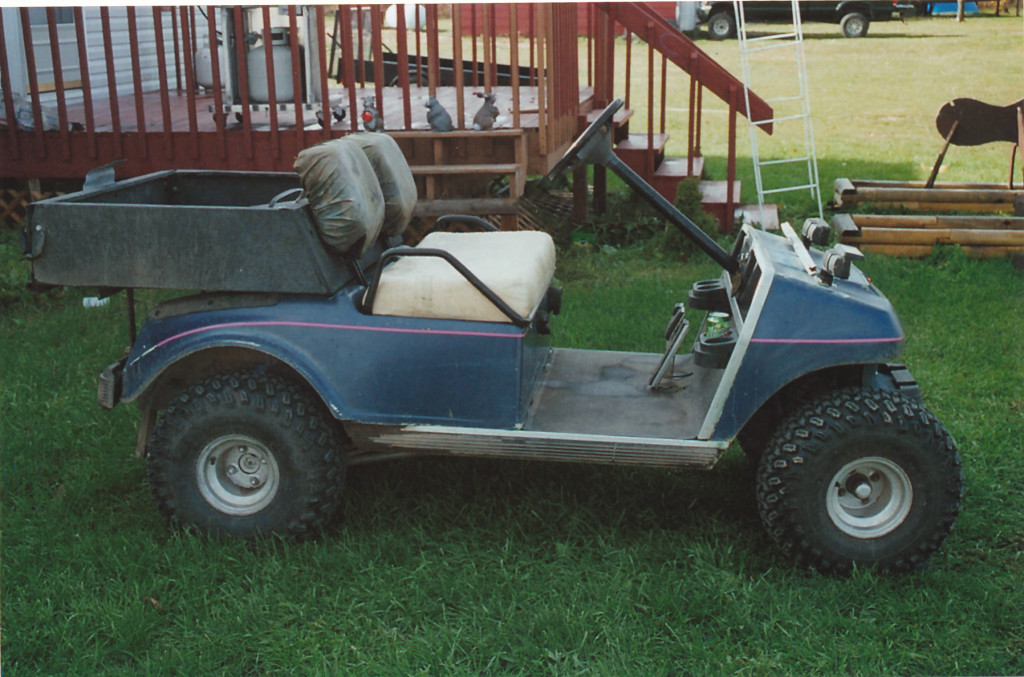
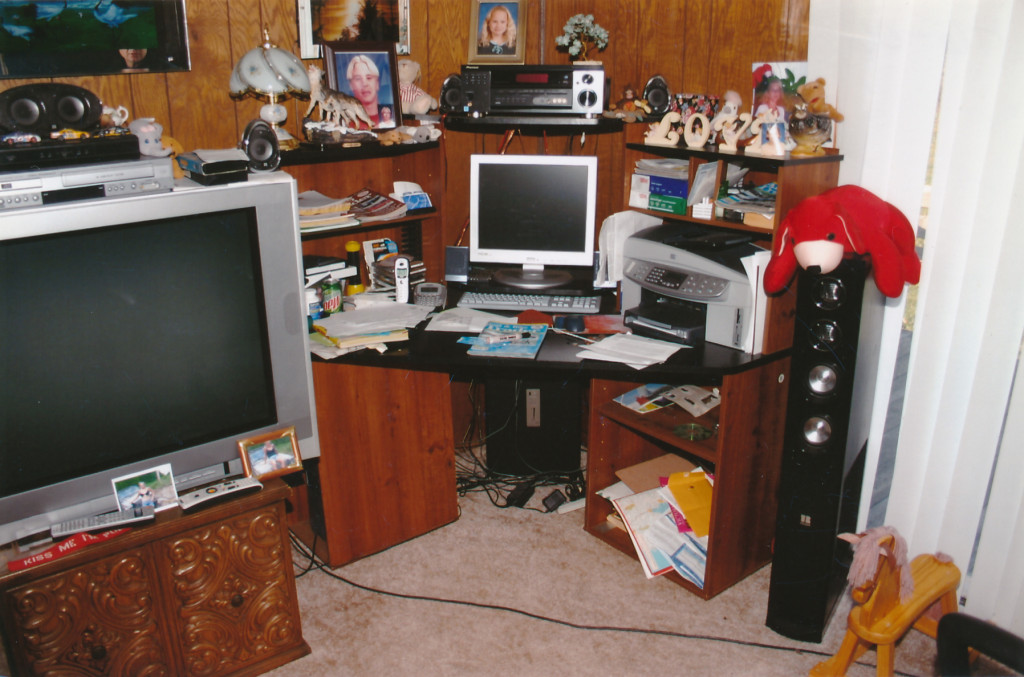
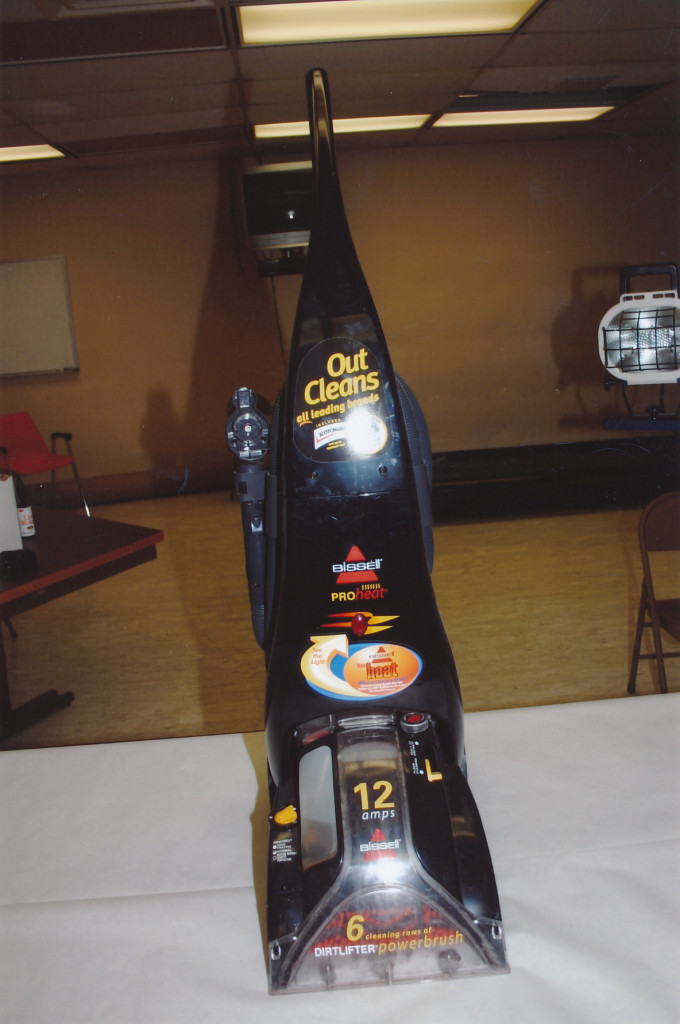
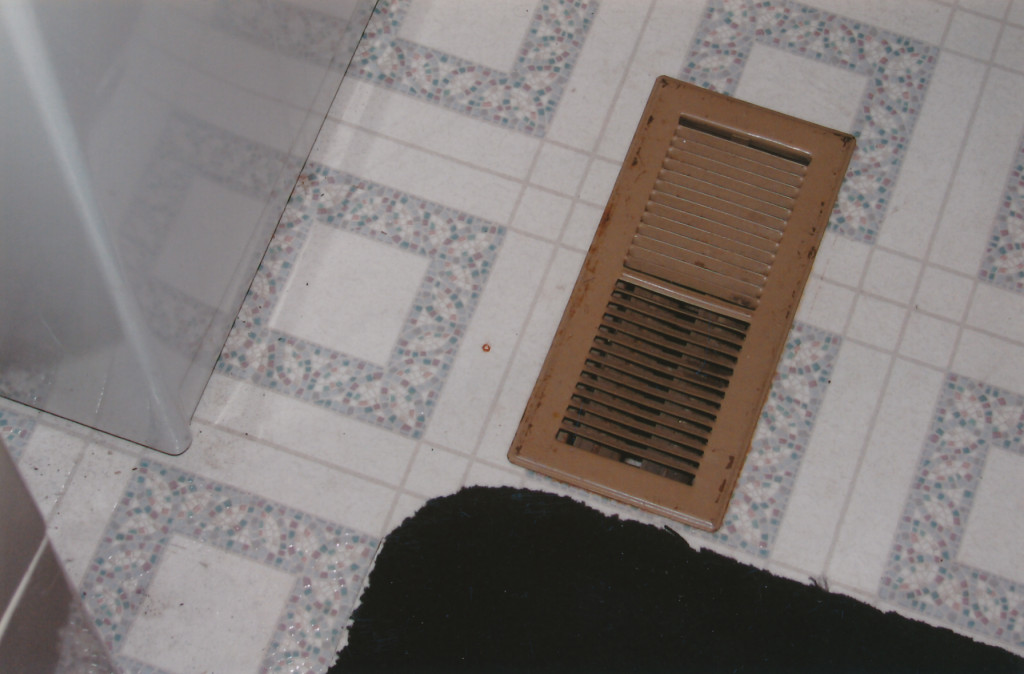
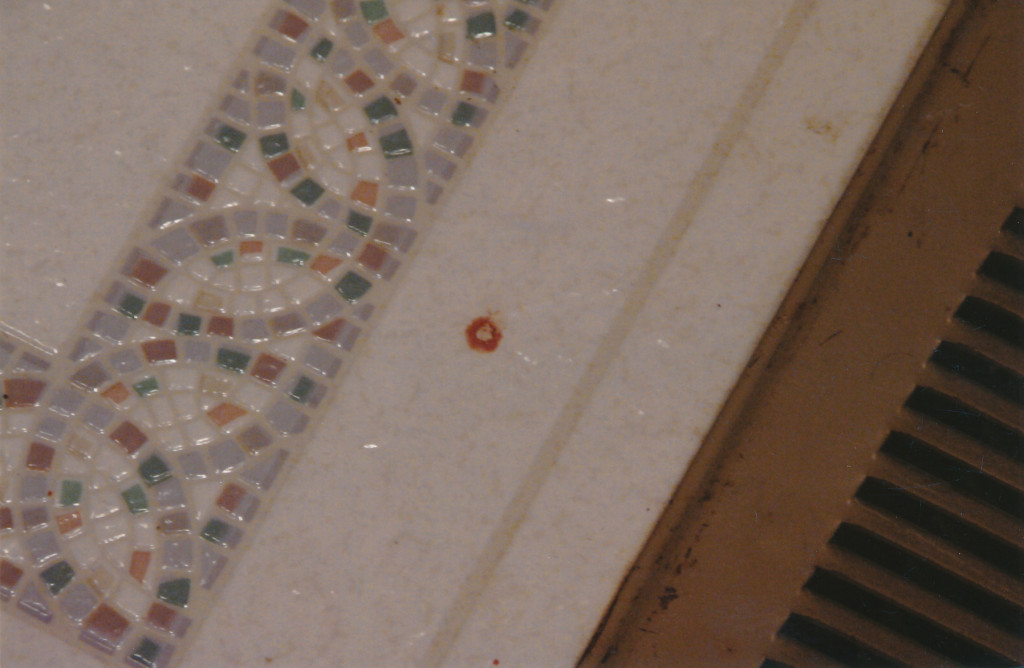
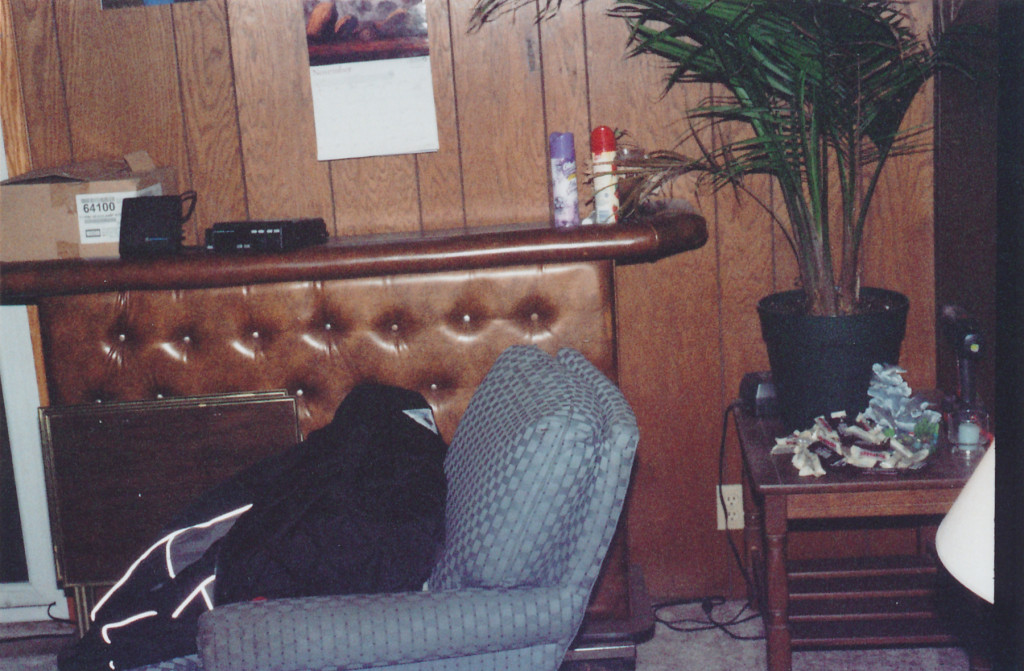
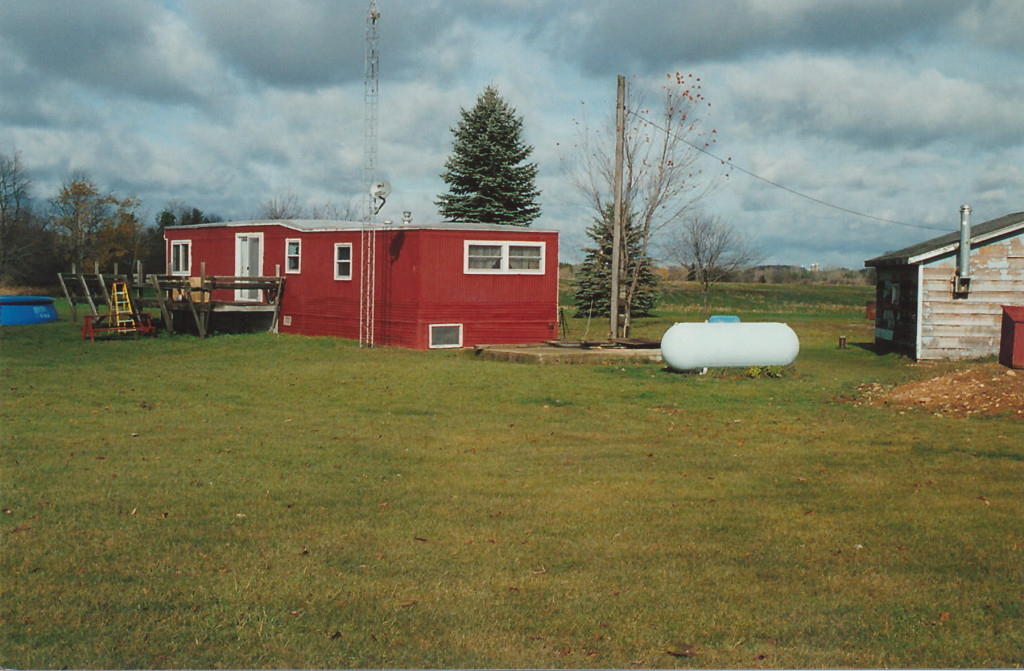
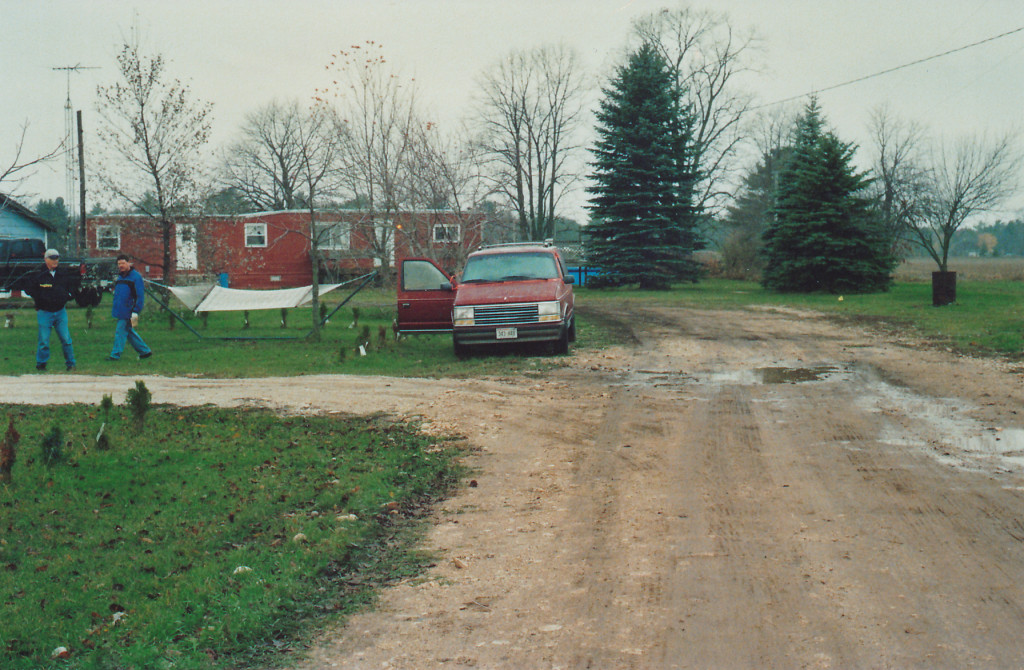
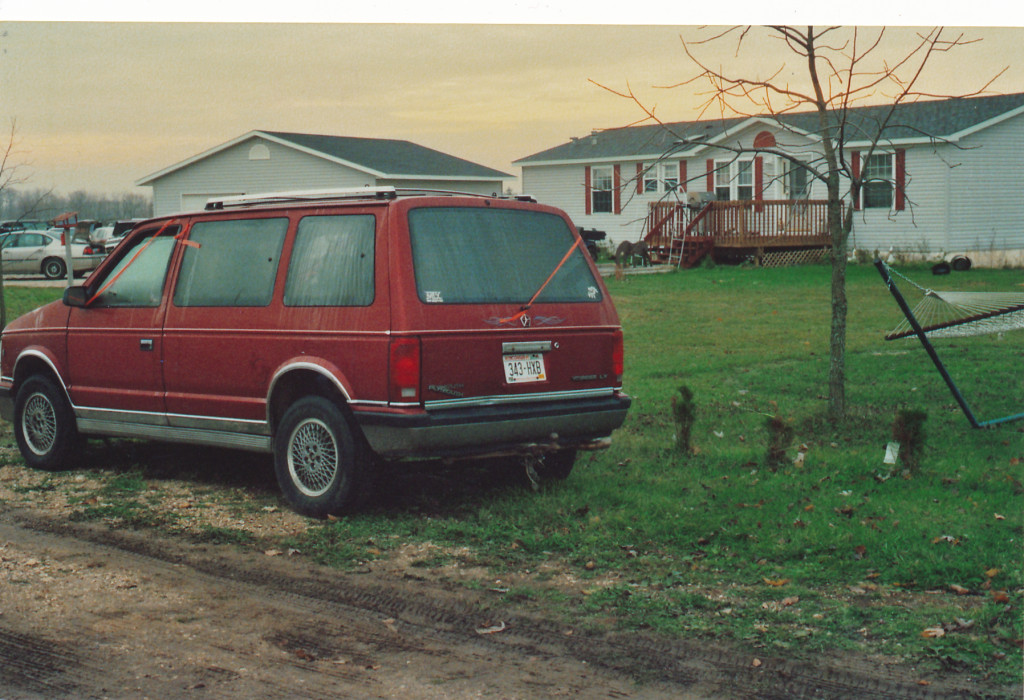
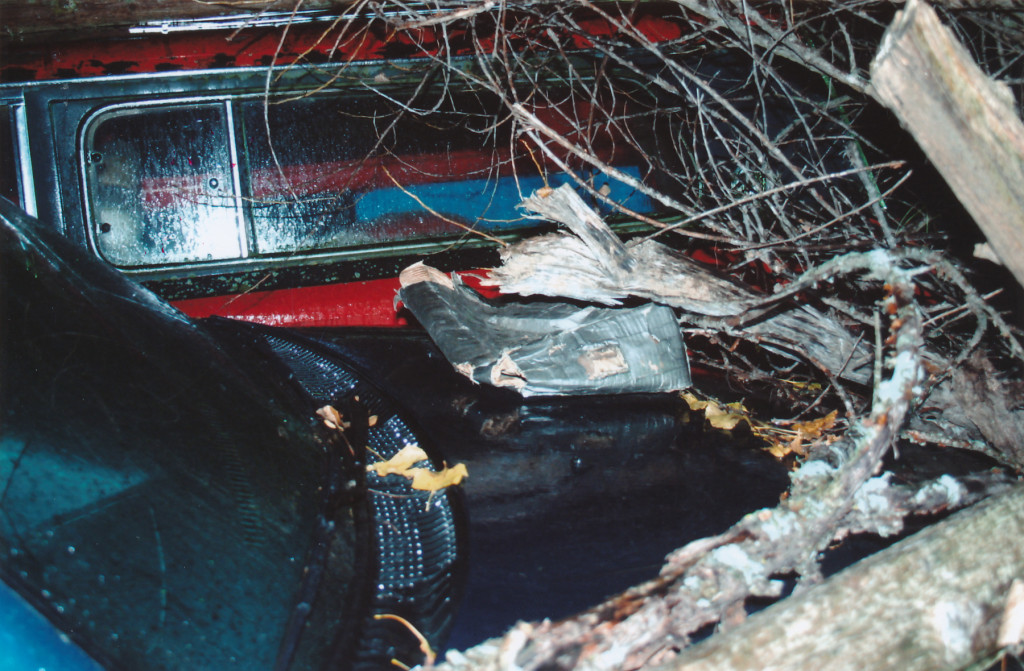
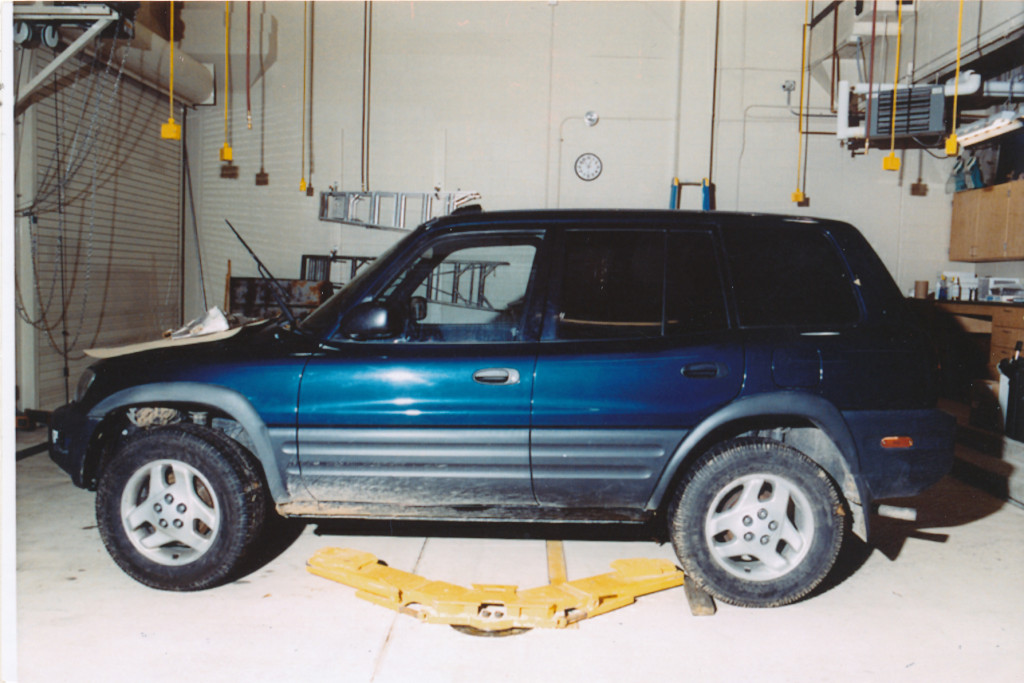
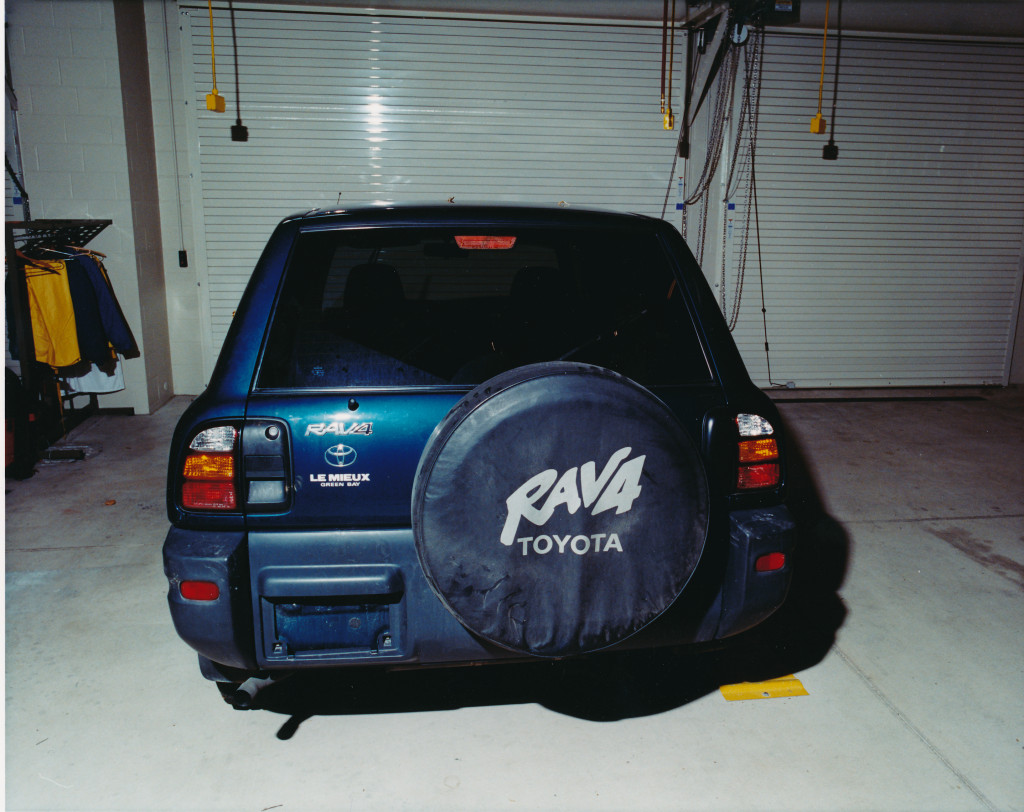
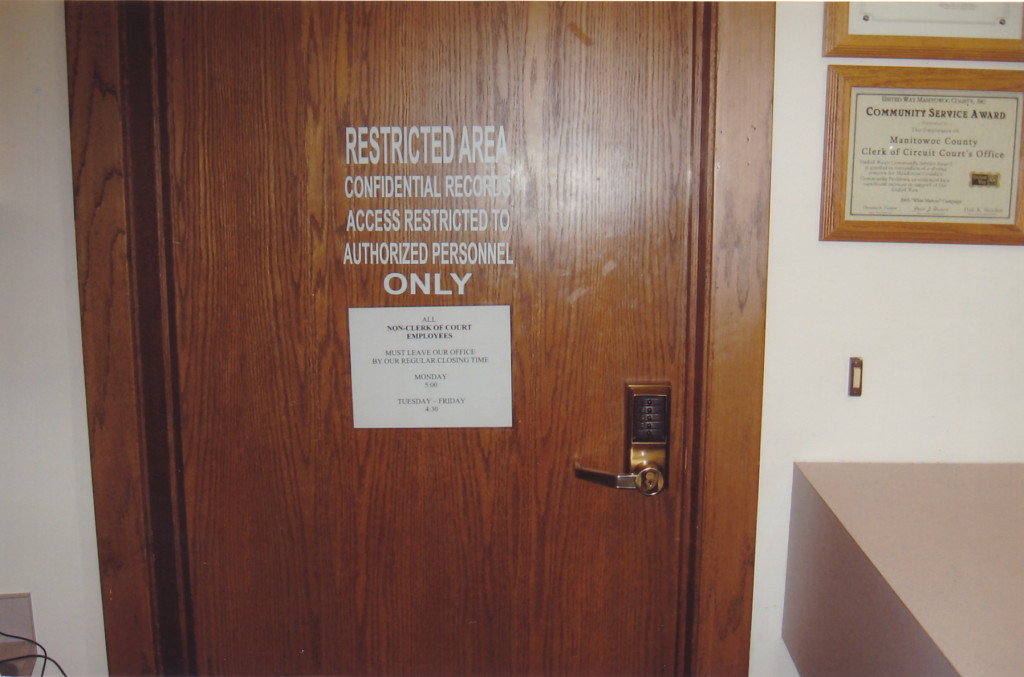
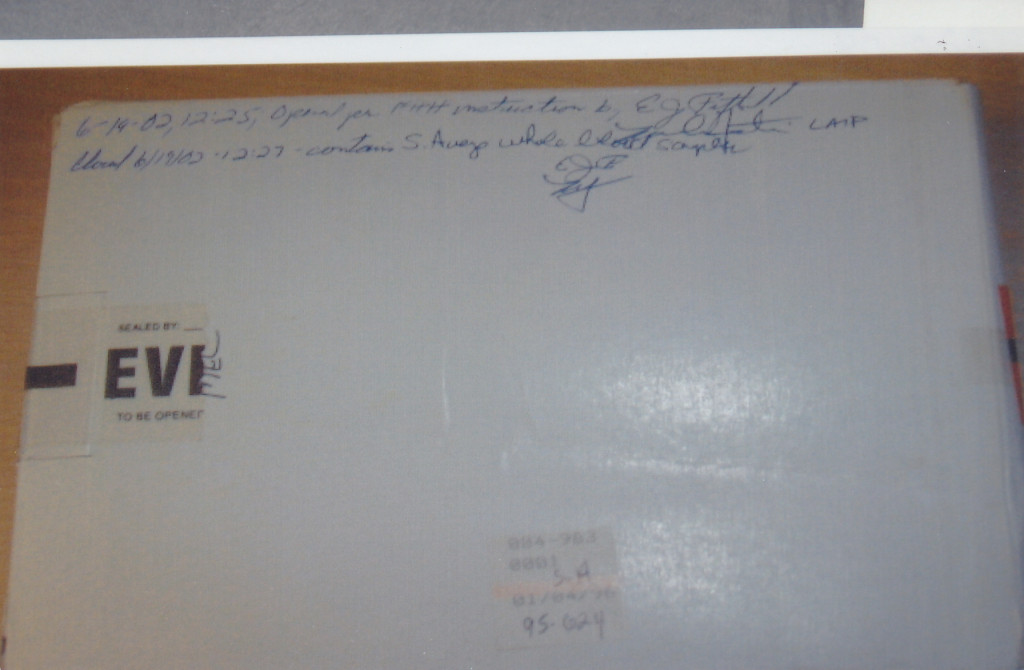
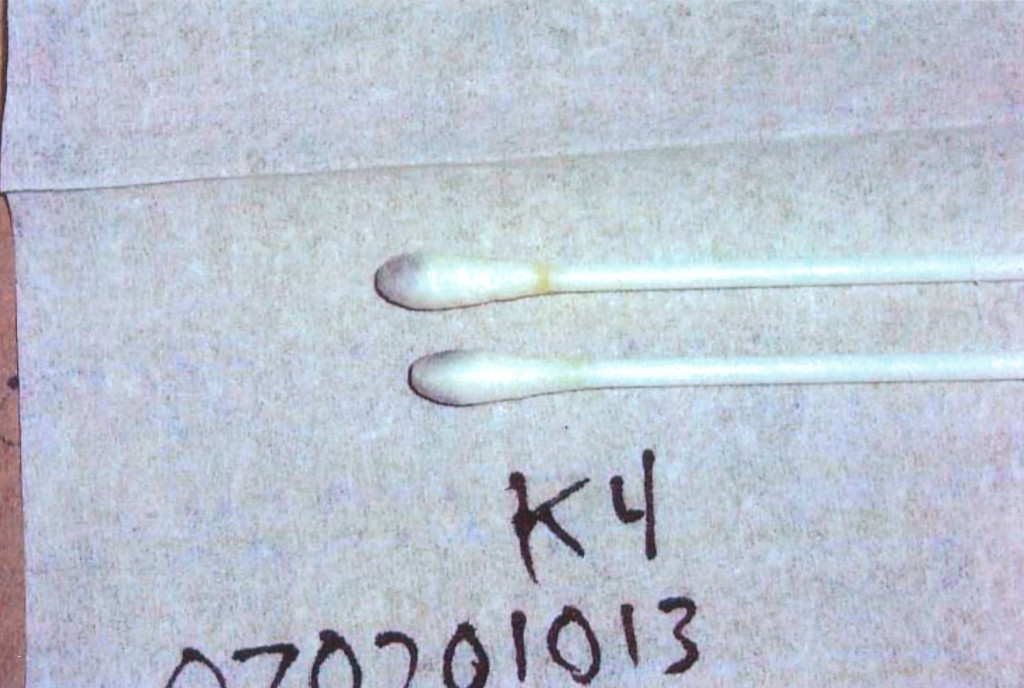
Here are a lot more evidence photos (220 total!) from the Steven Avery Case. These photos are posted on stevenaverycase.org which was created by Skipp Topp and friends in January 2016. All of the evidence and transcripts they obtained are from donors and sponsors who helped pay for all of the files. I highly recommend you visiting them and take a look at all the documents they have concerning this trial.

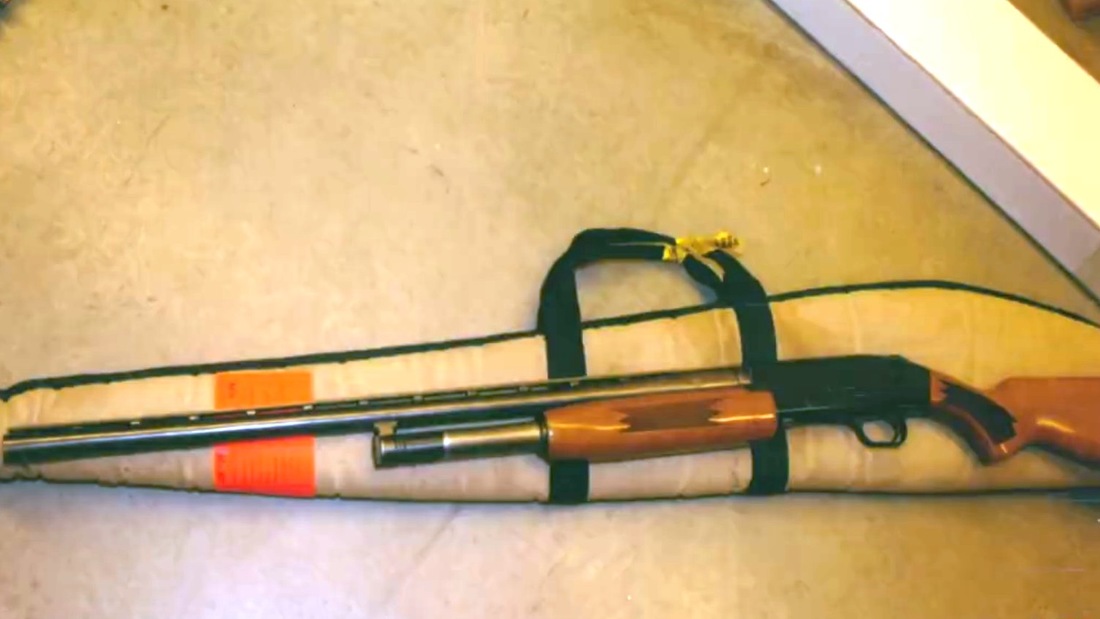
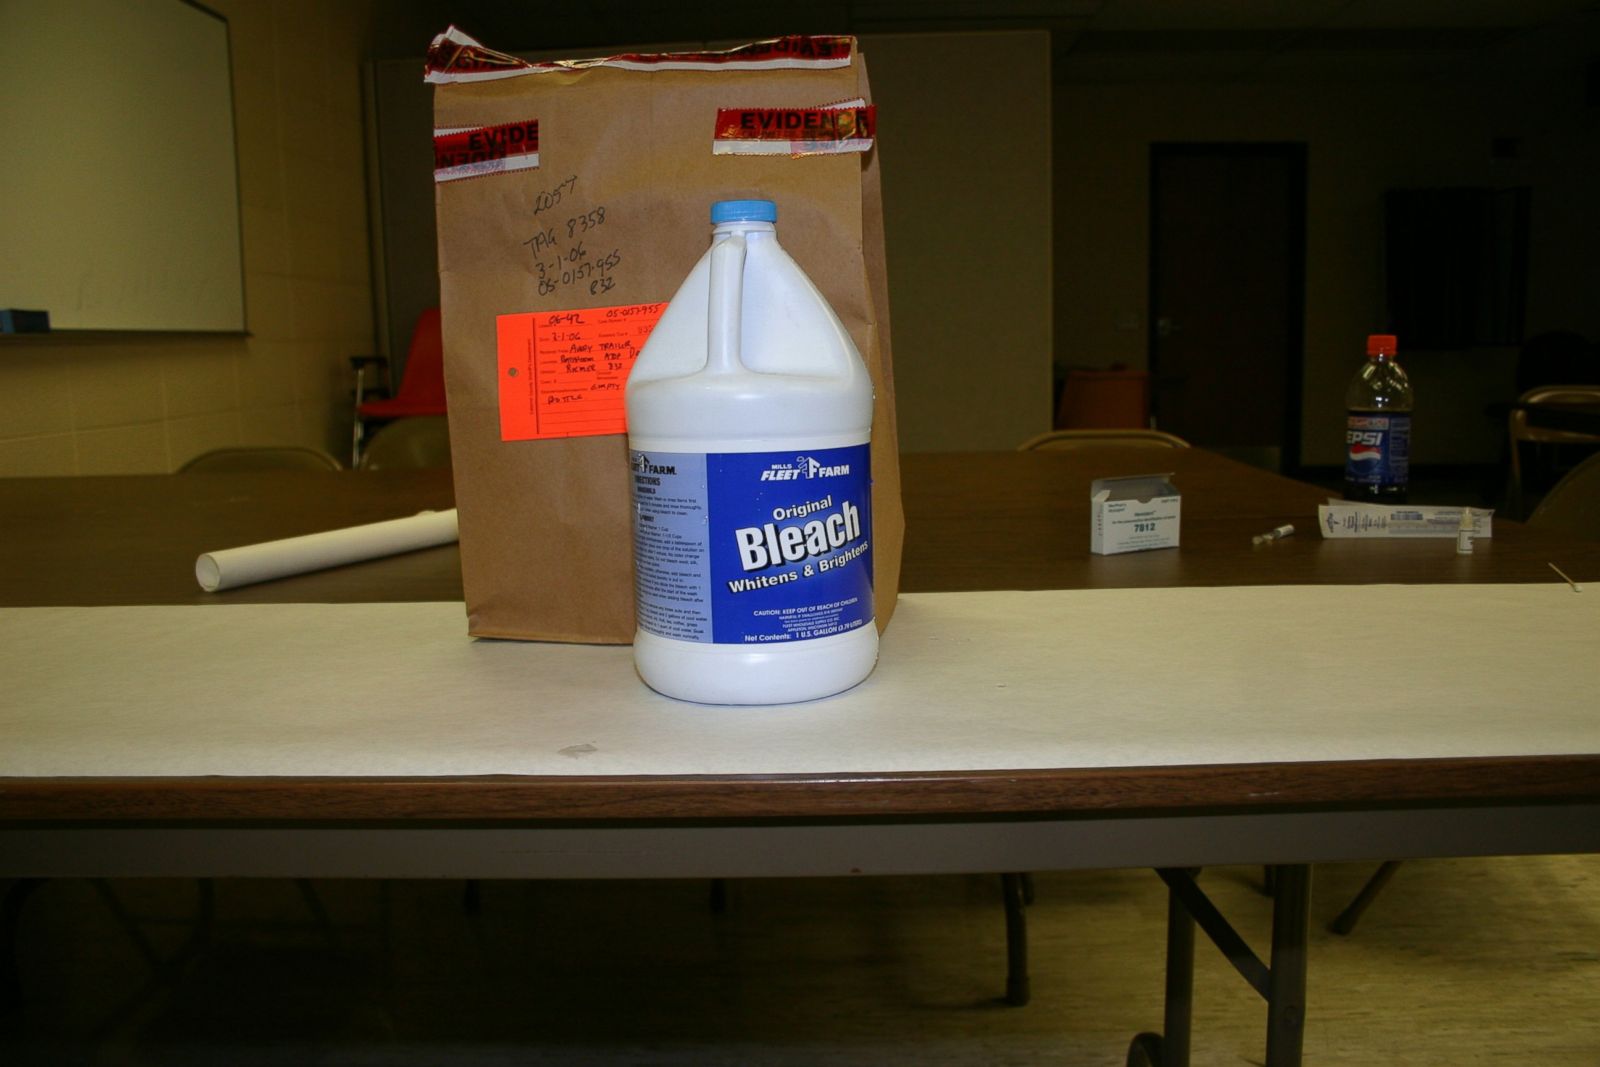
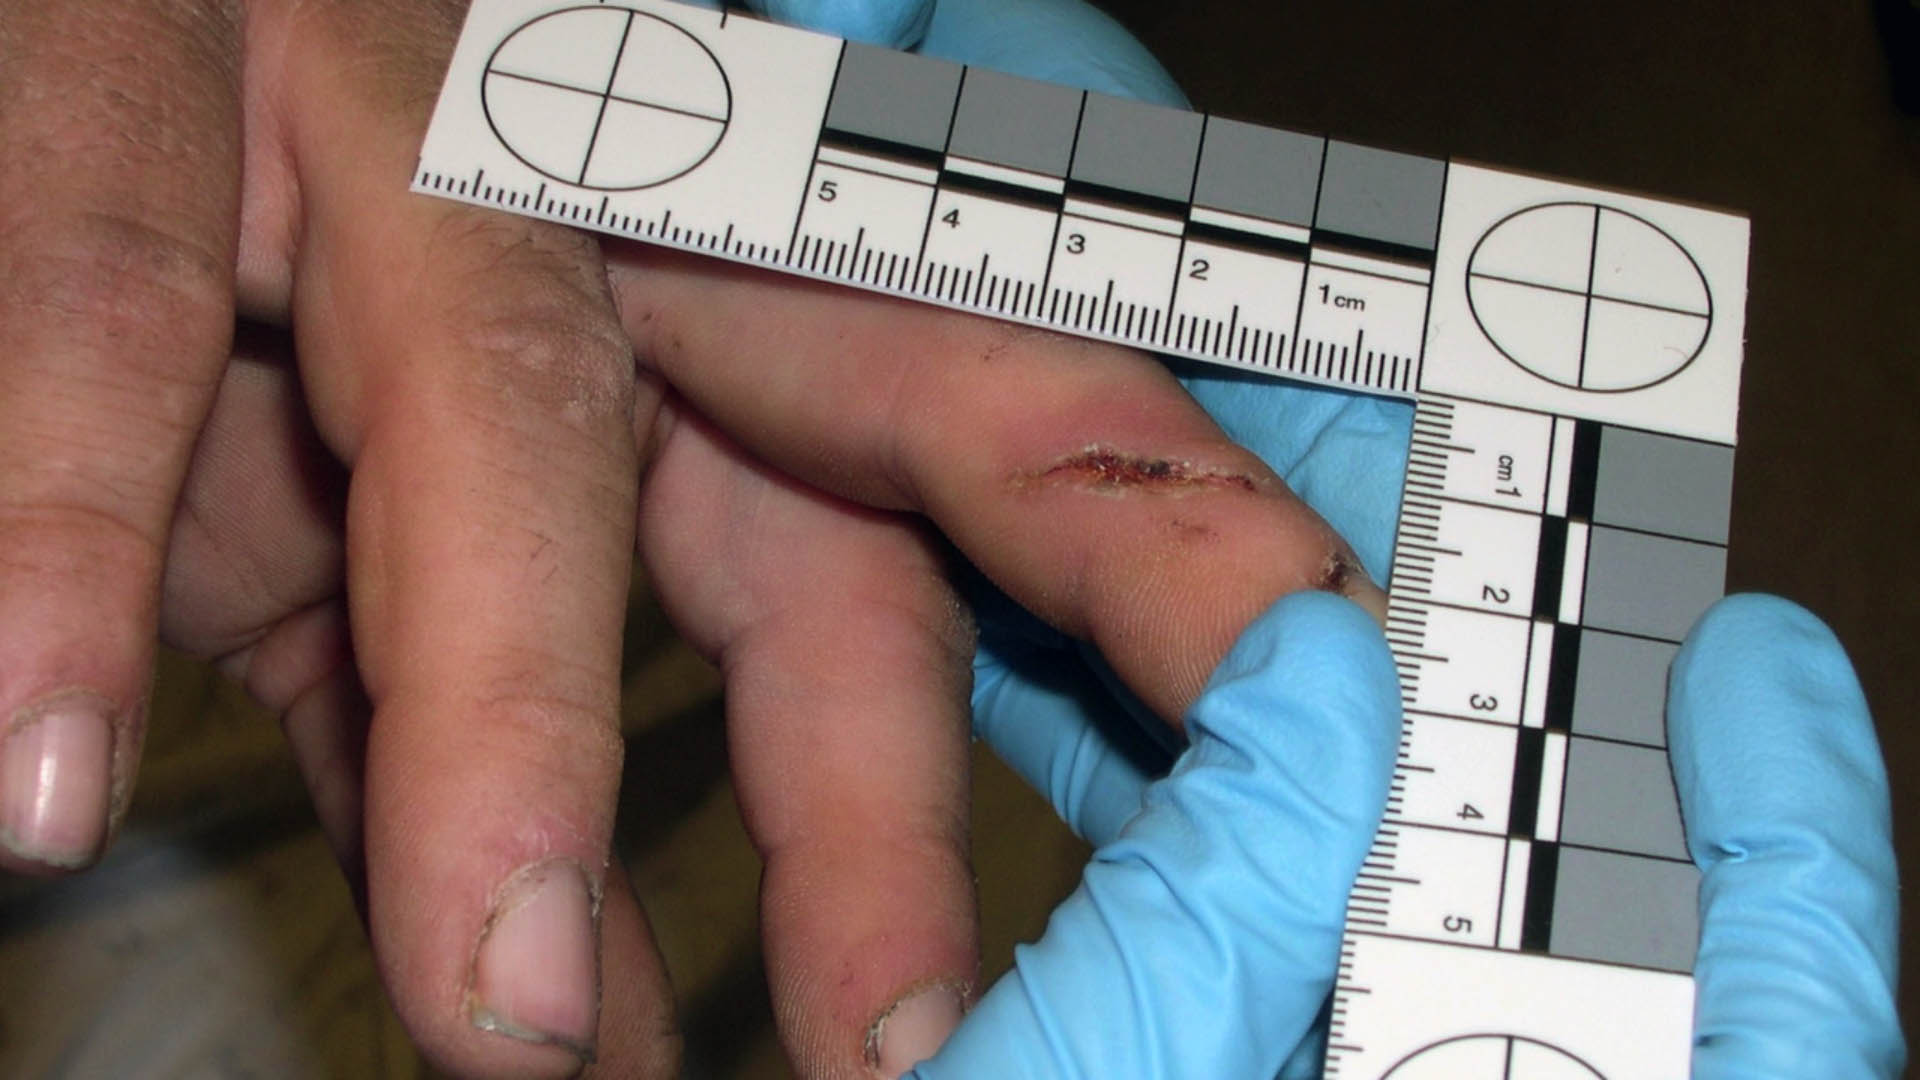
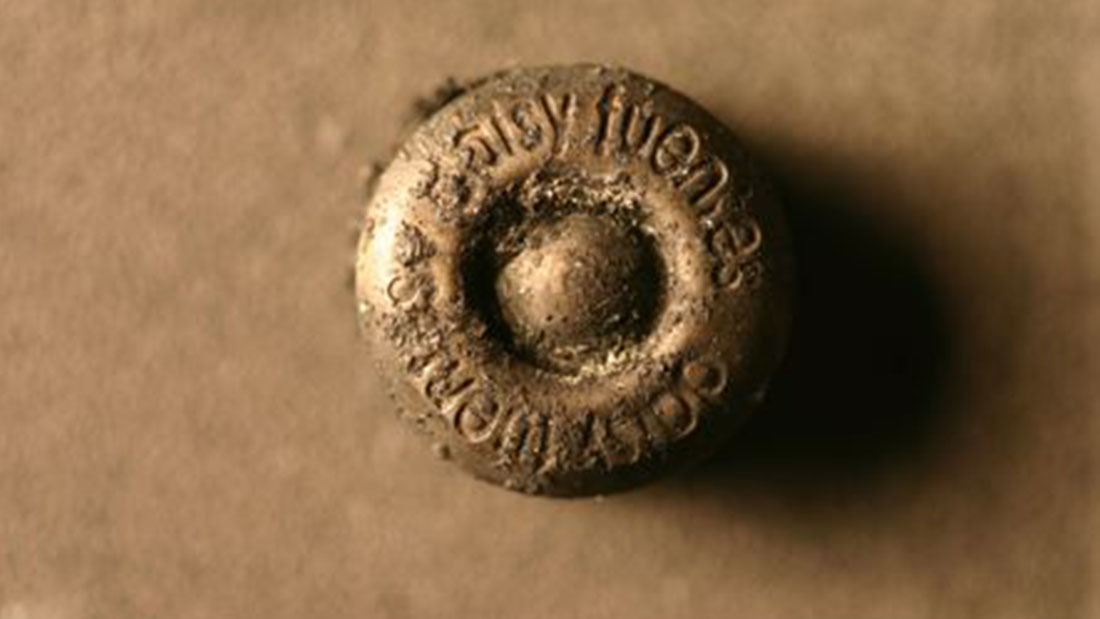
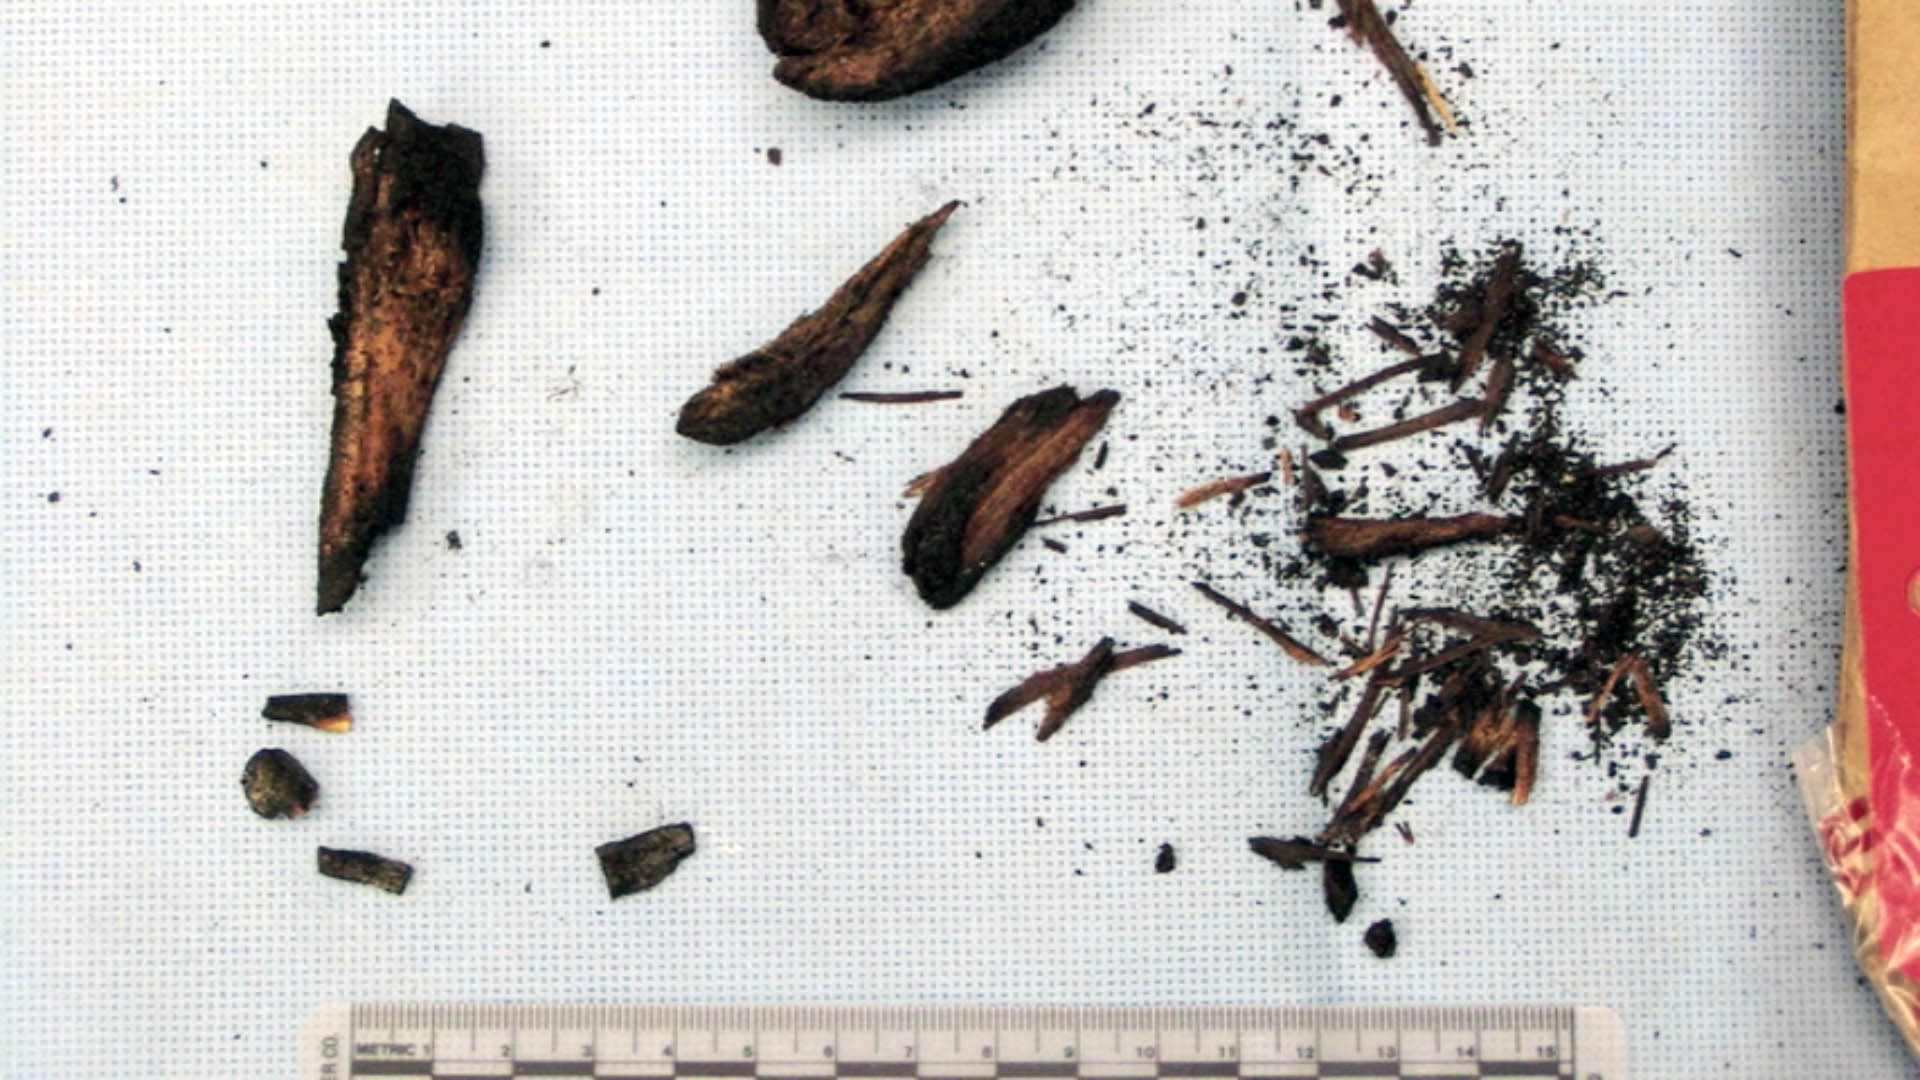
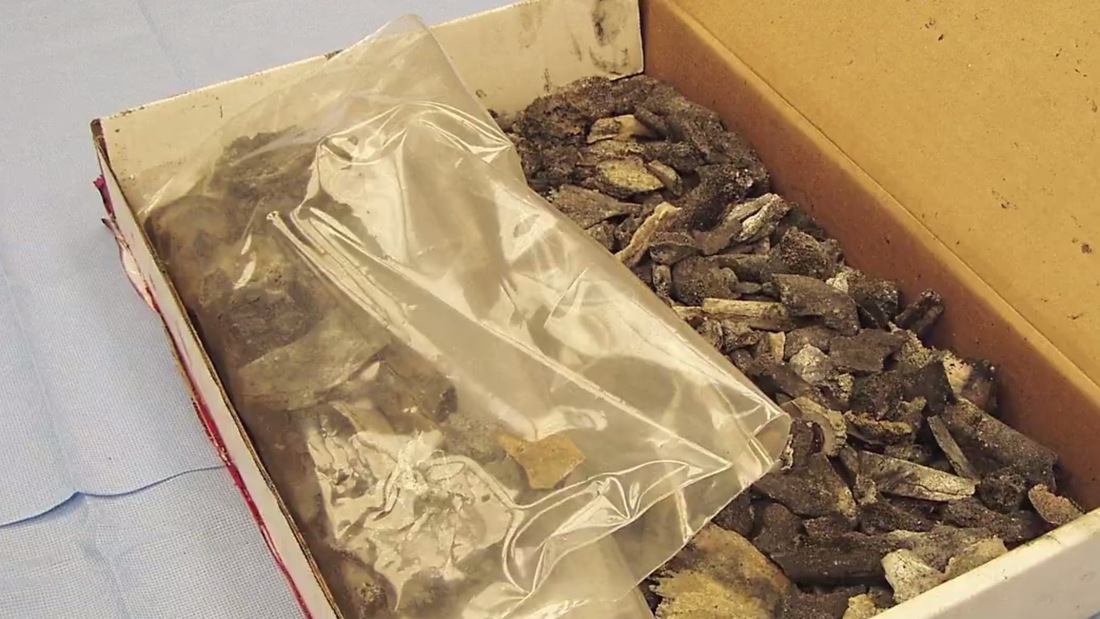
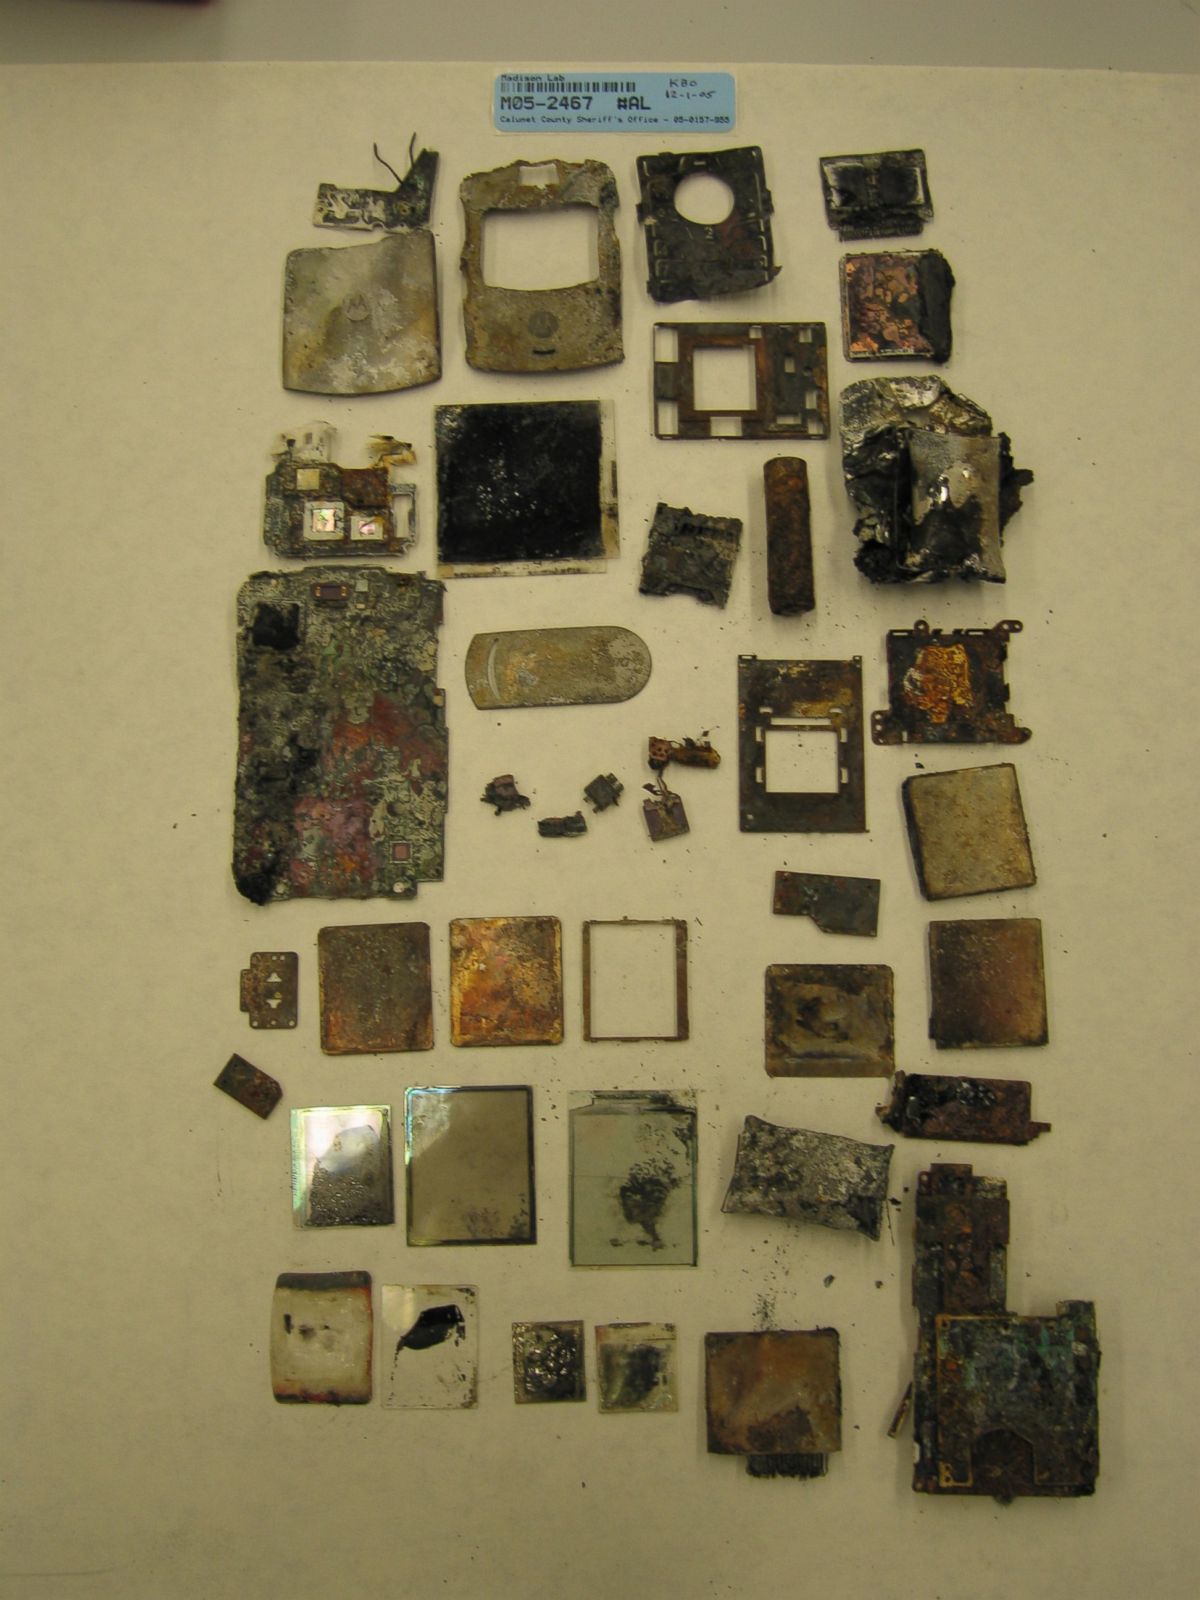
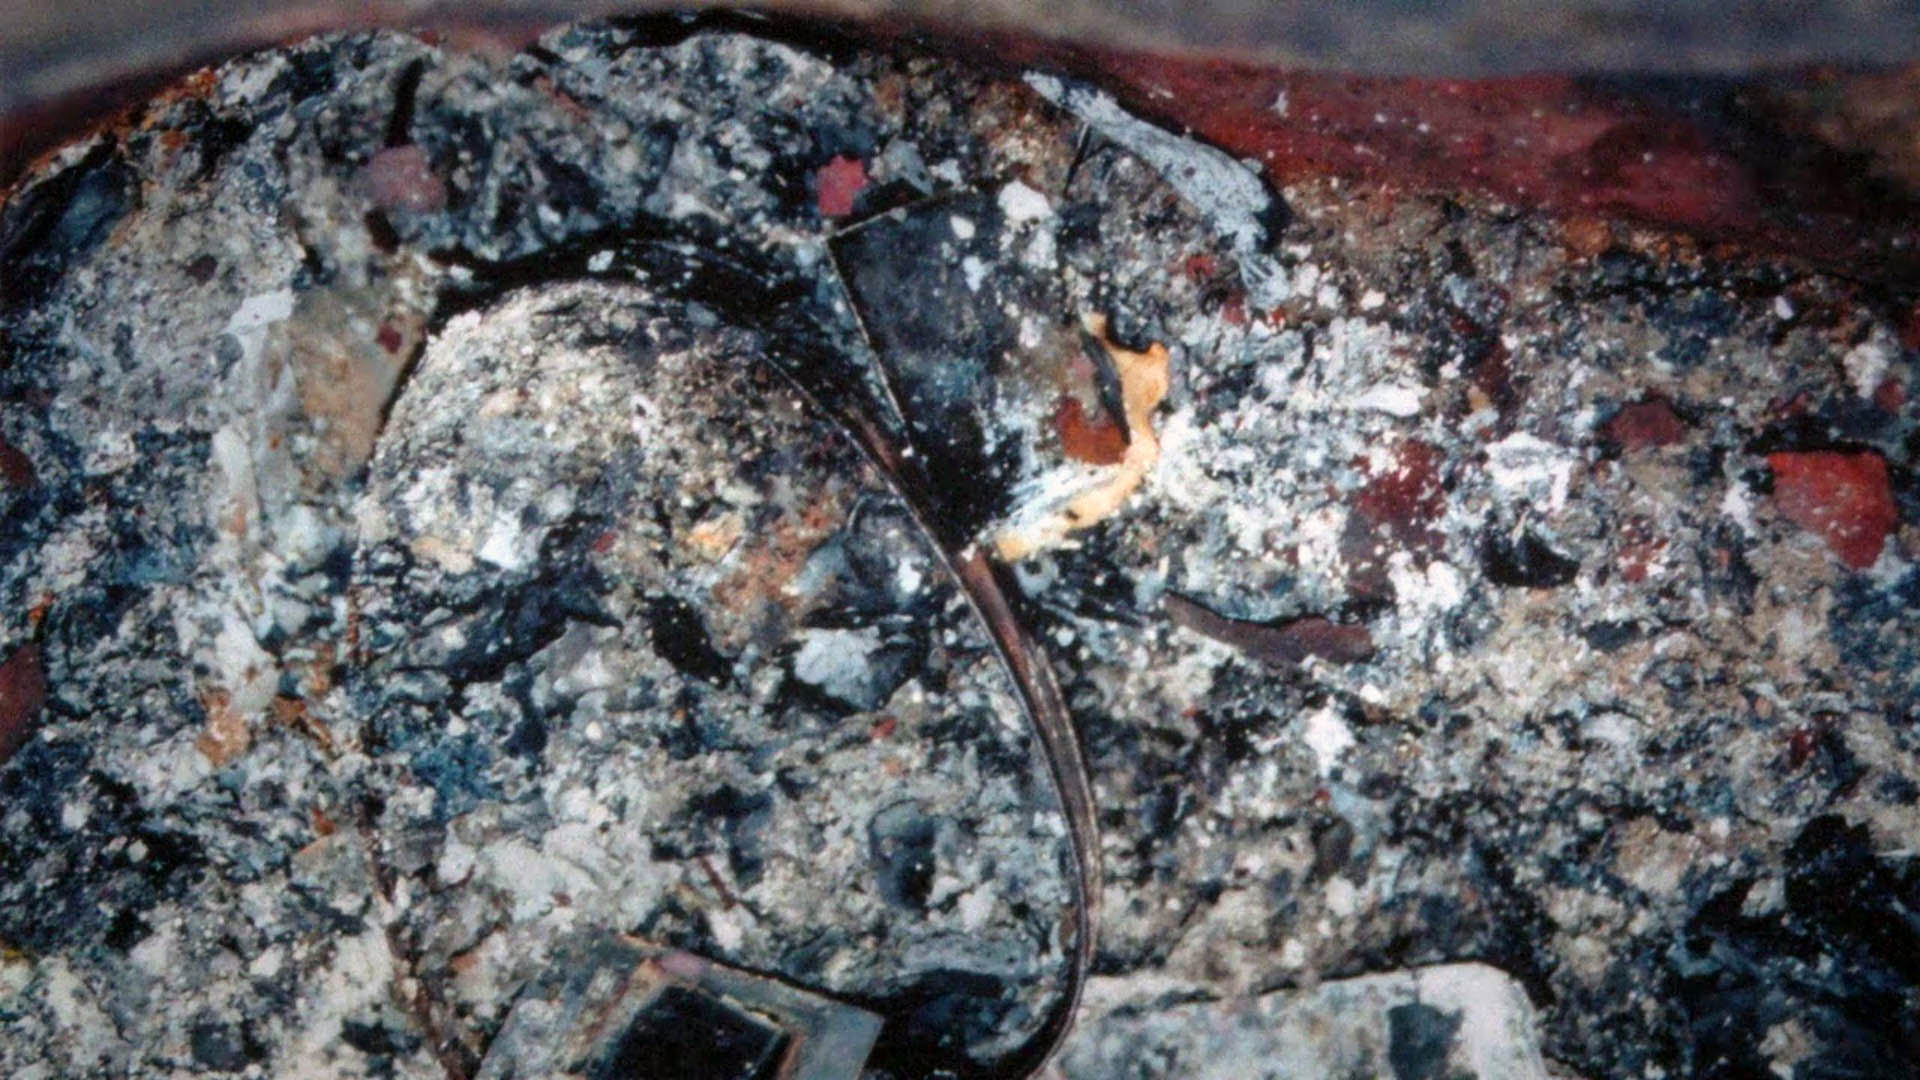
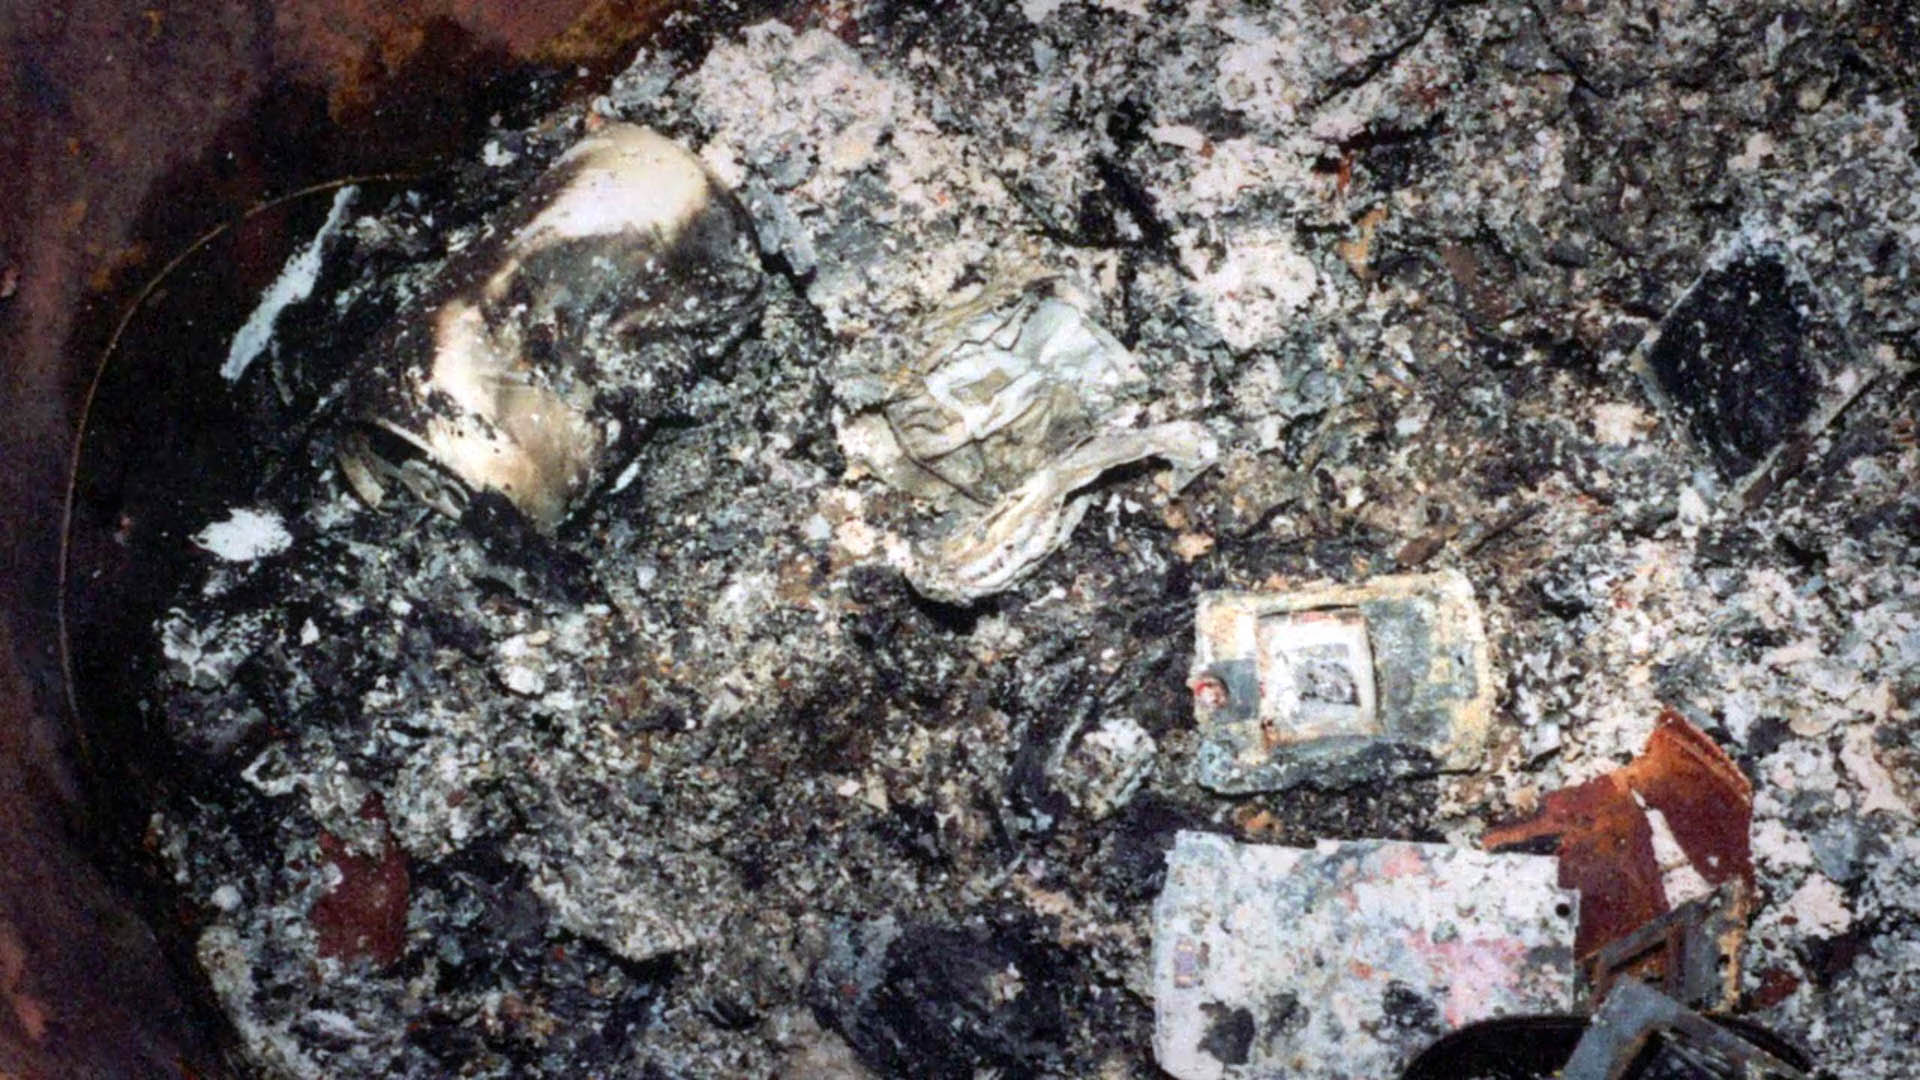
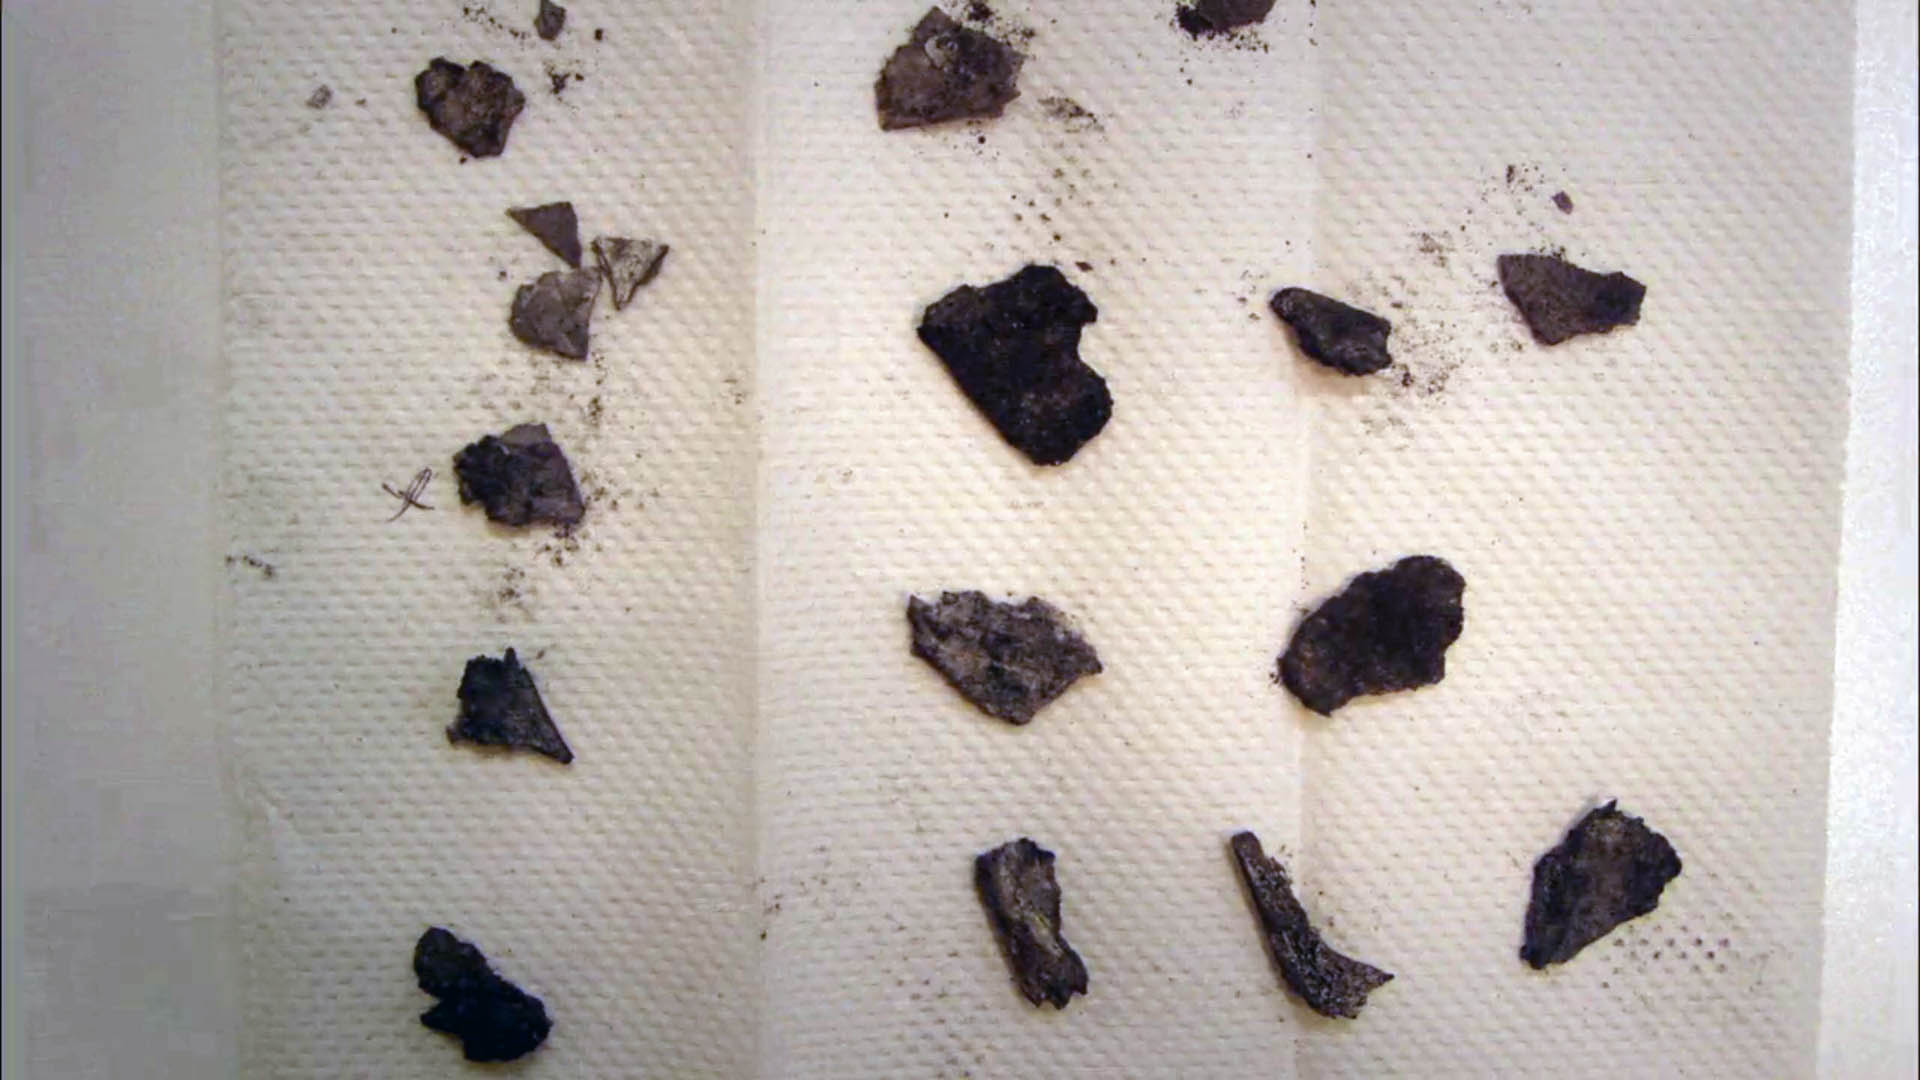
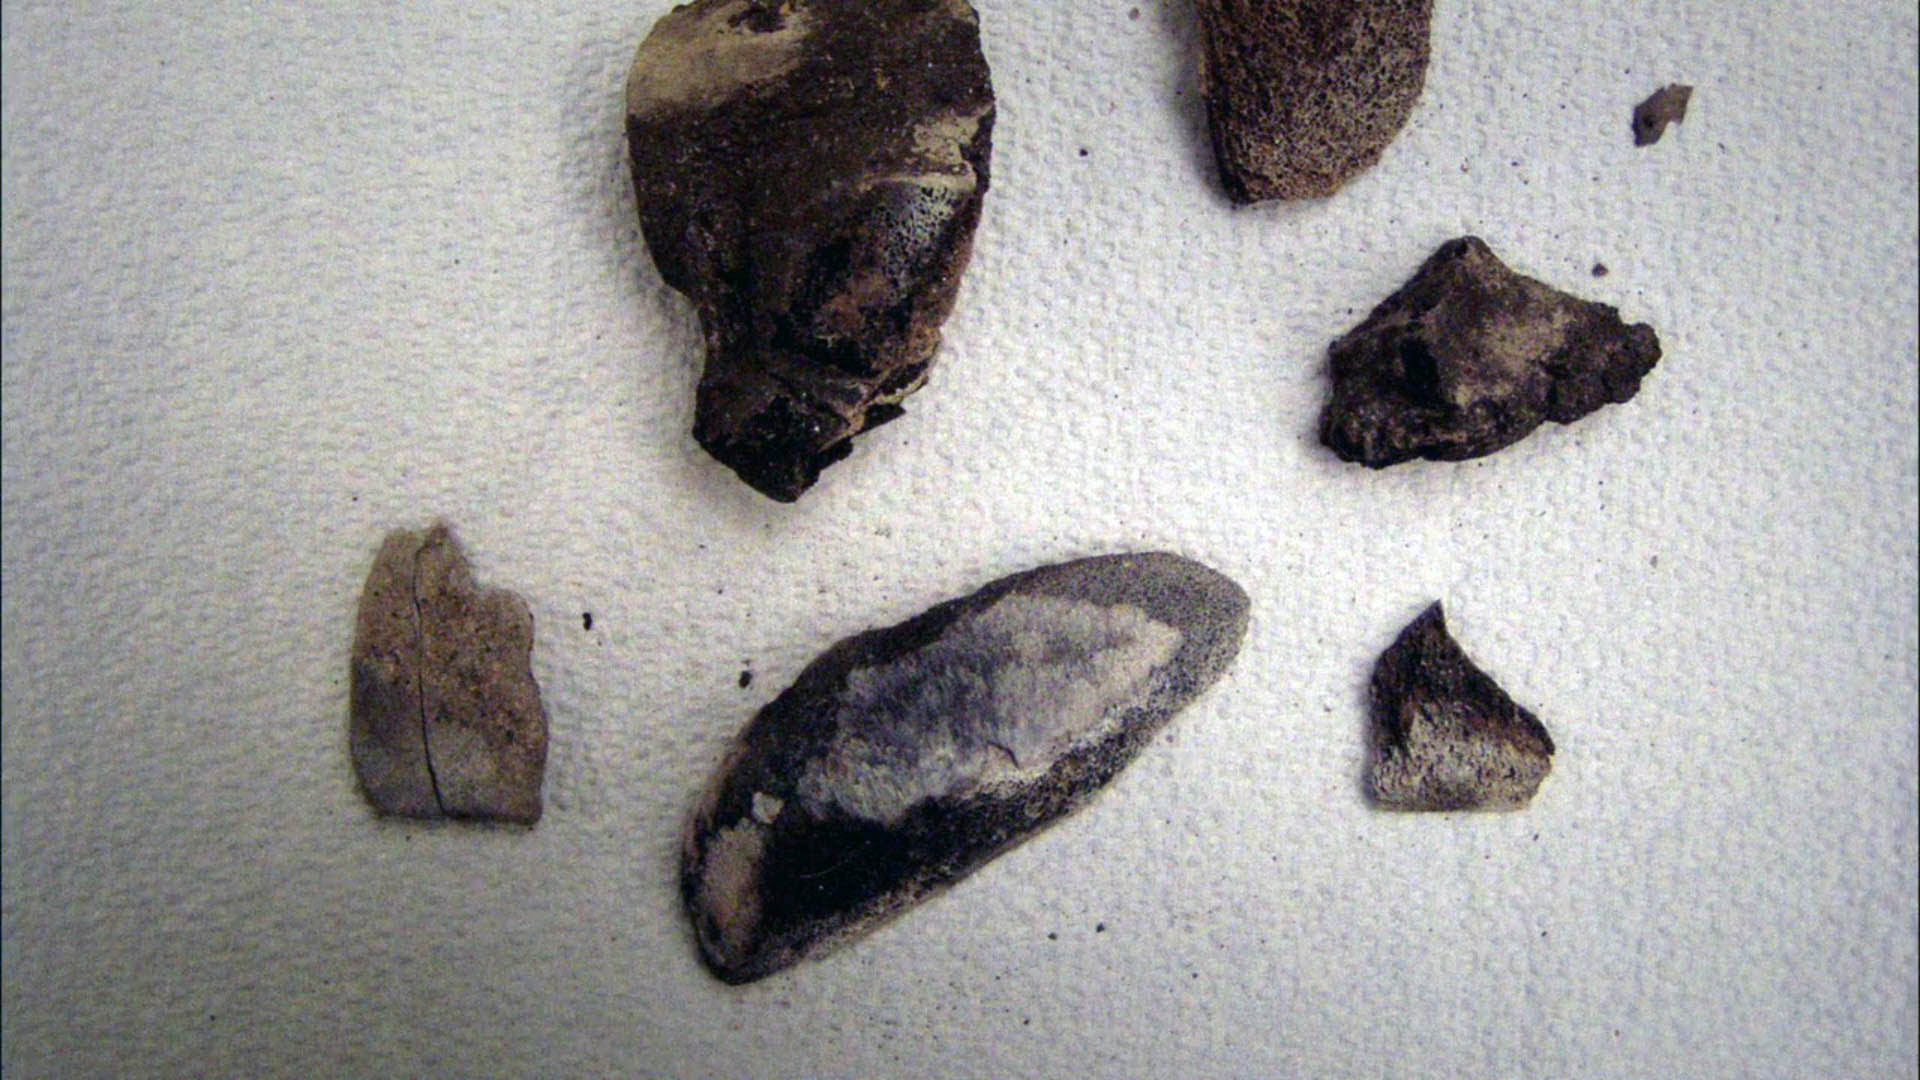
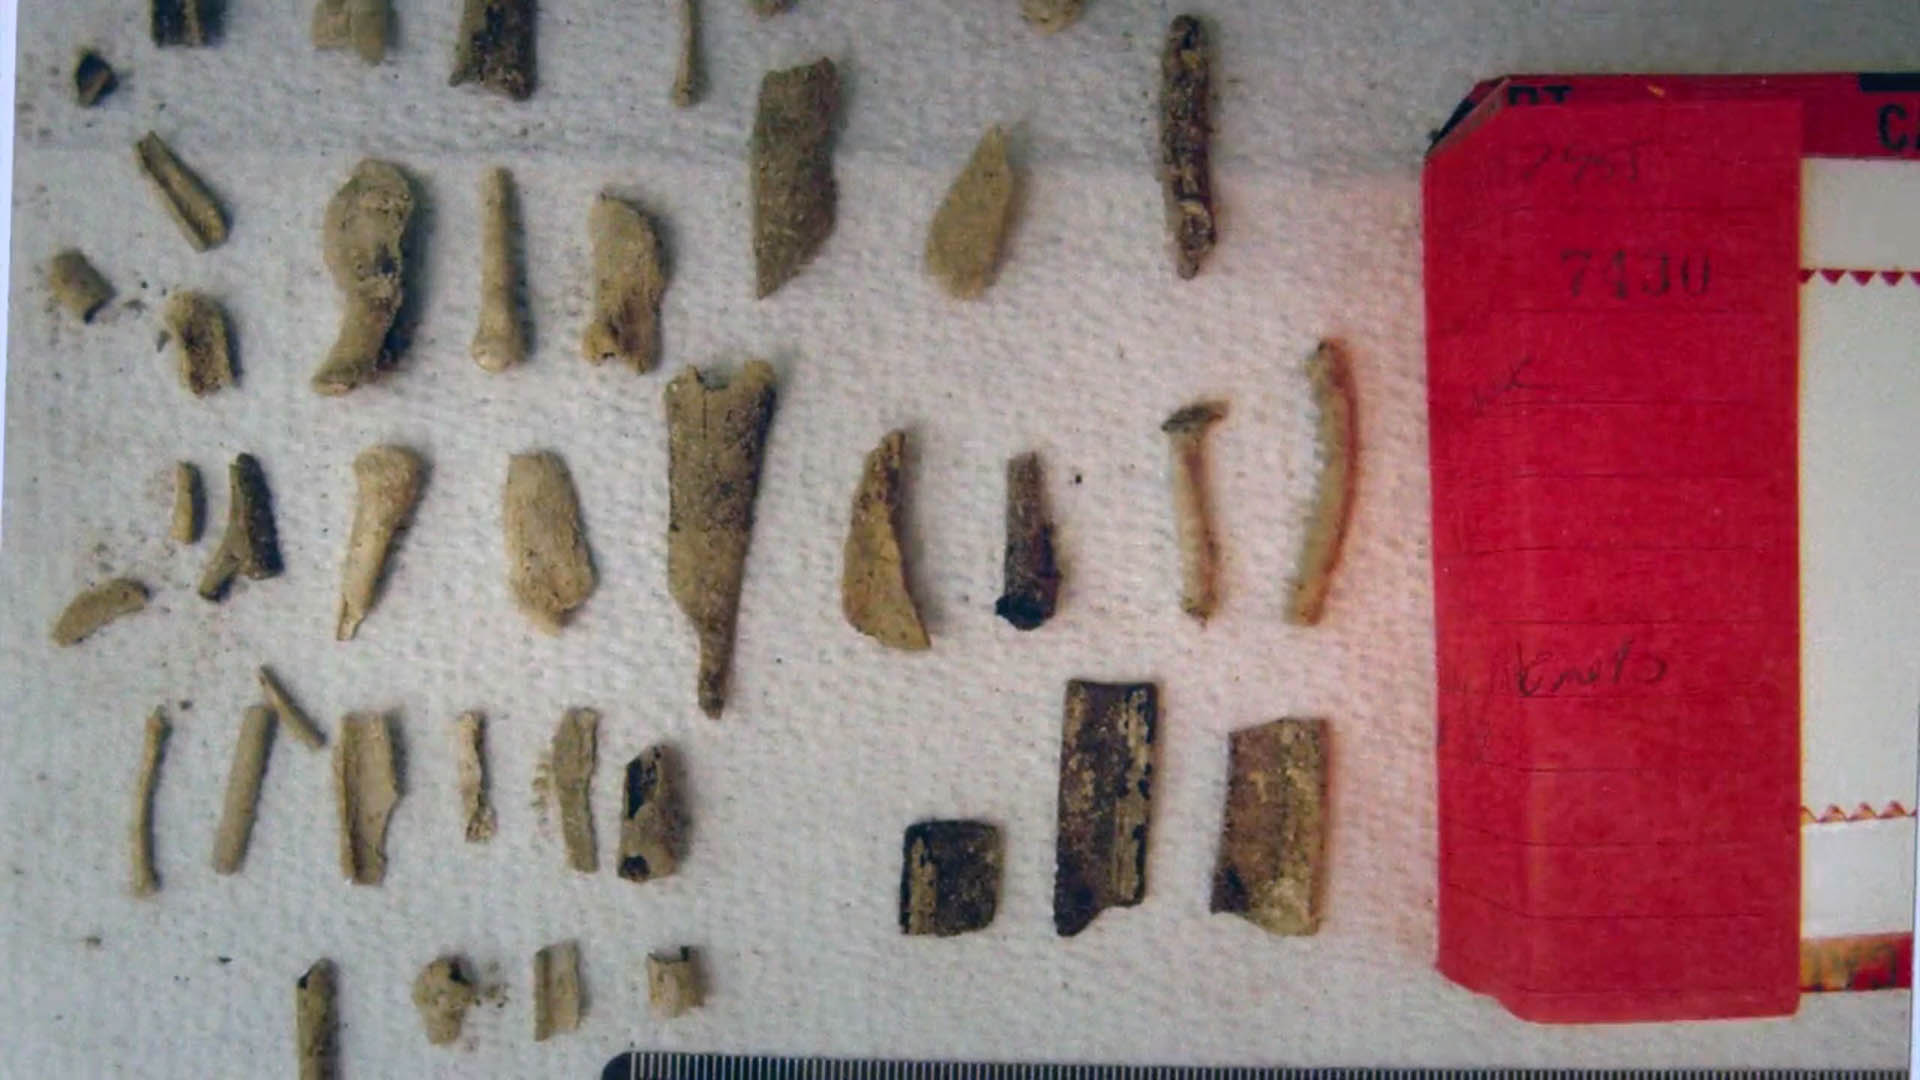
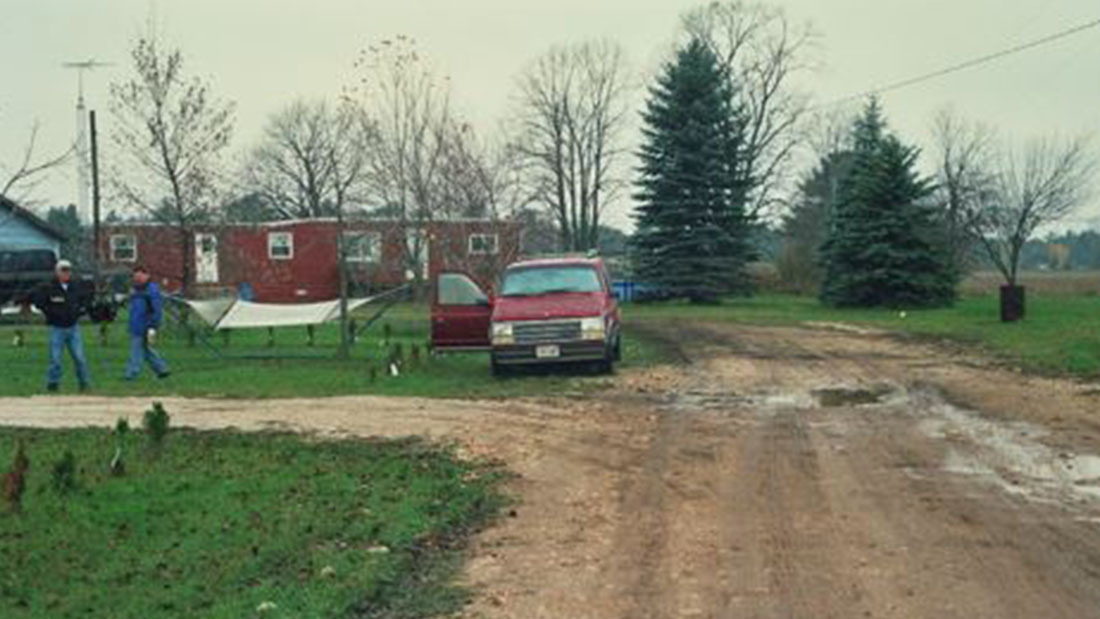
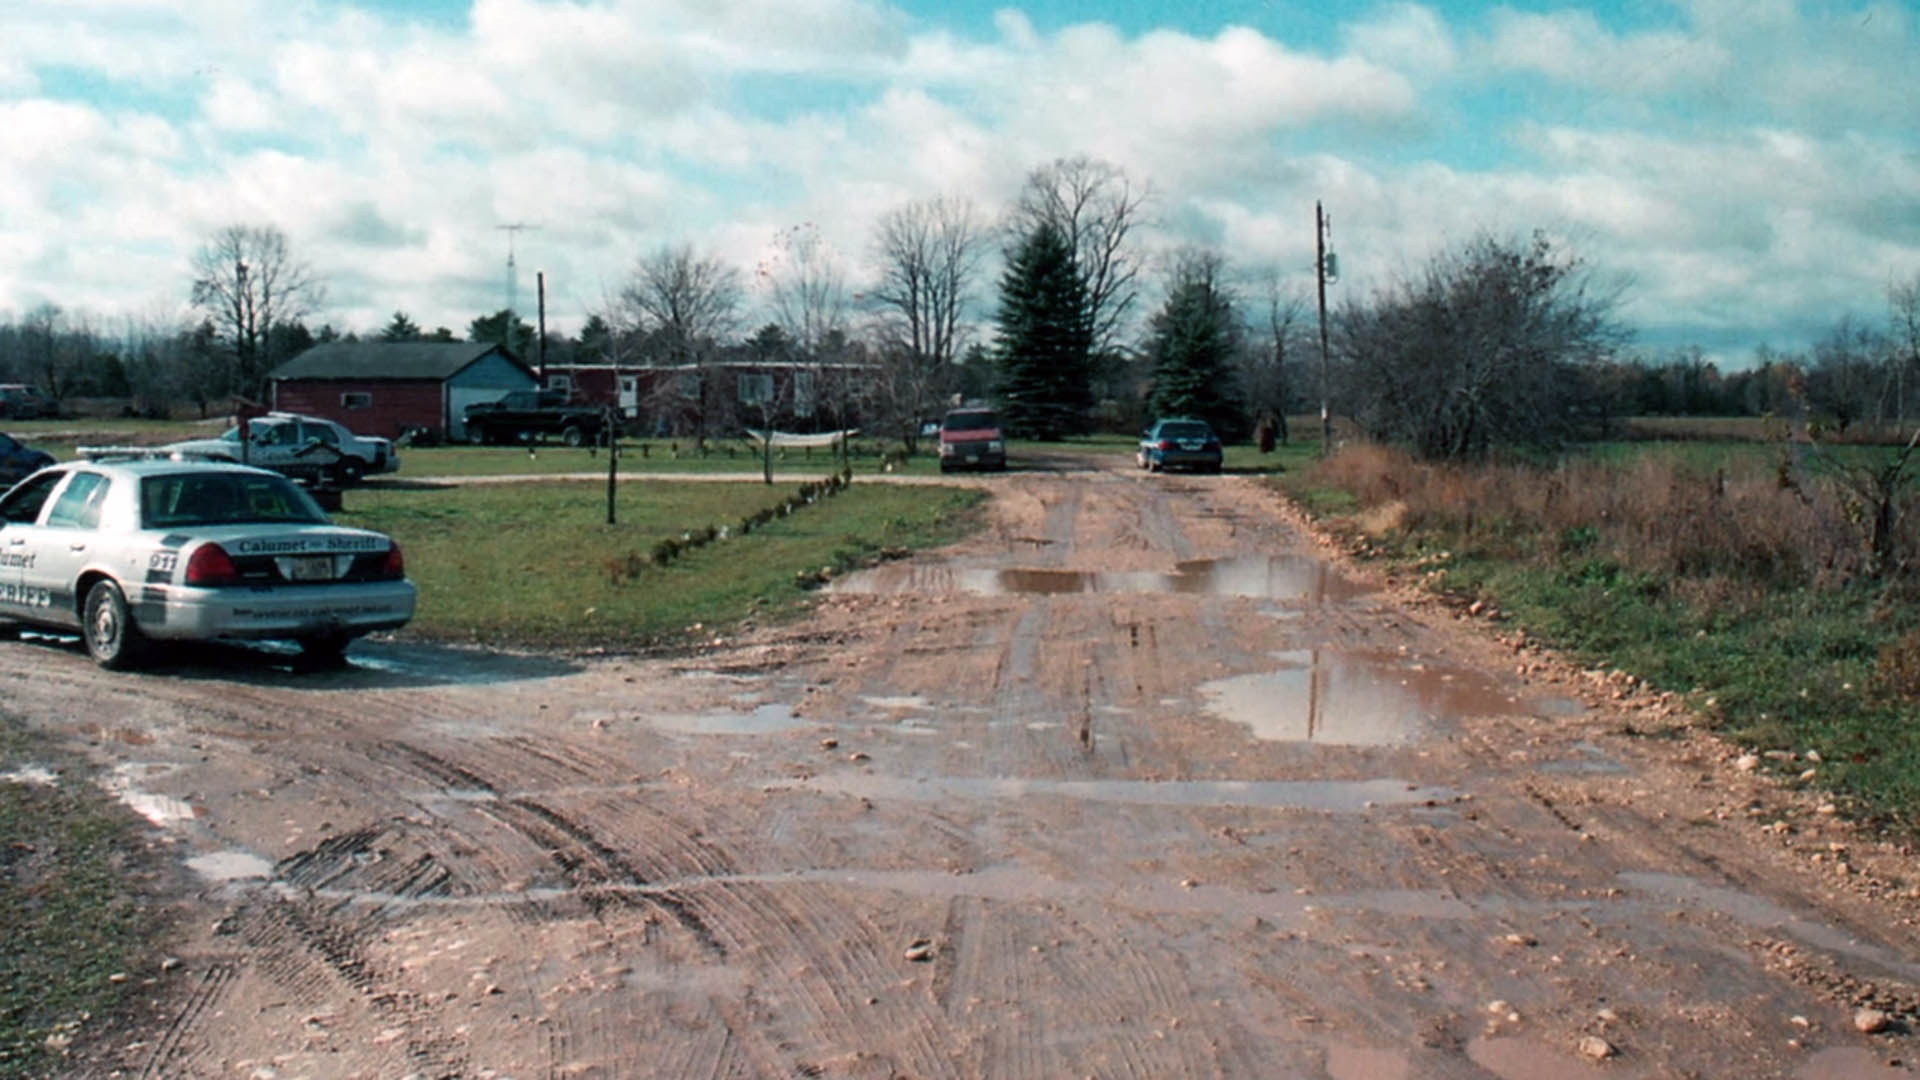
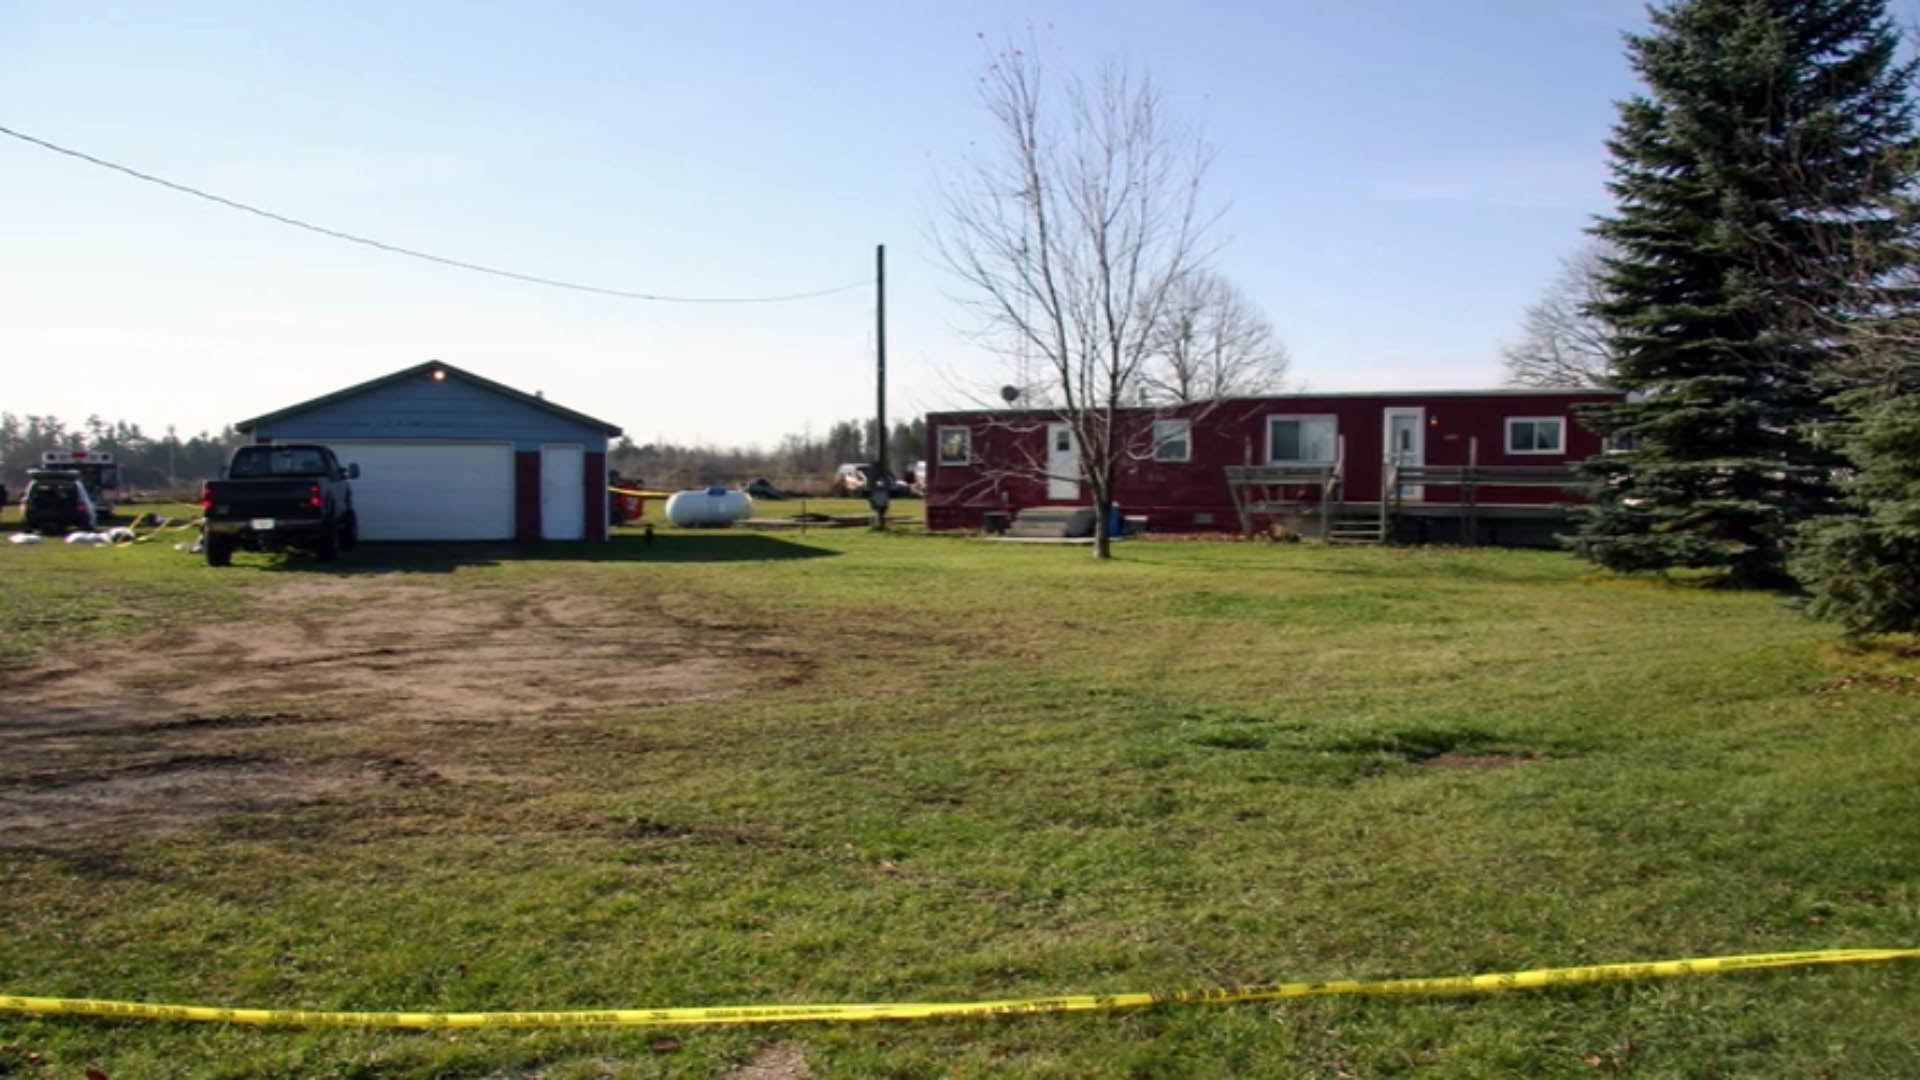
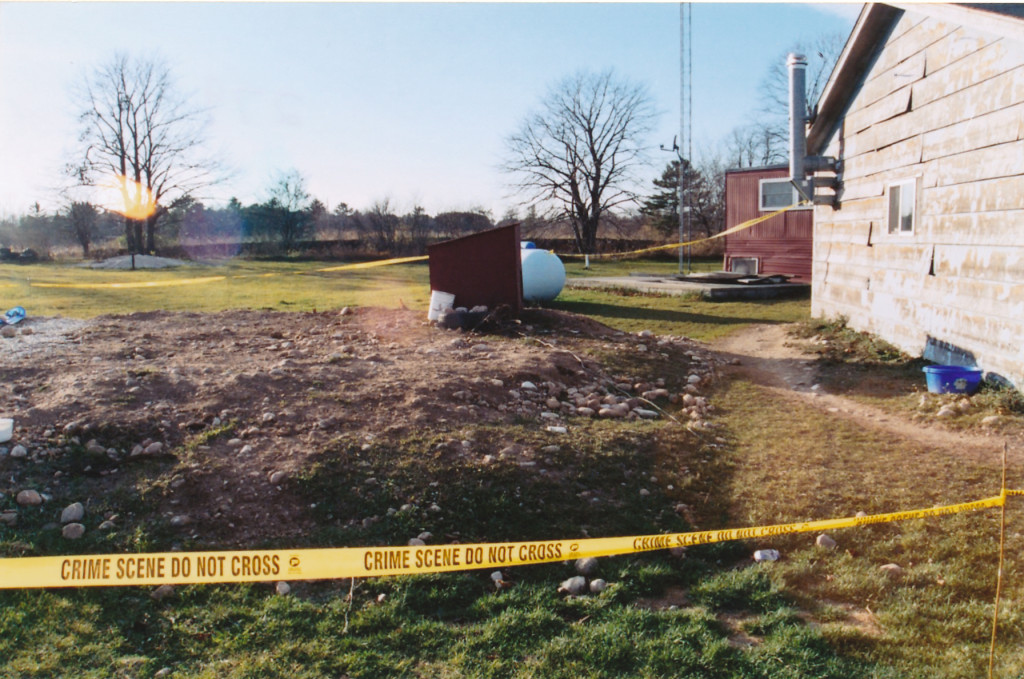
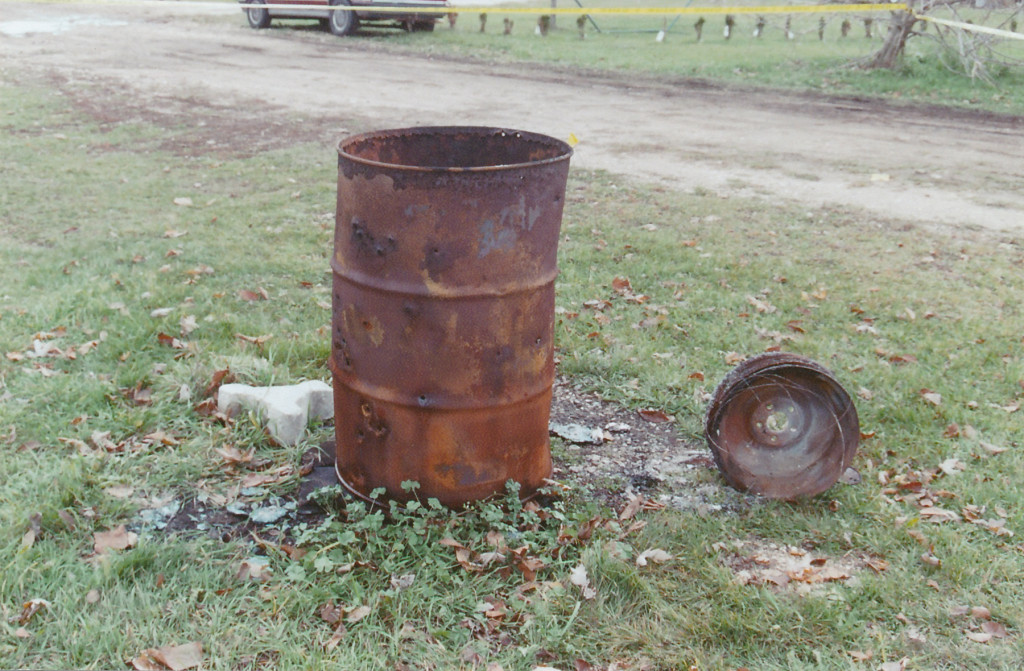
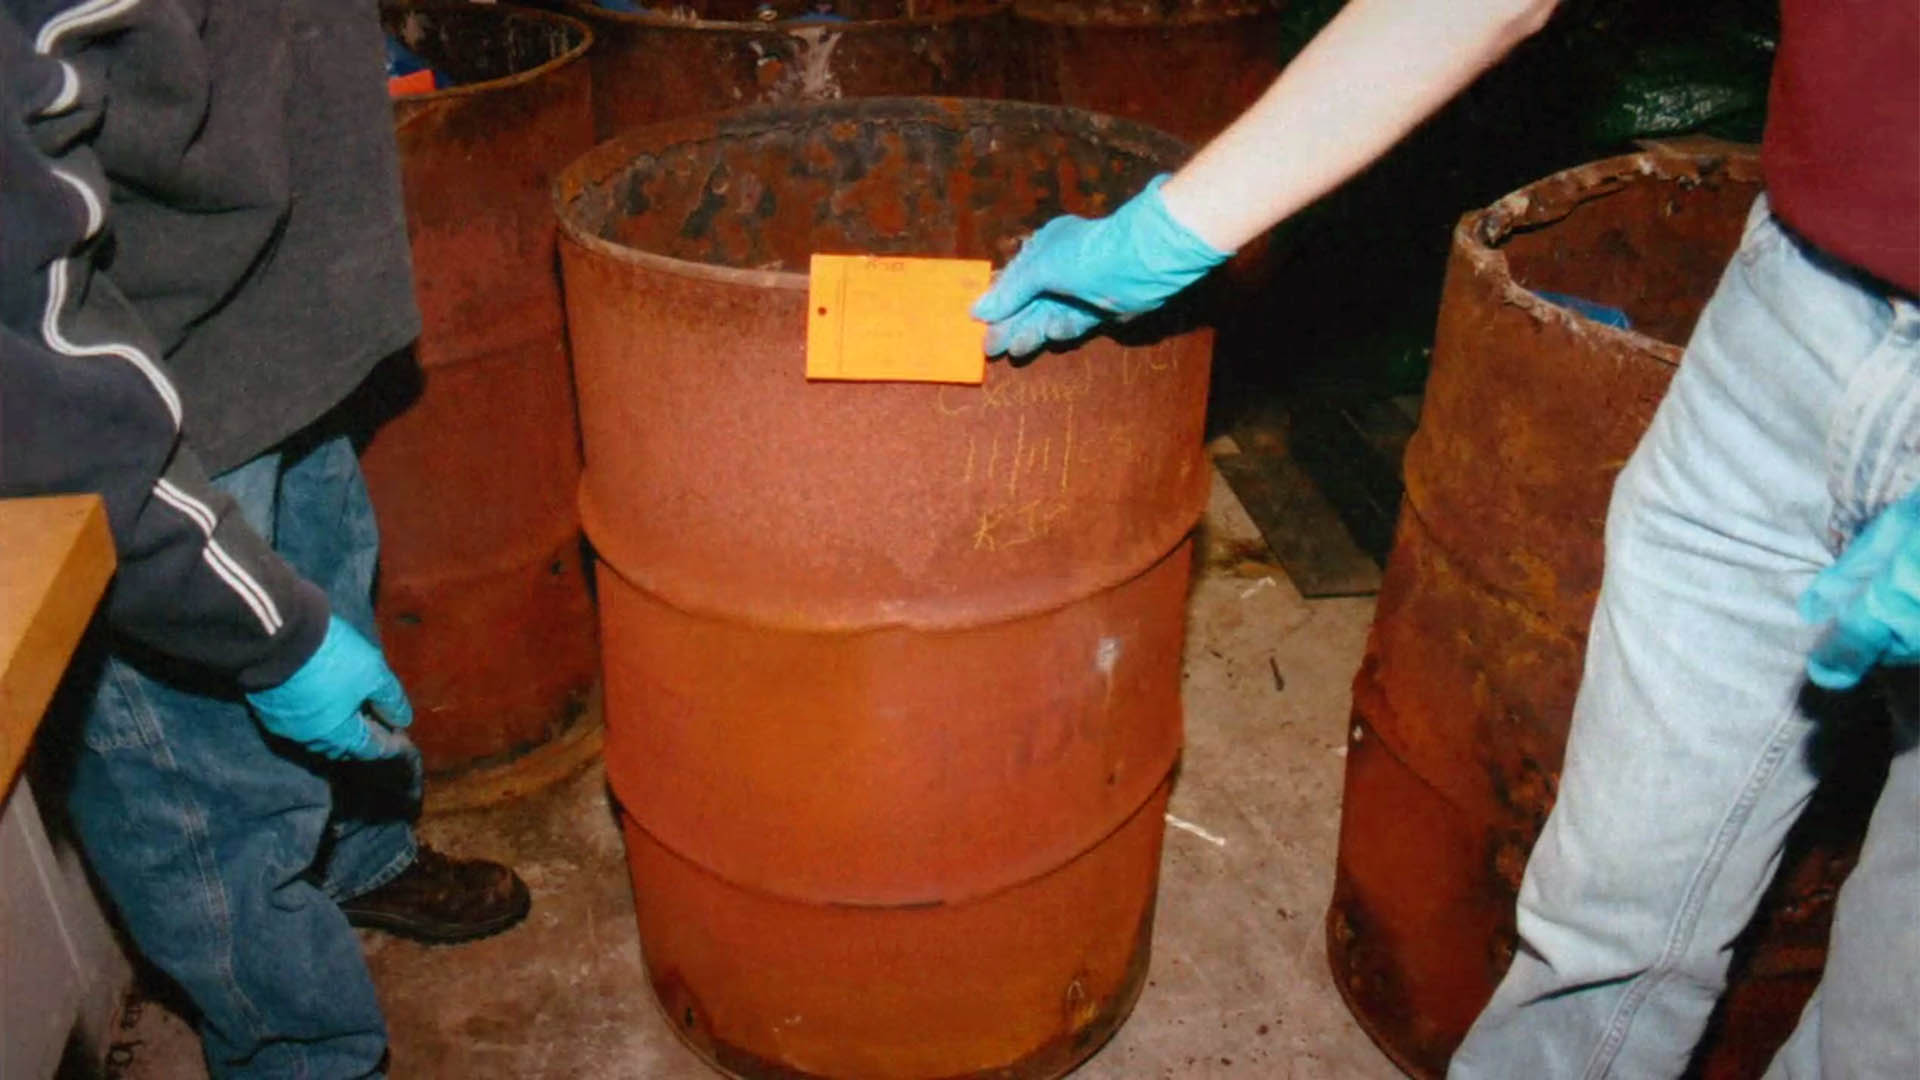
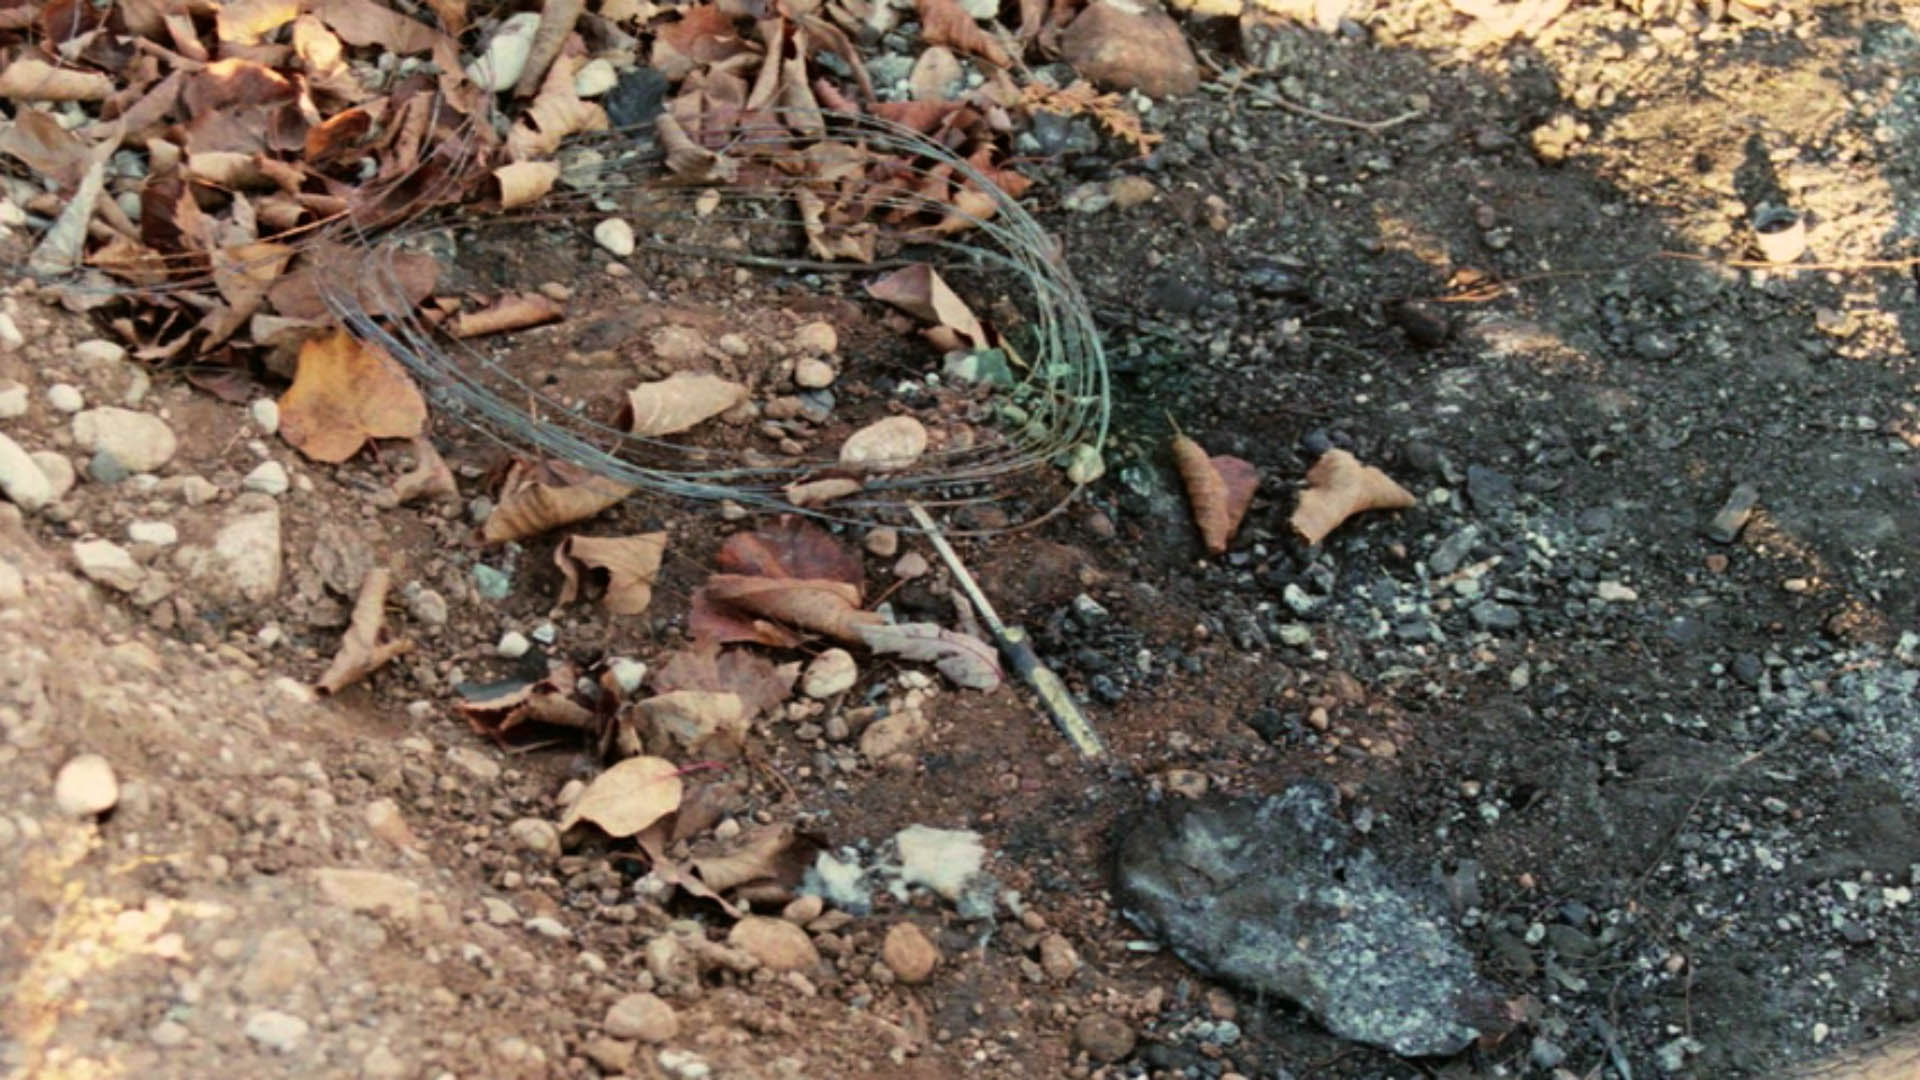
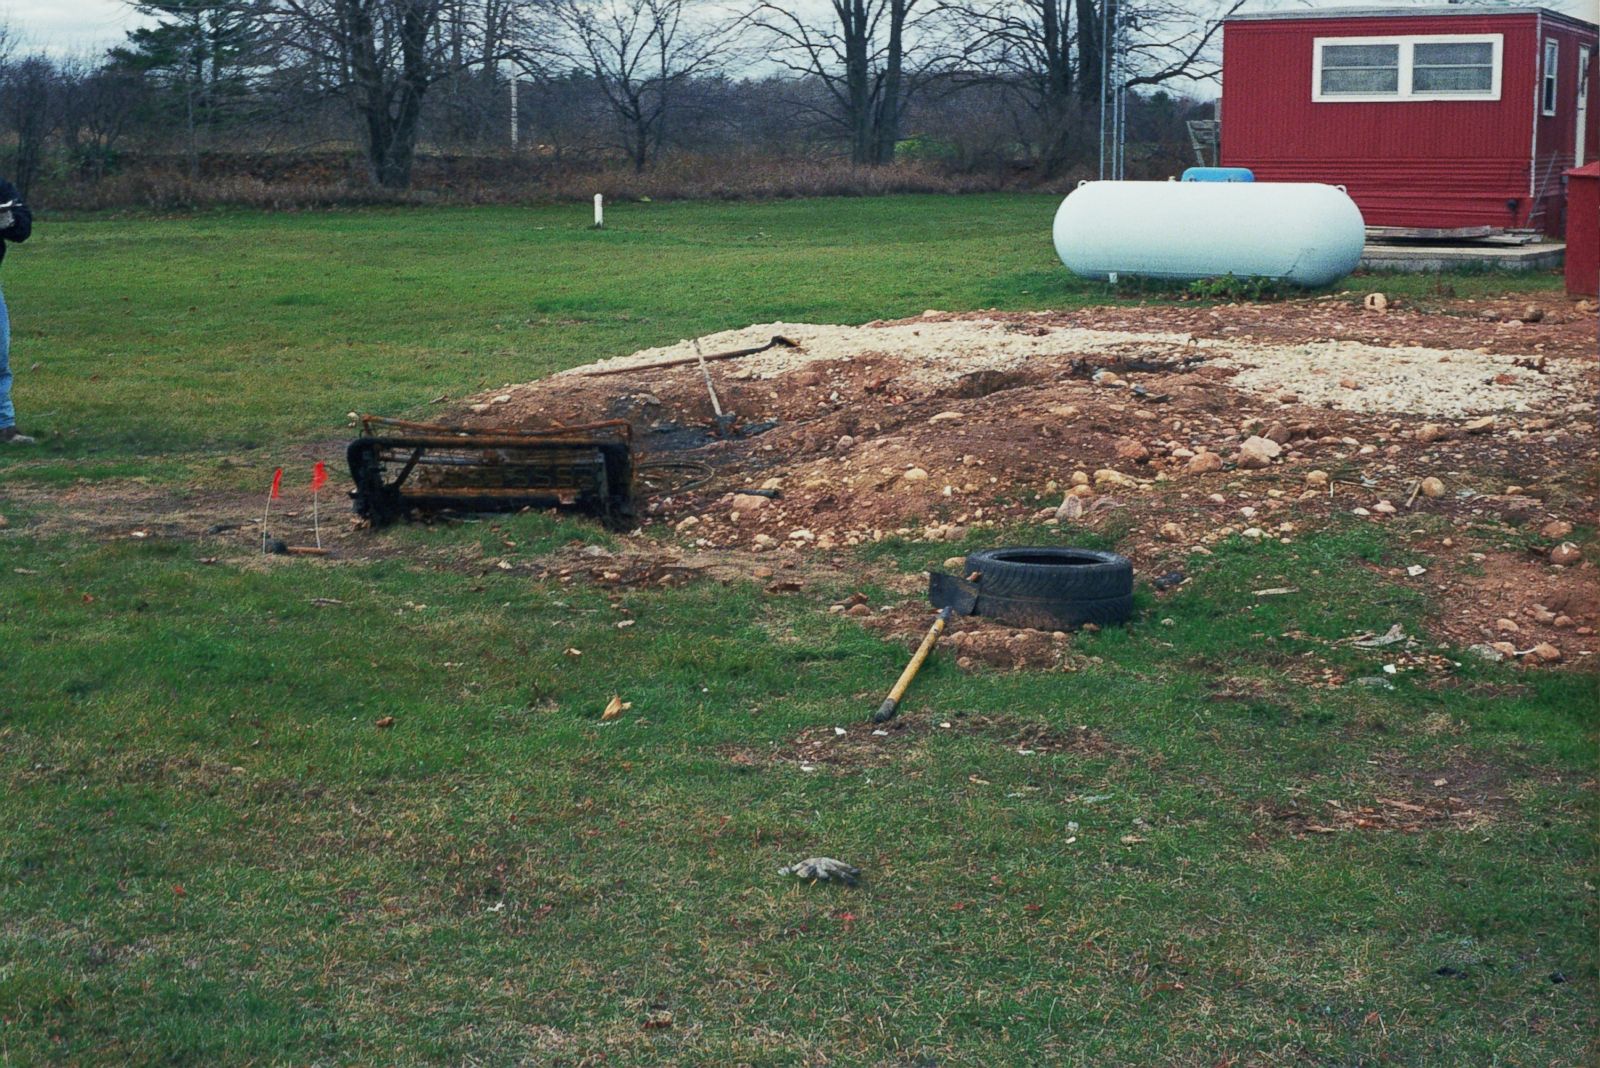
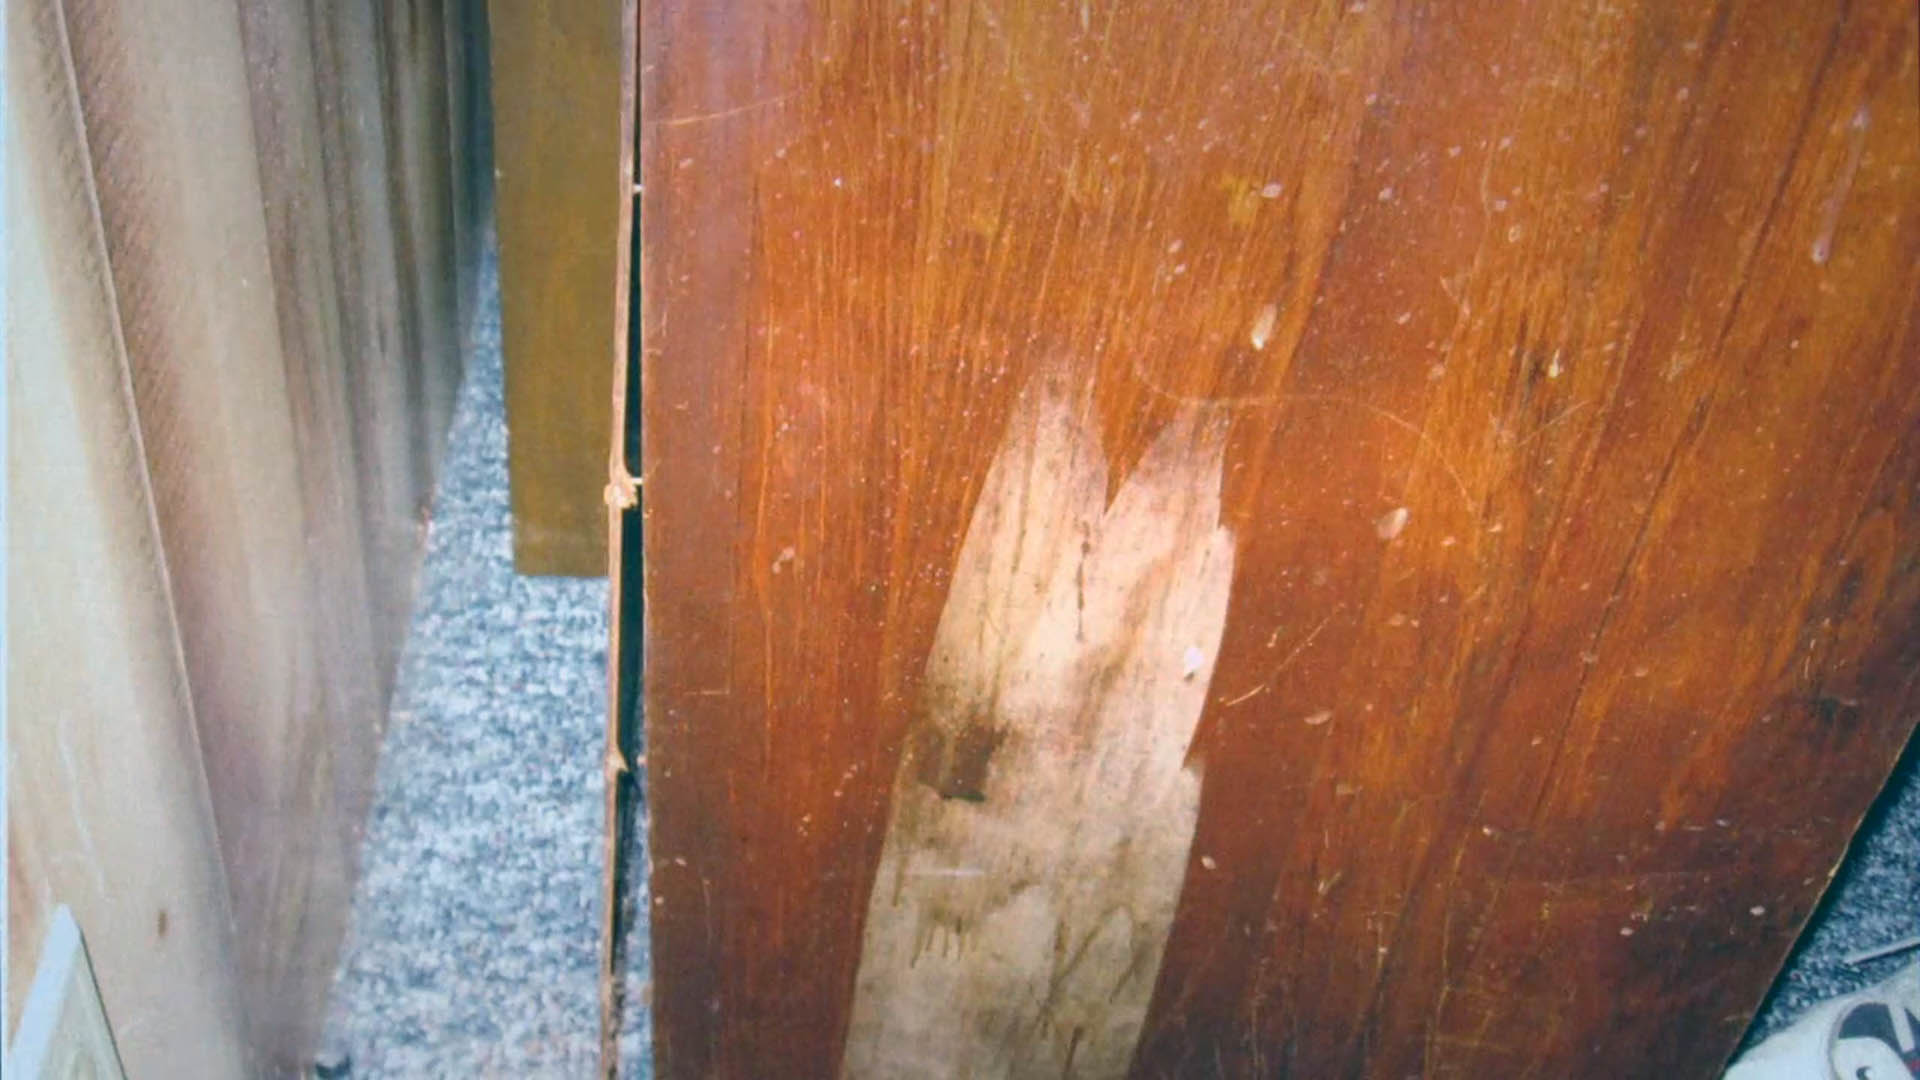
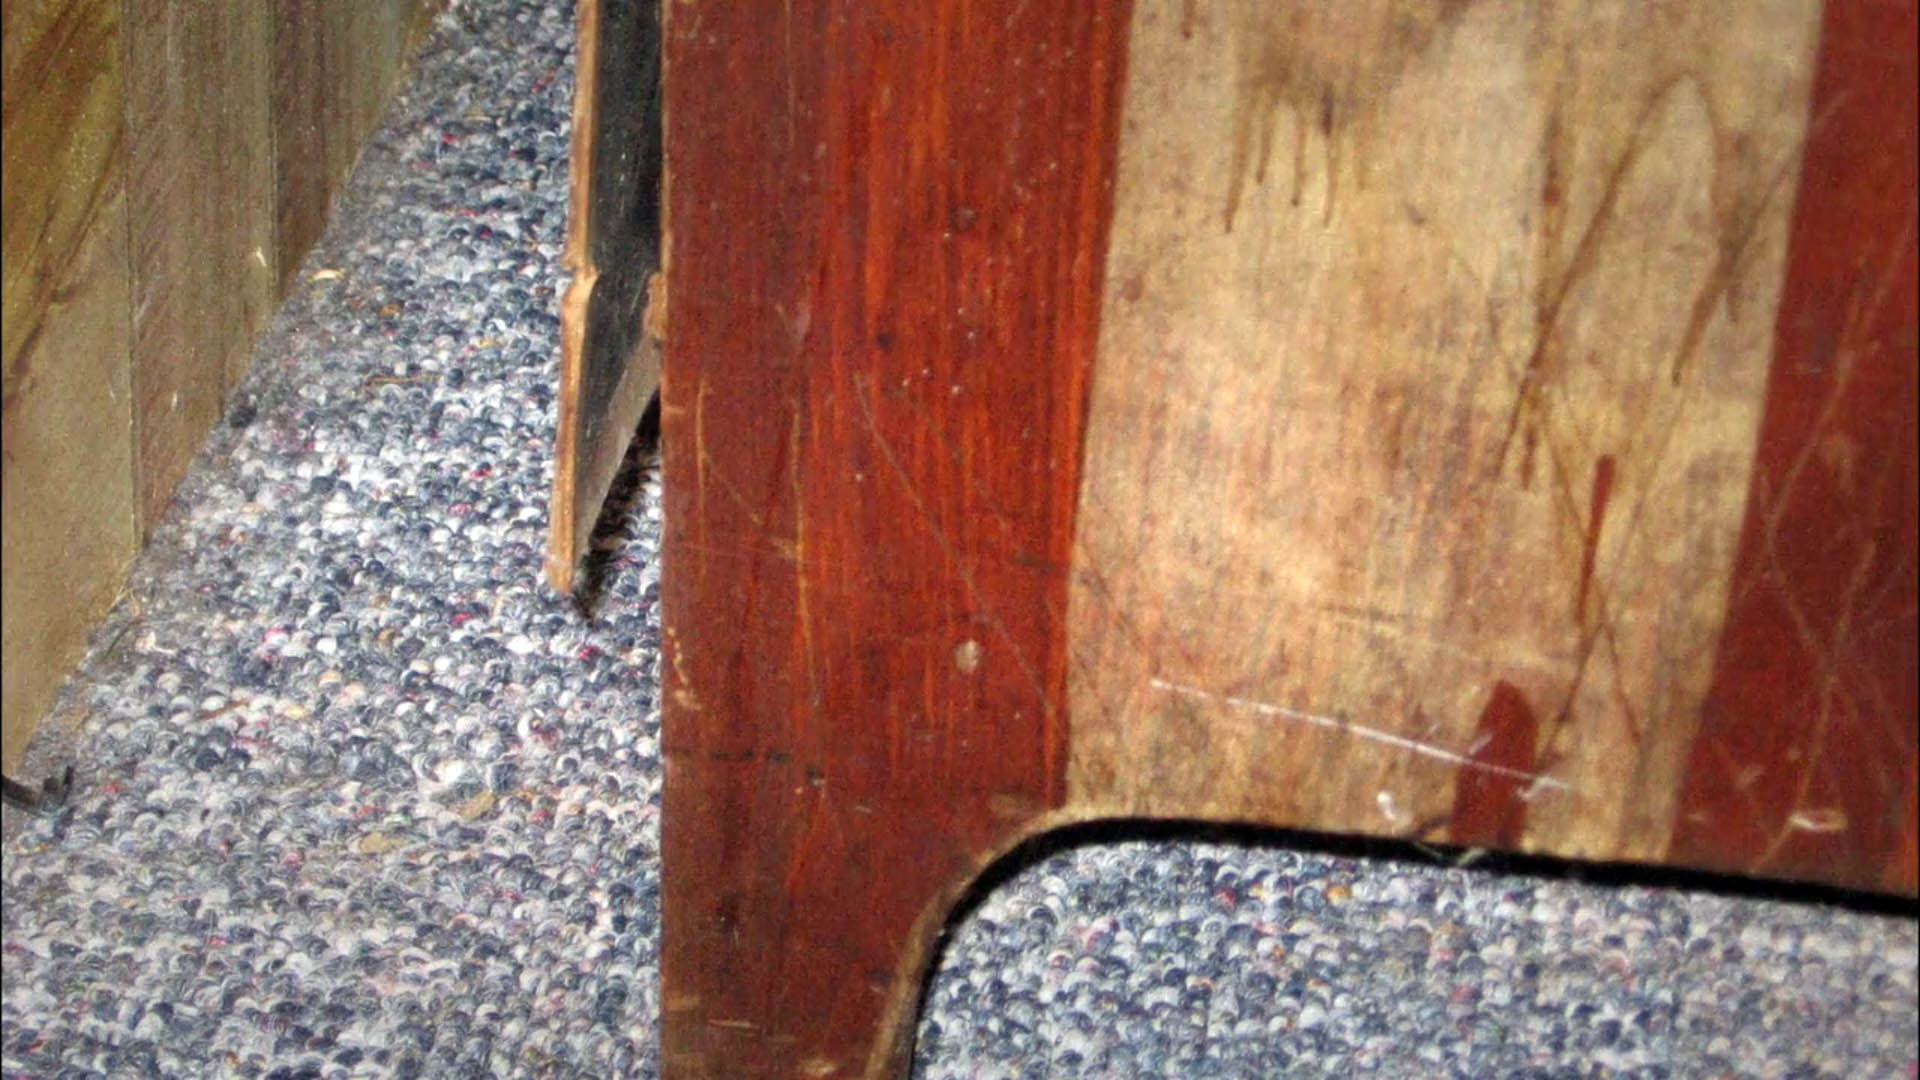
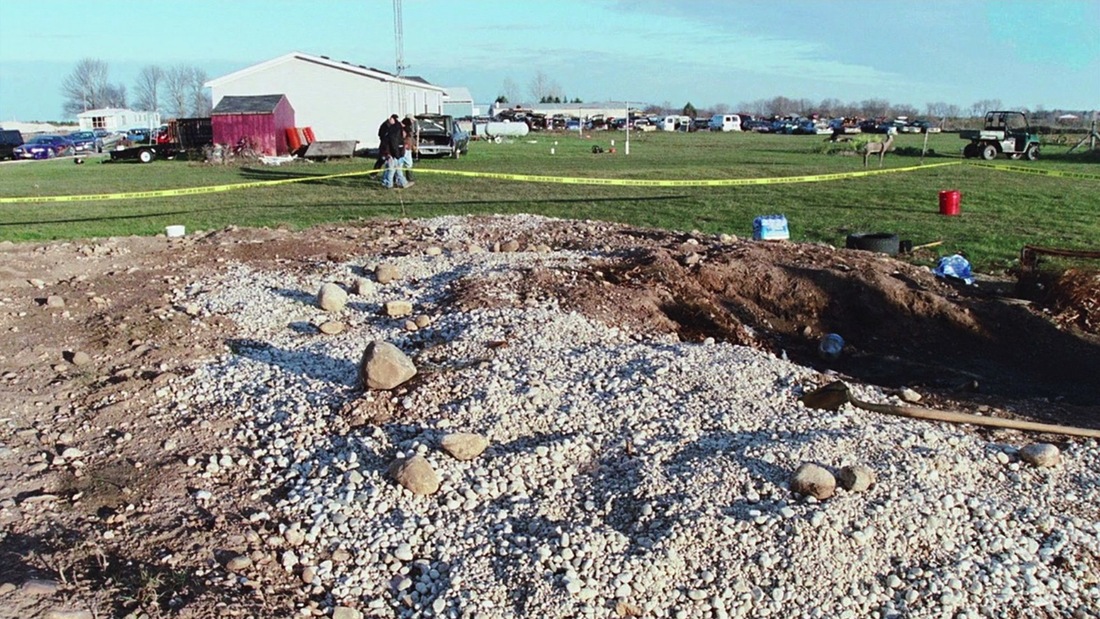
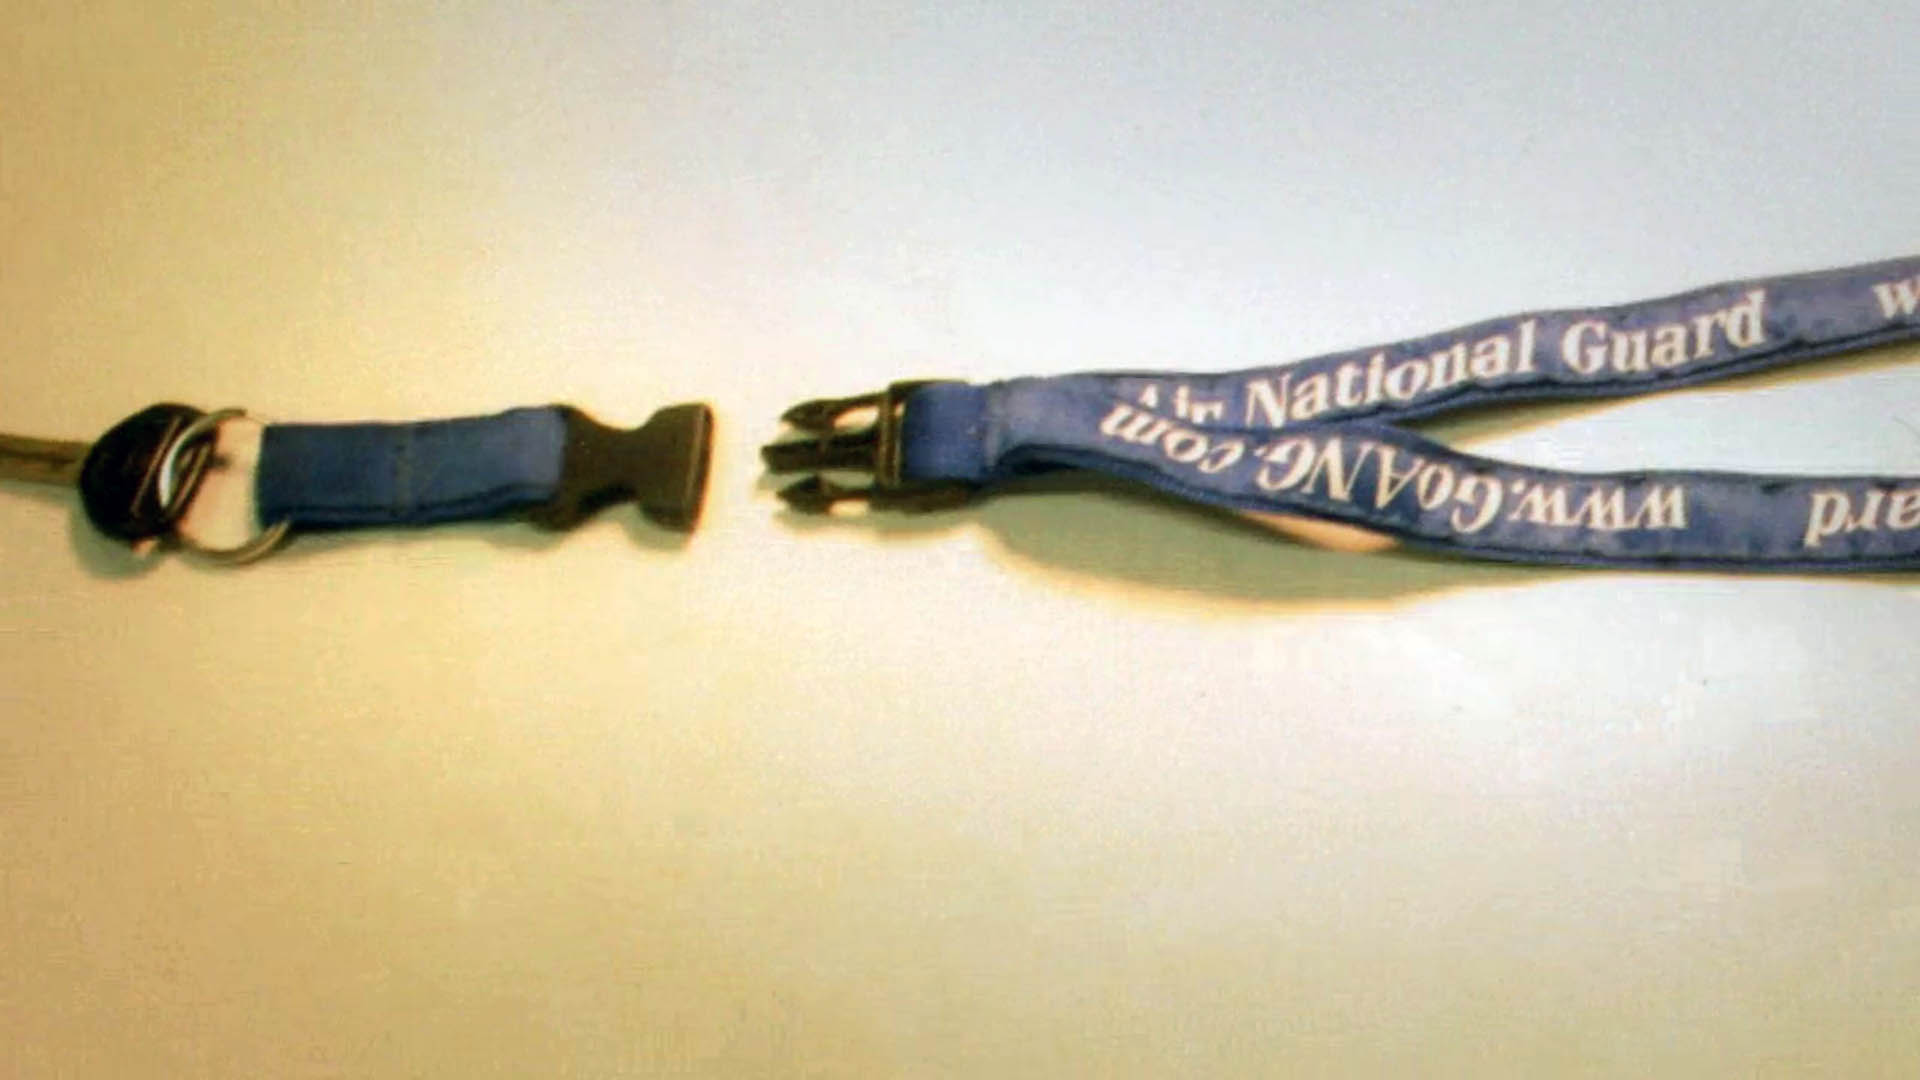
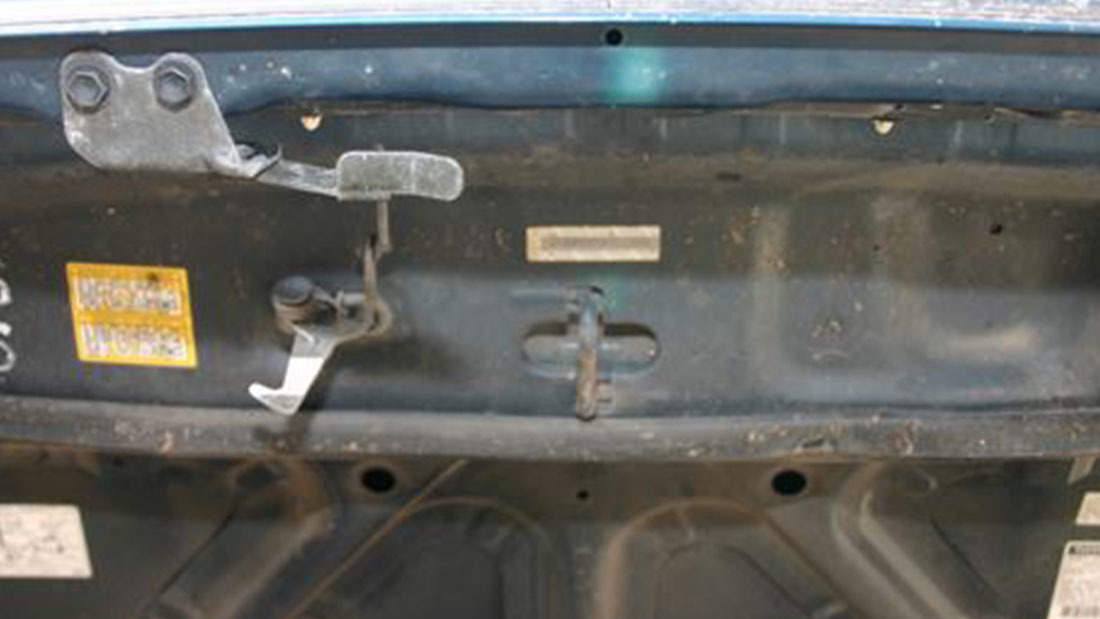
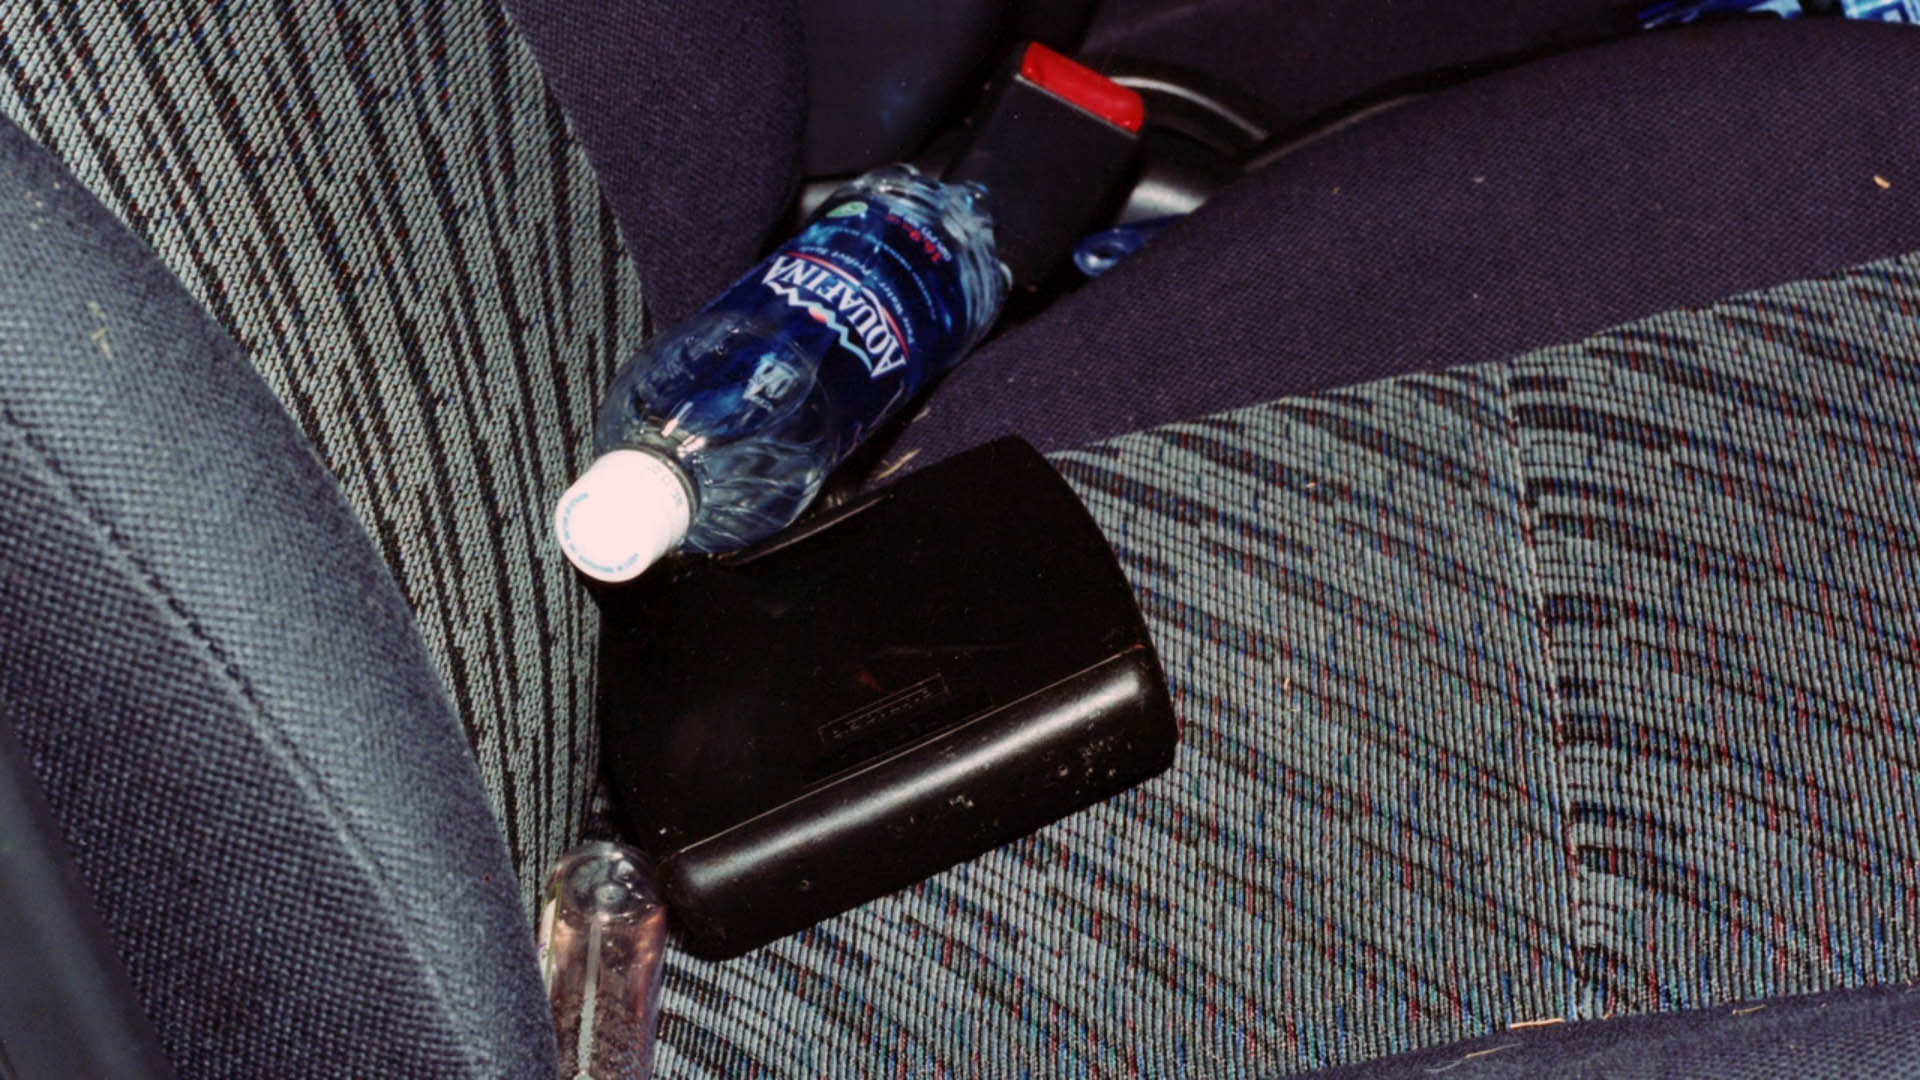
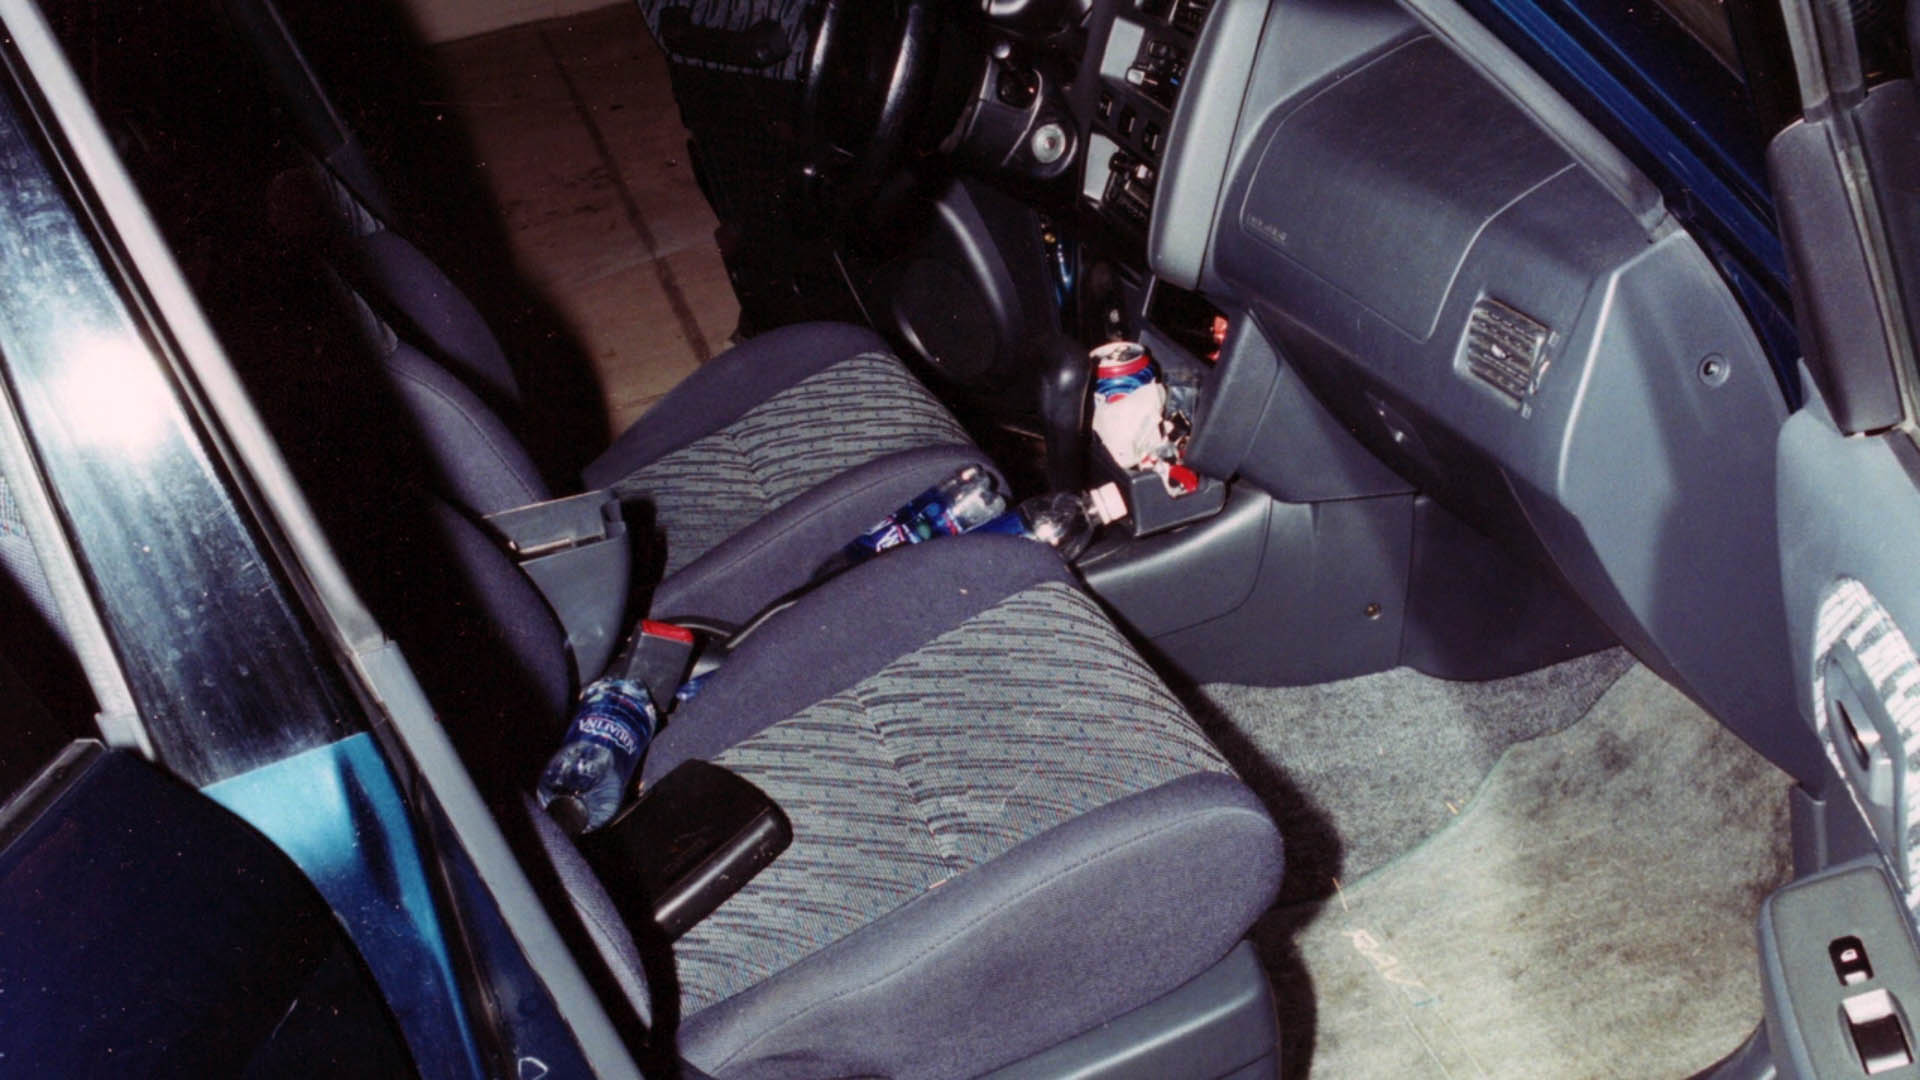
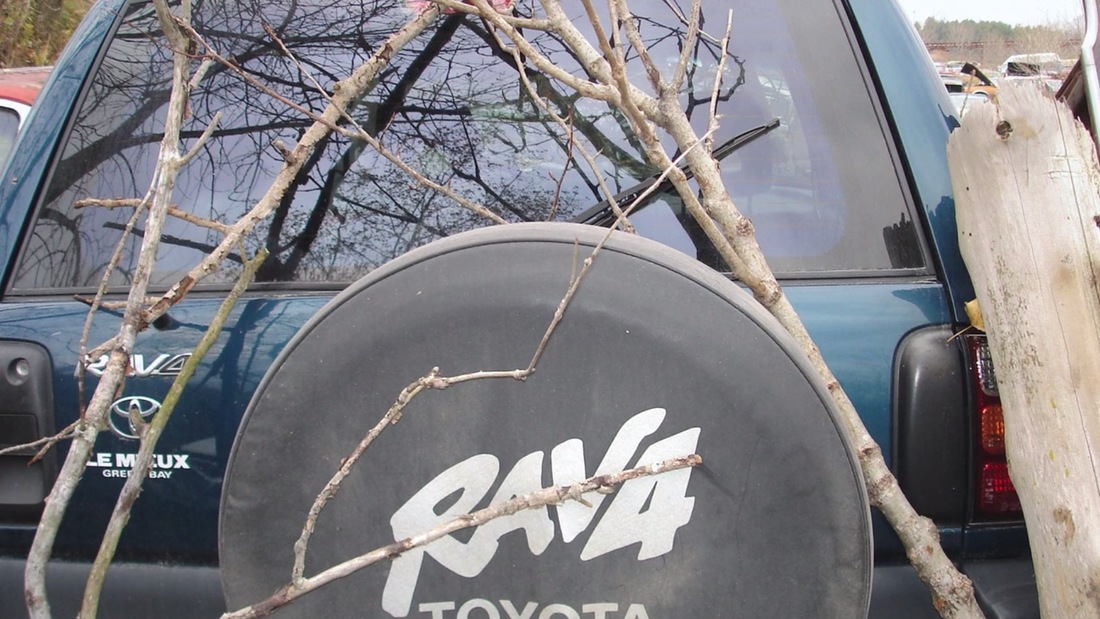
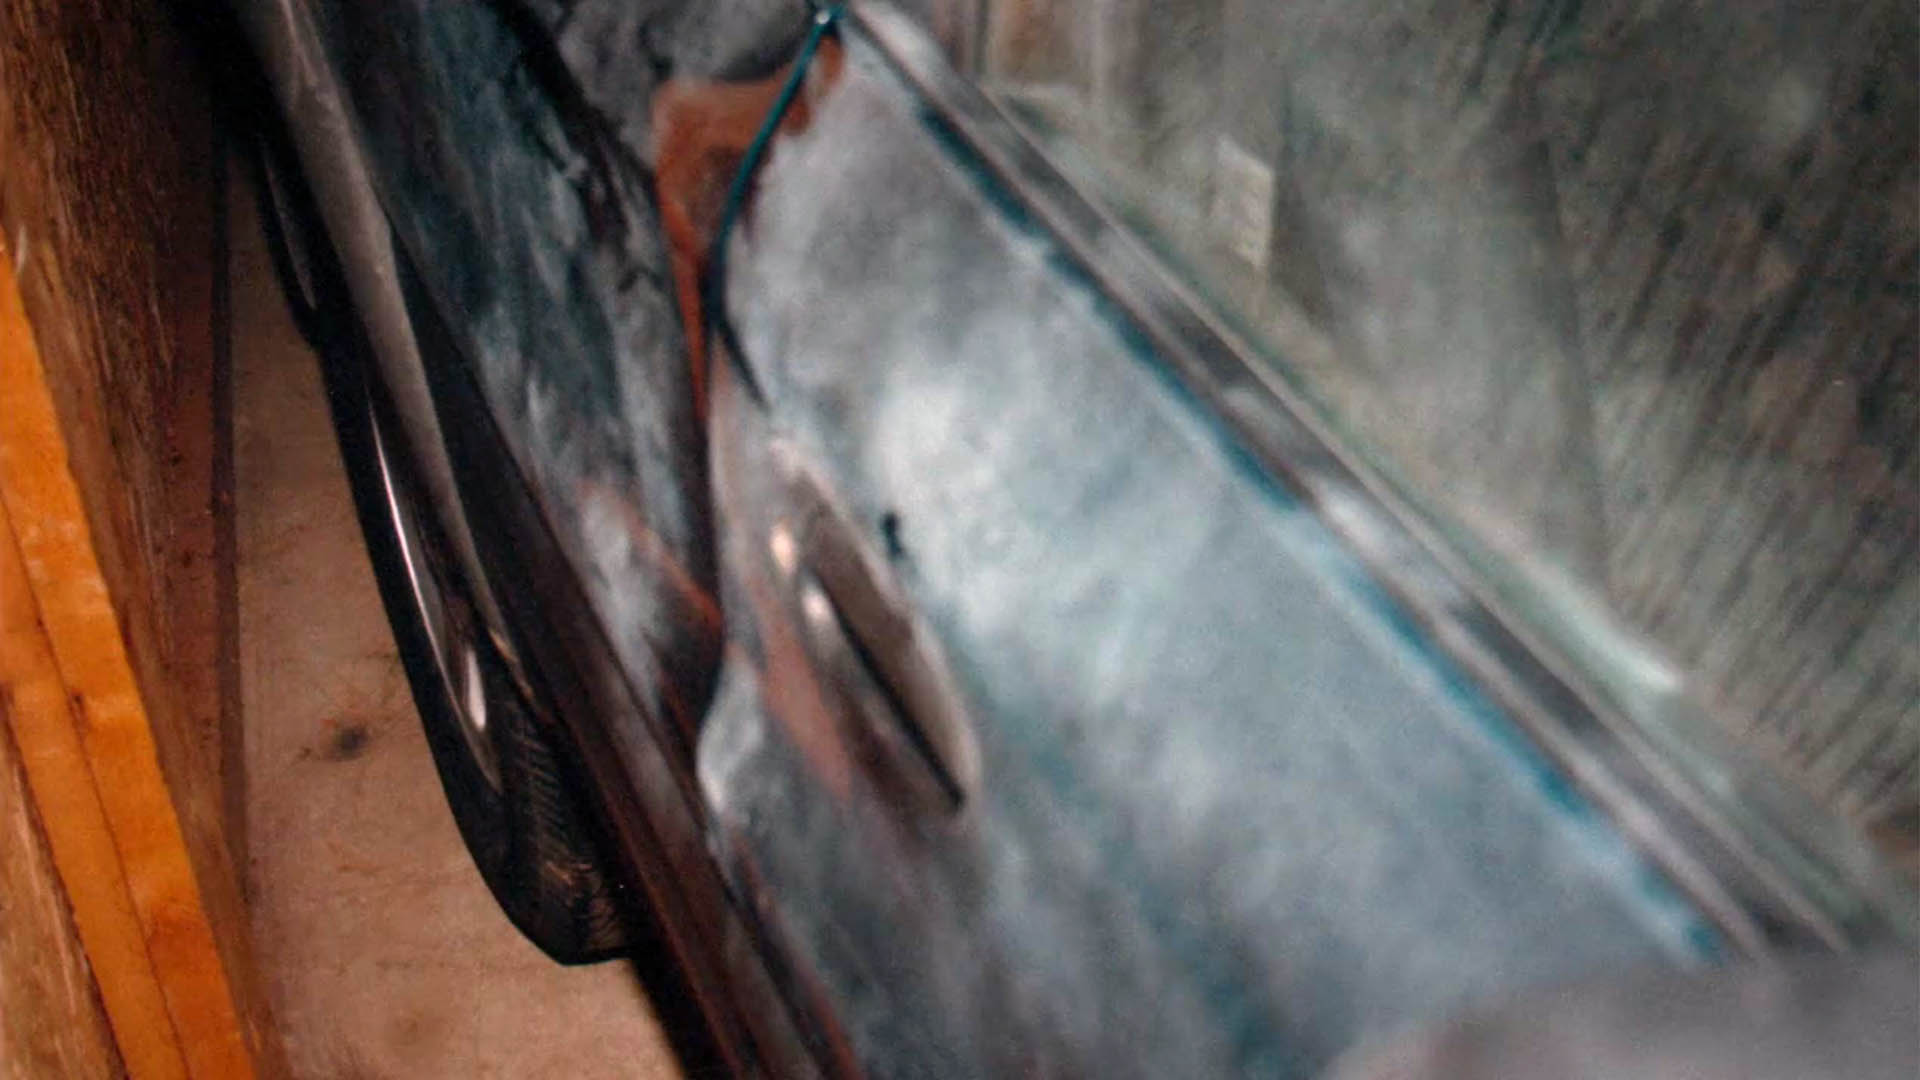
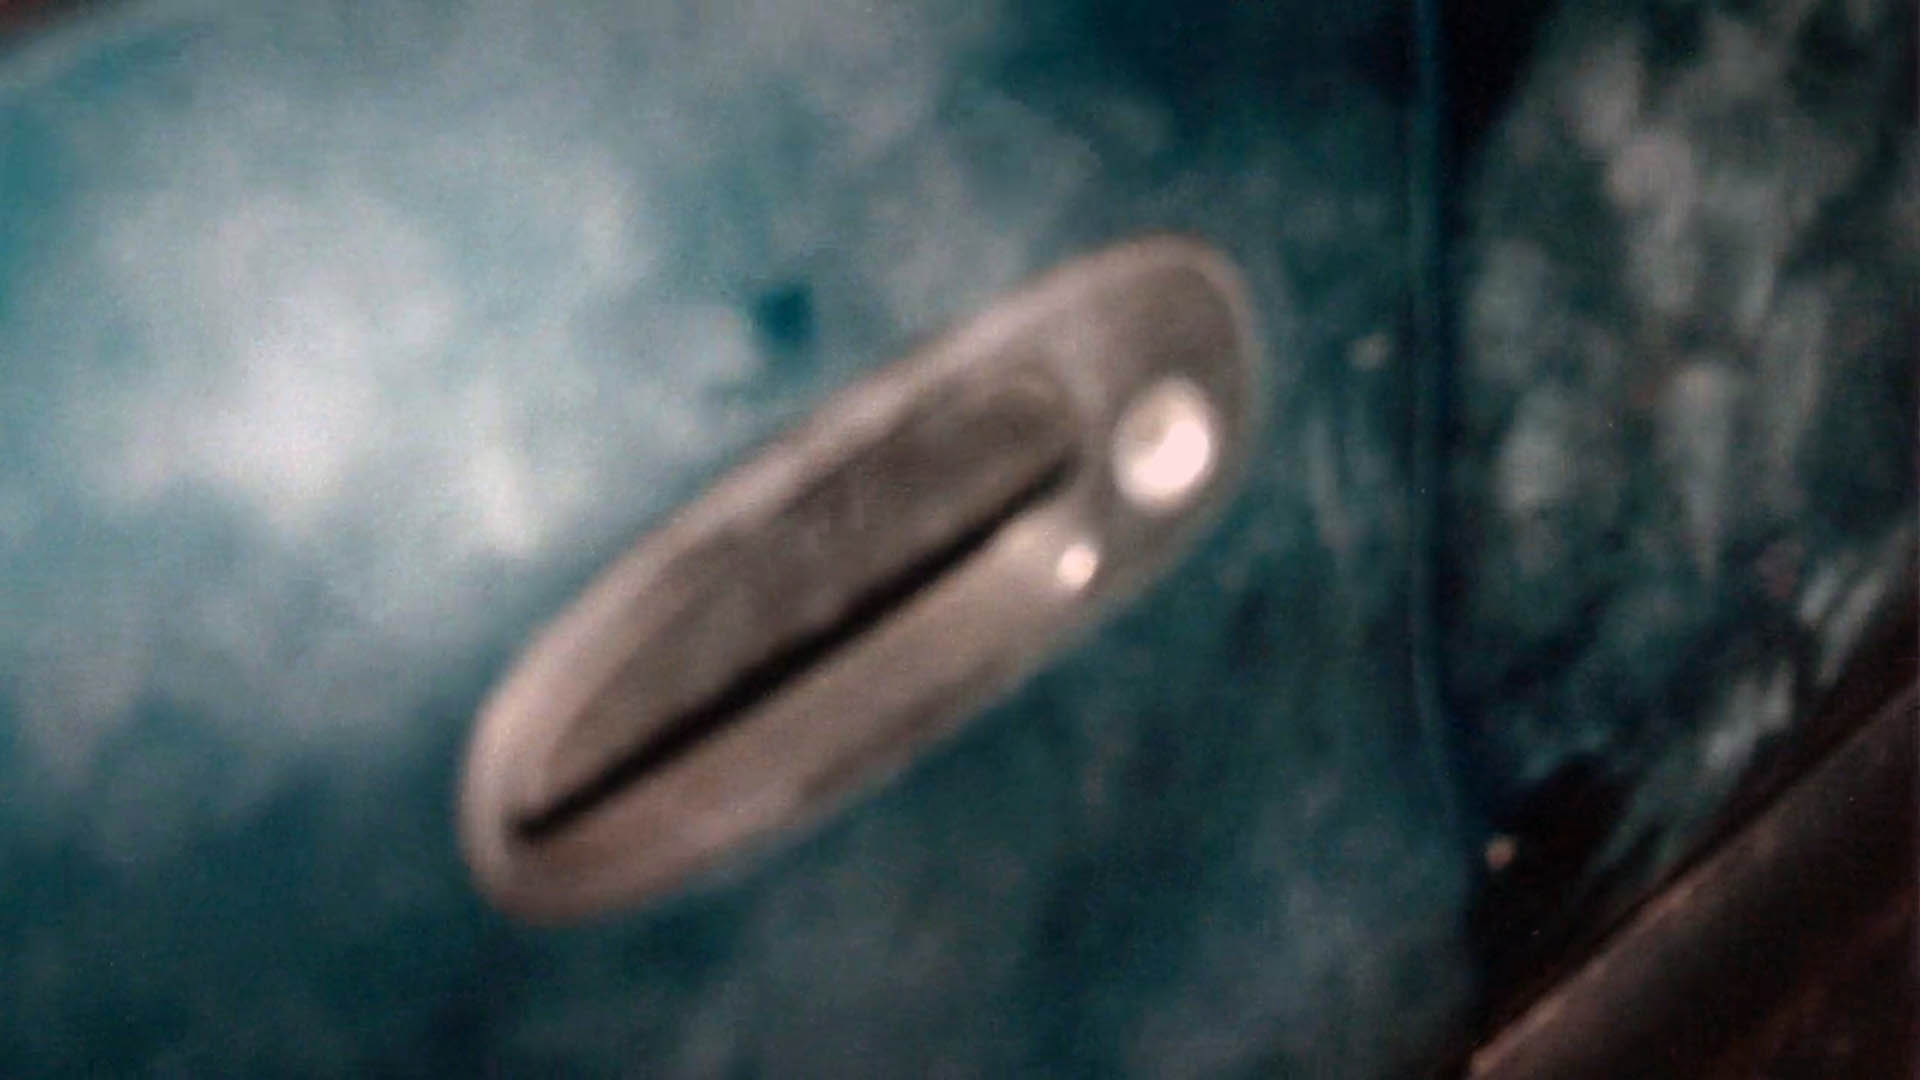
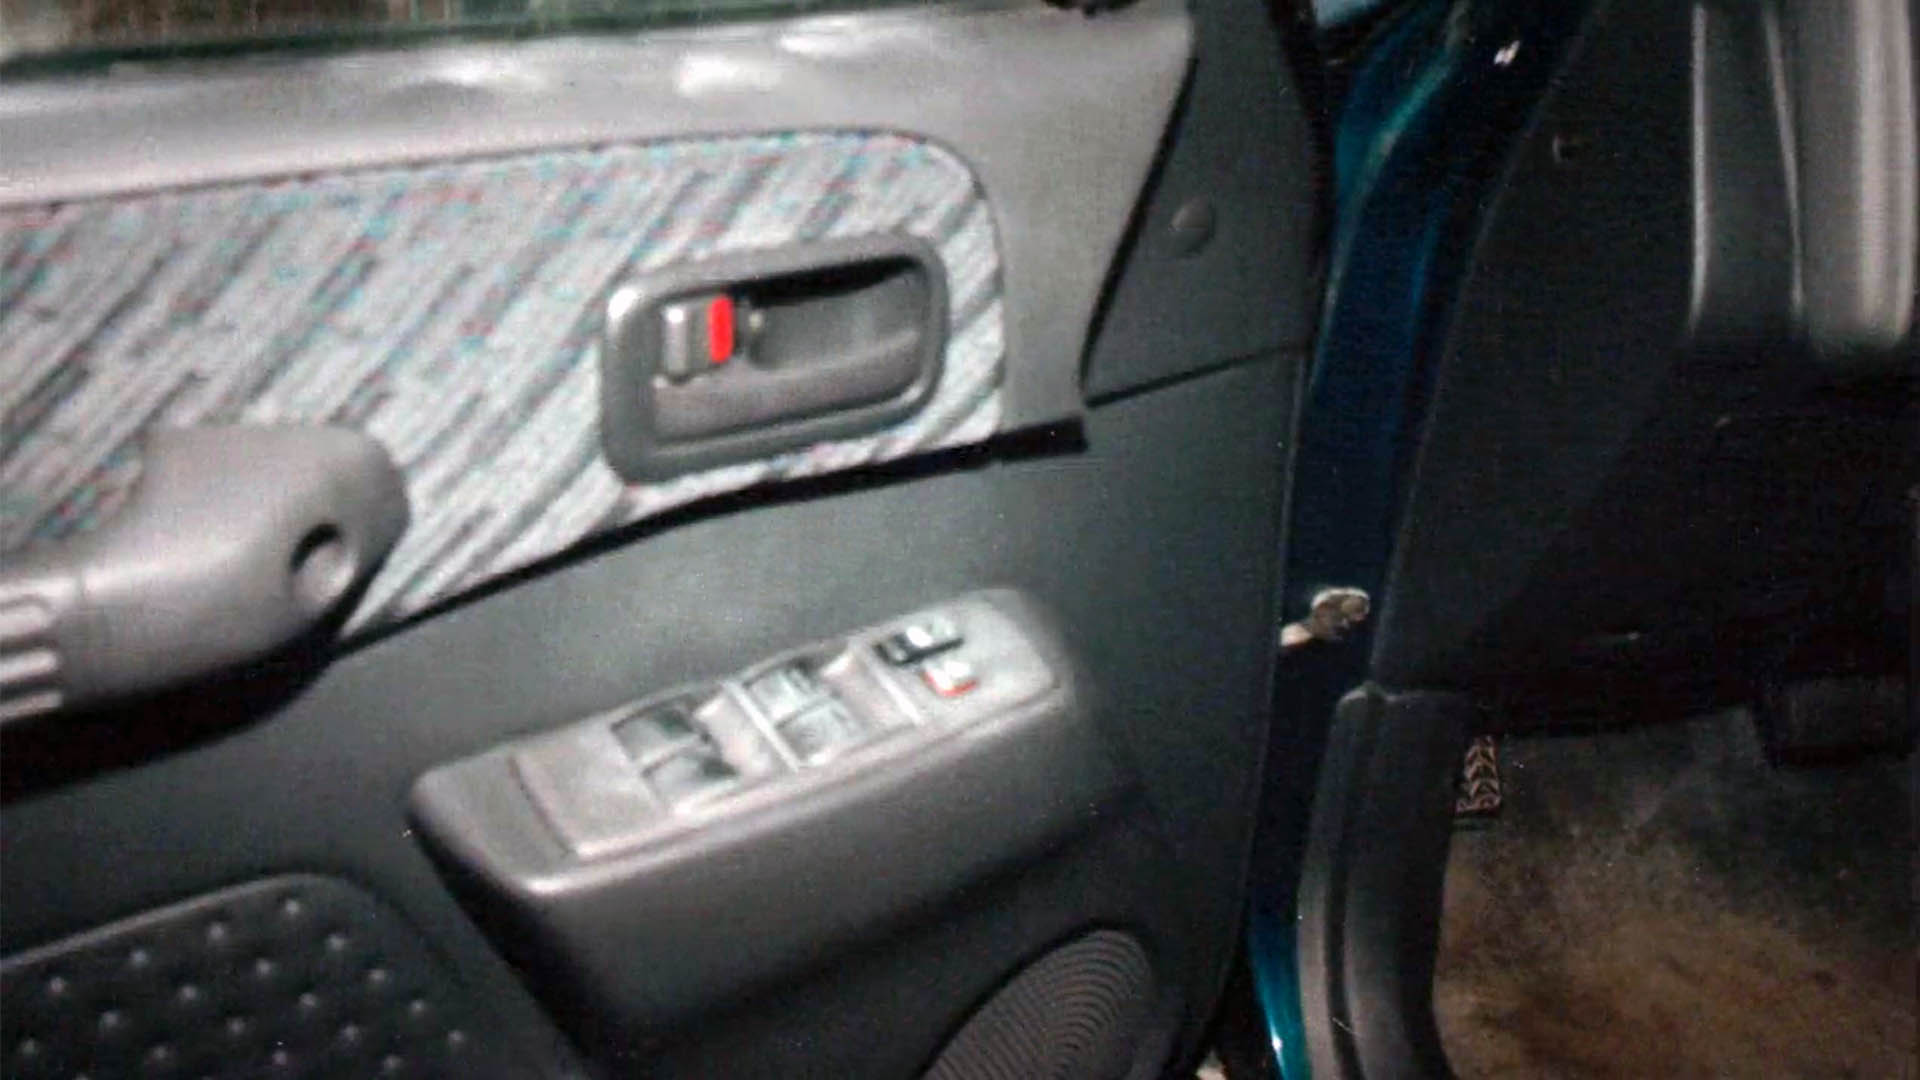
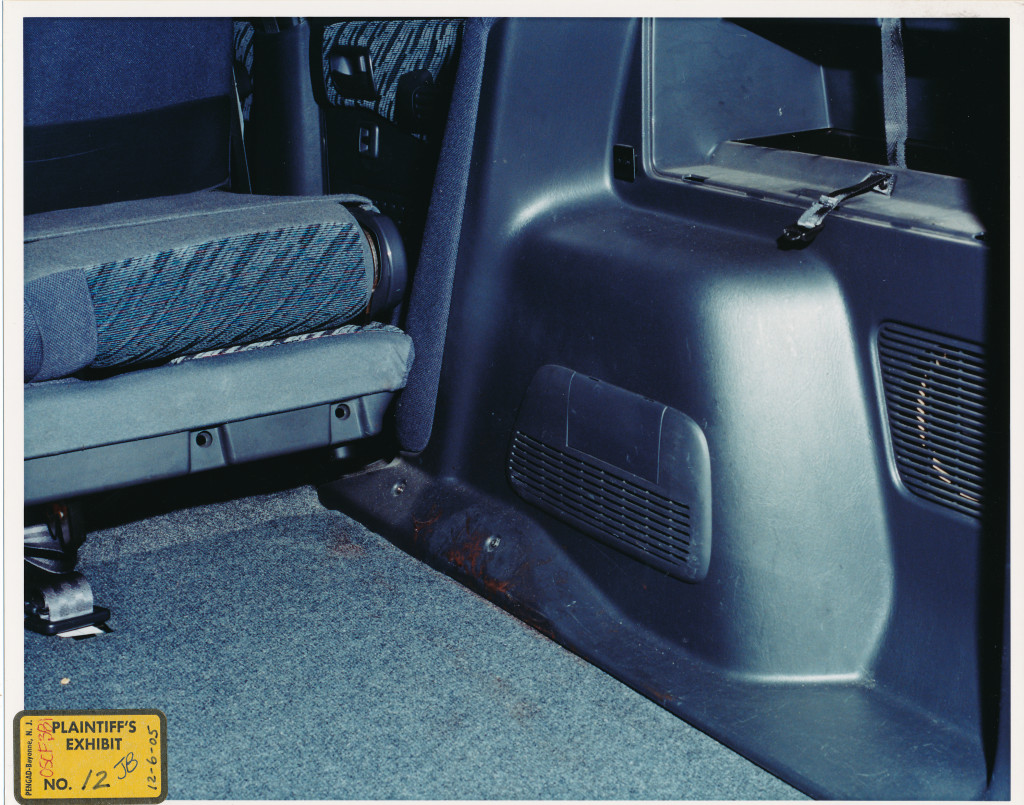
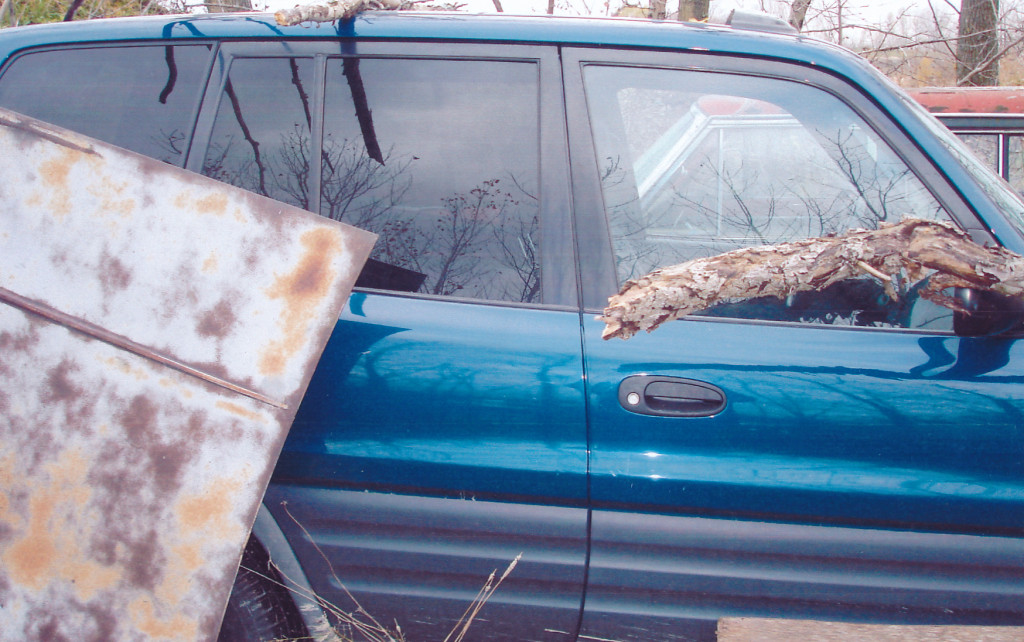
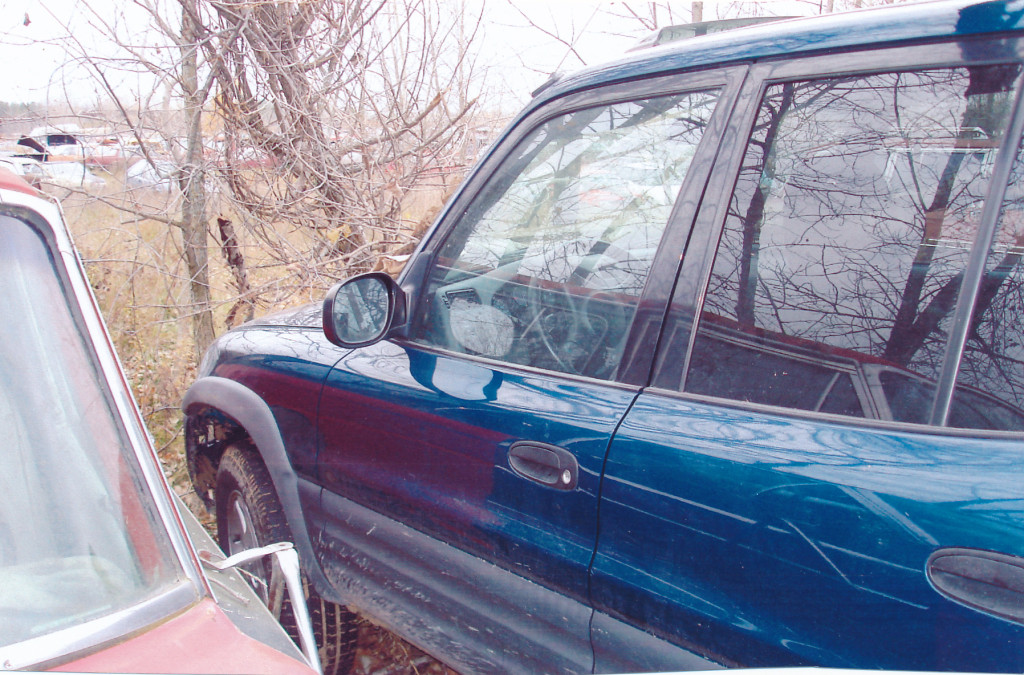
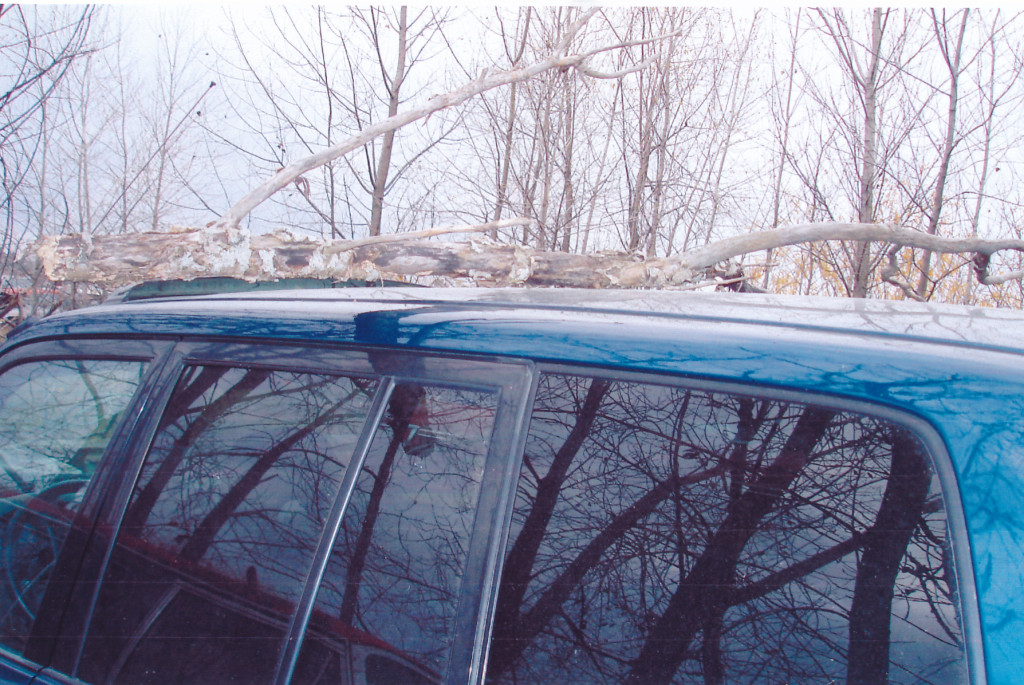
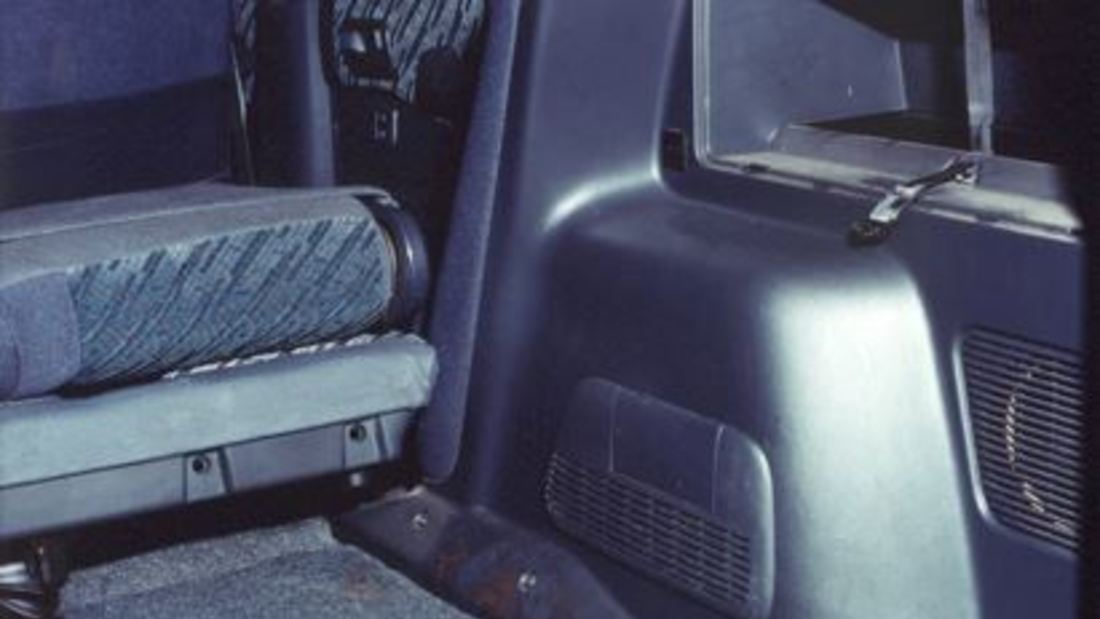
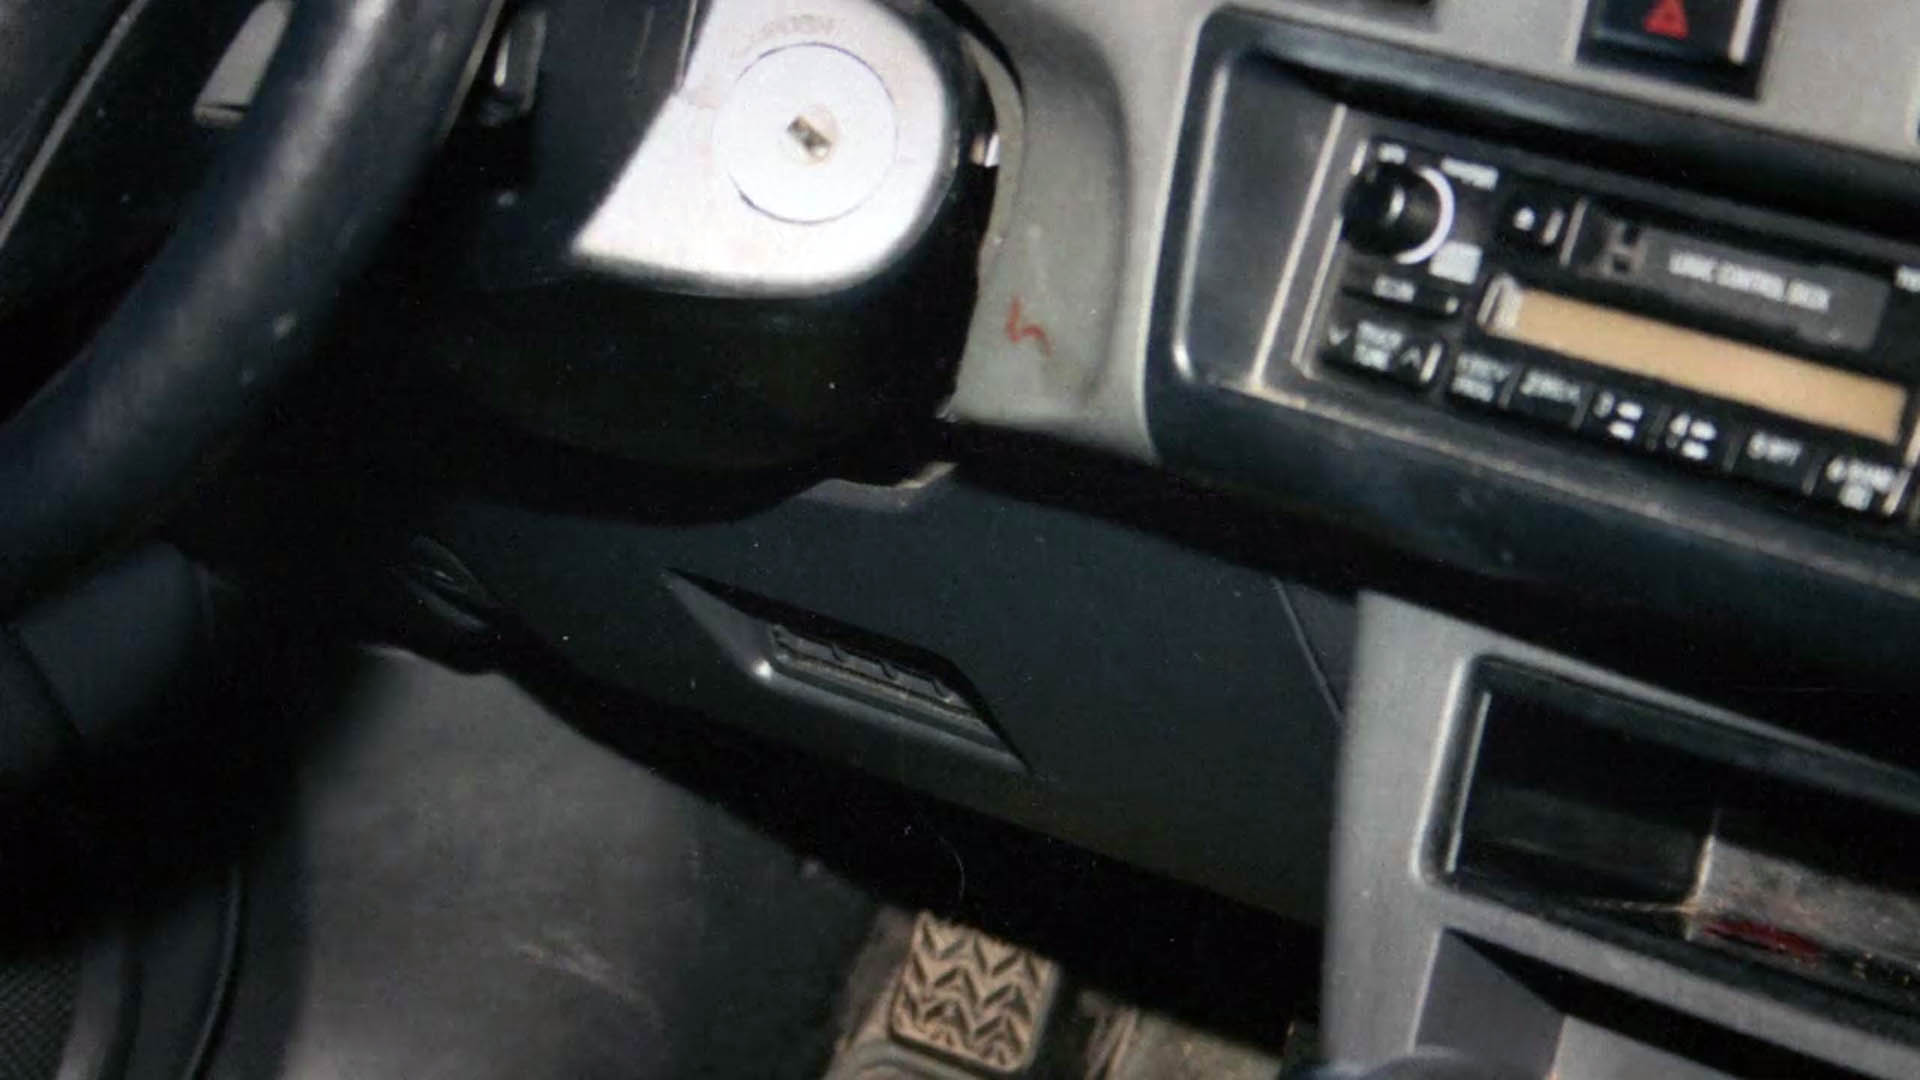
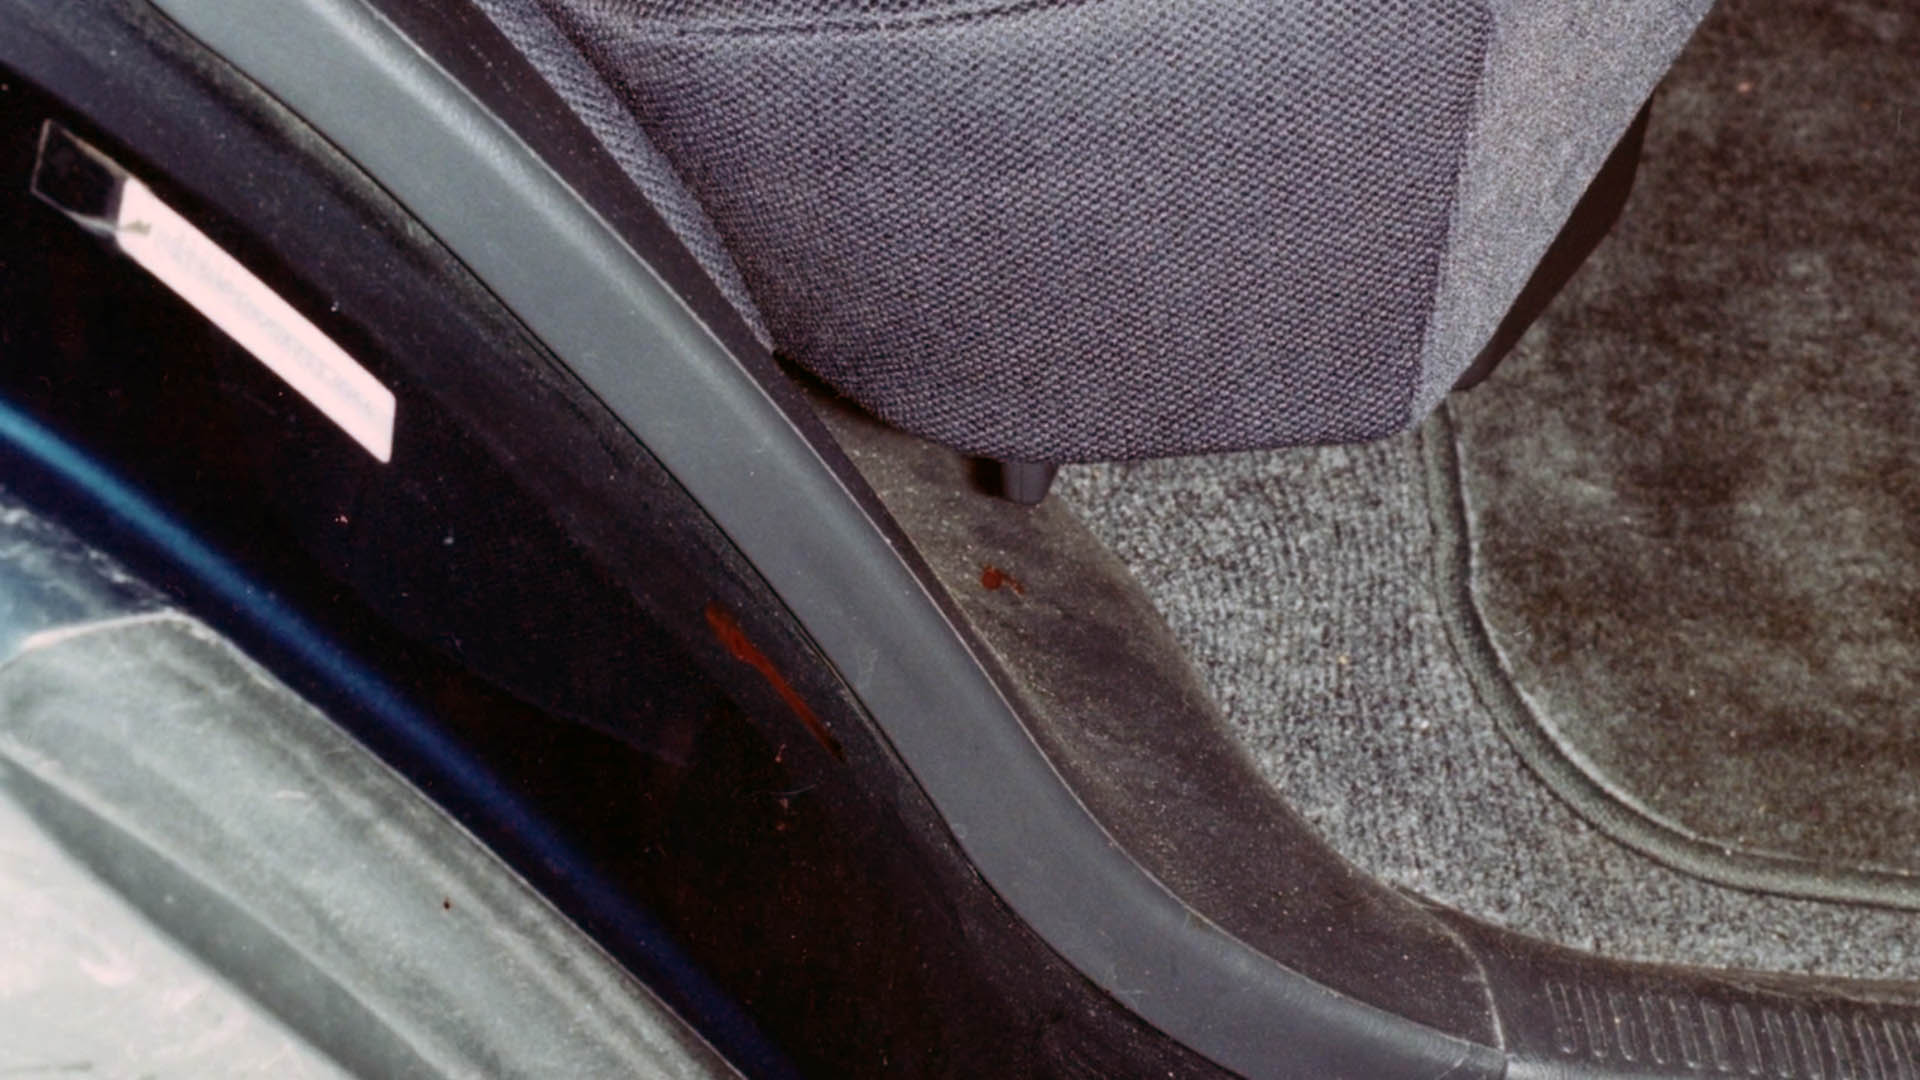
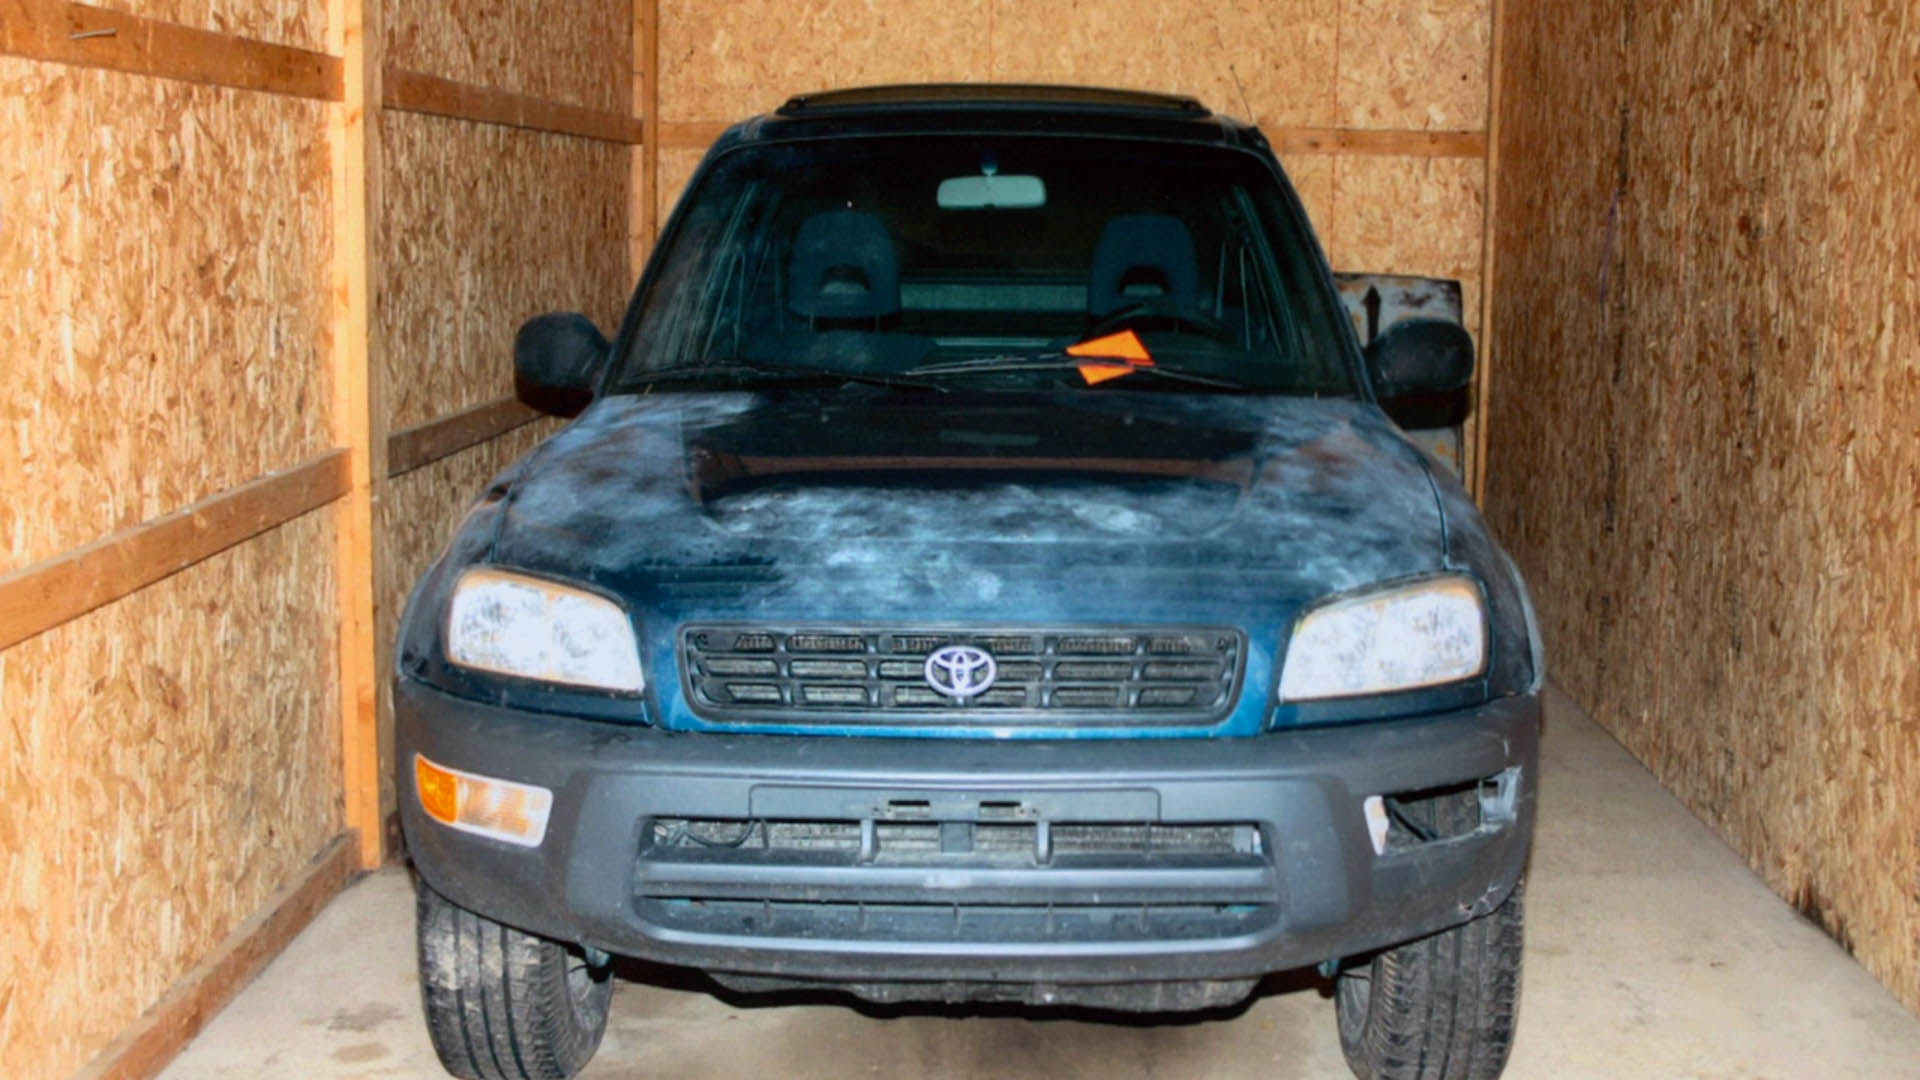
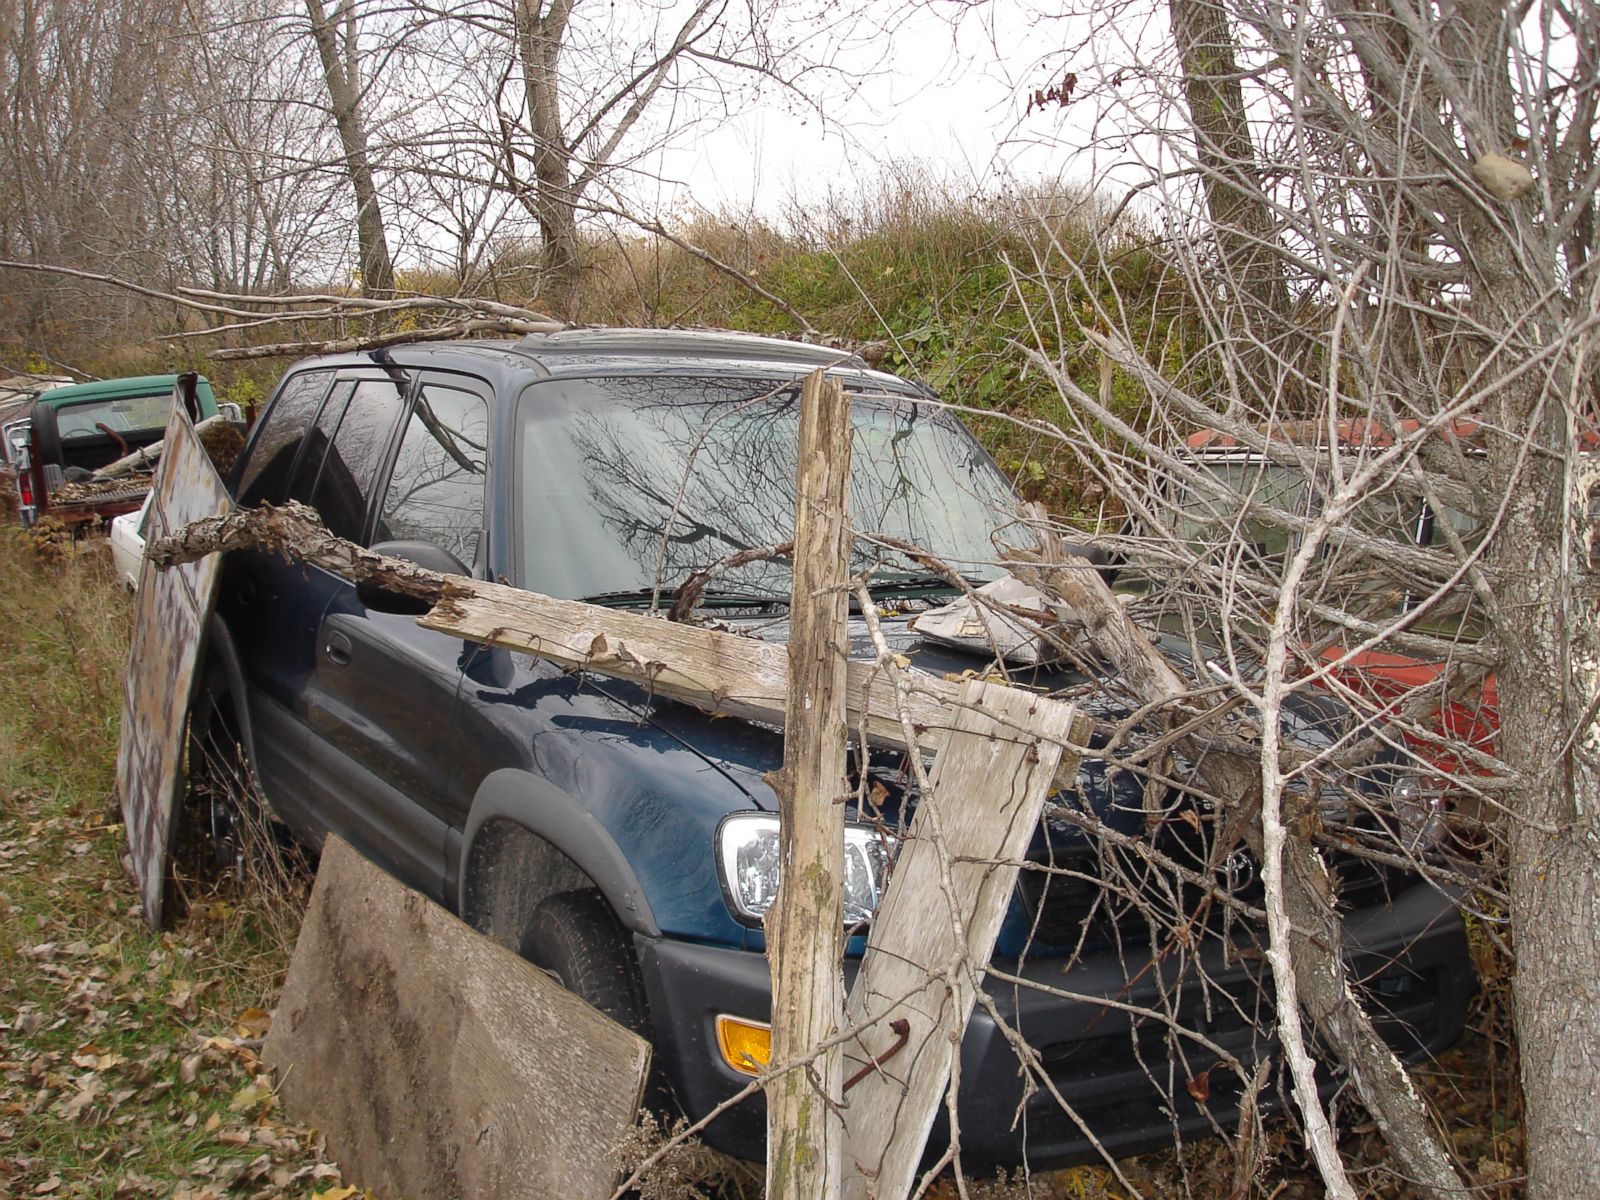
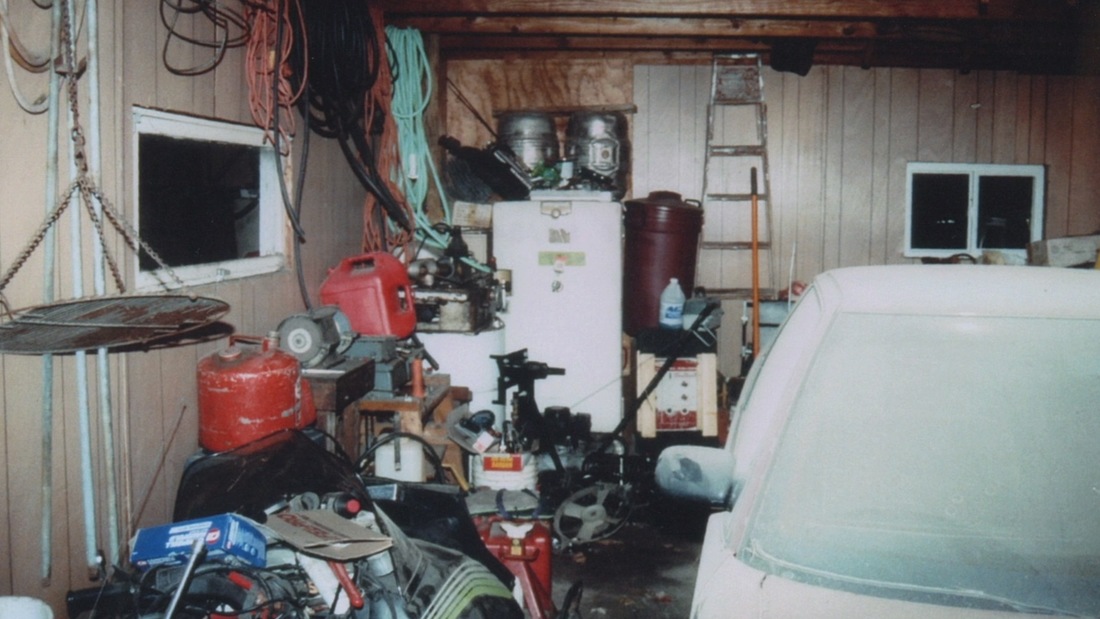
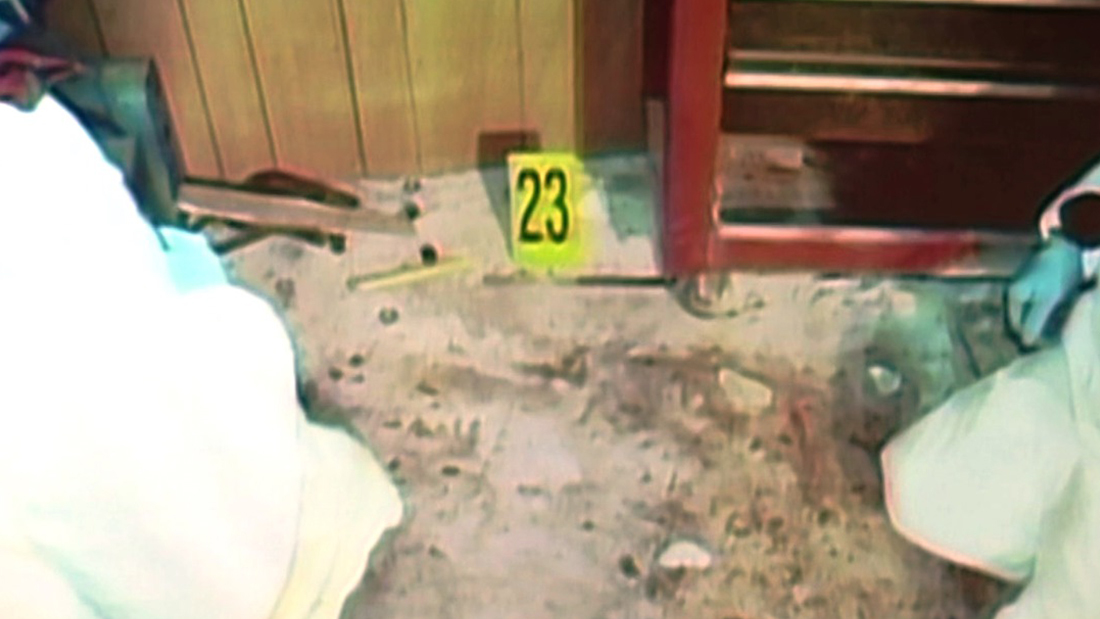
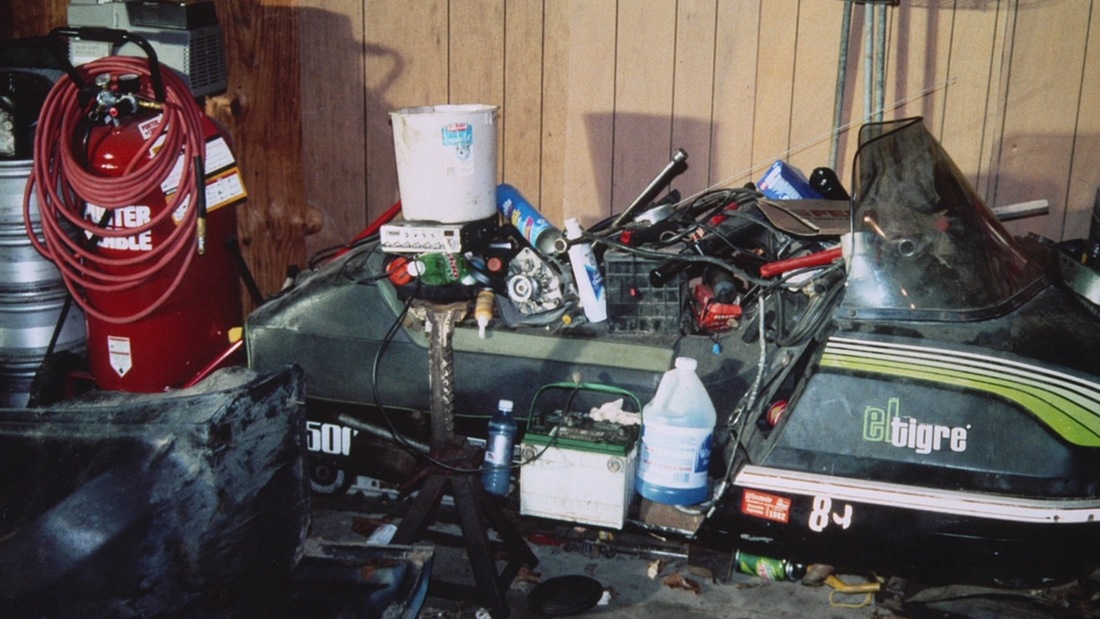
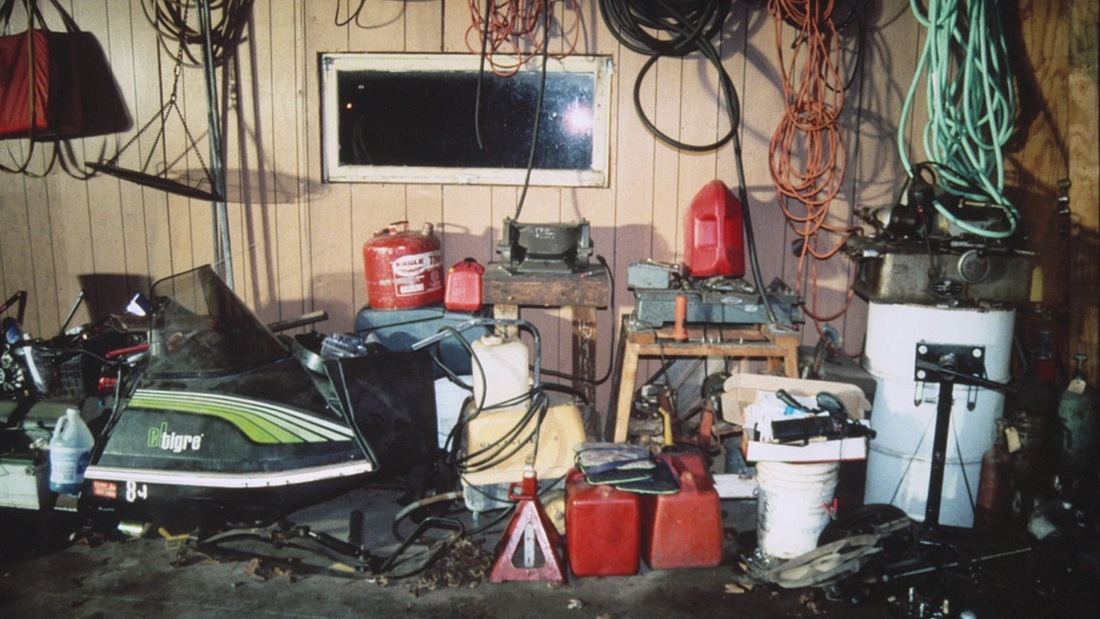
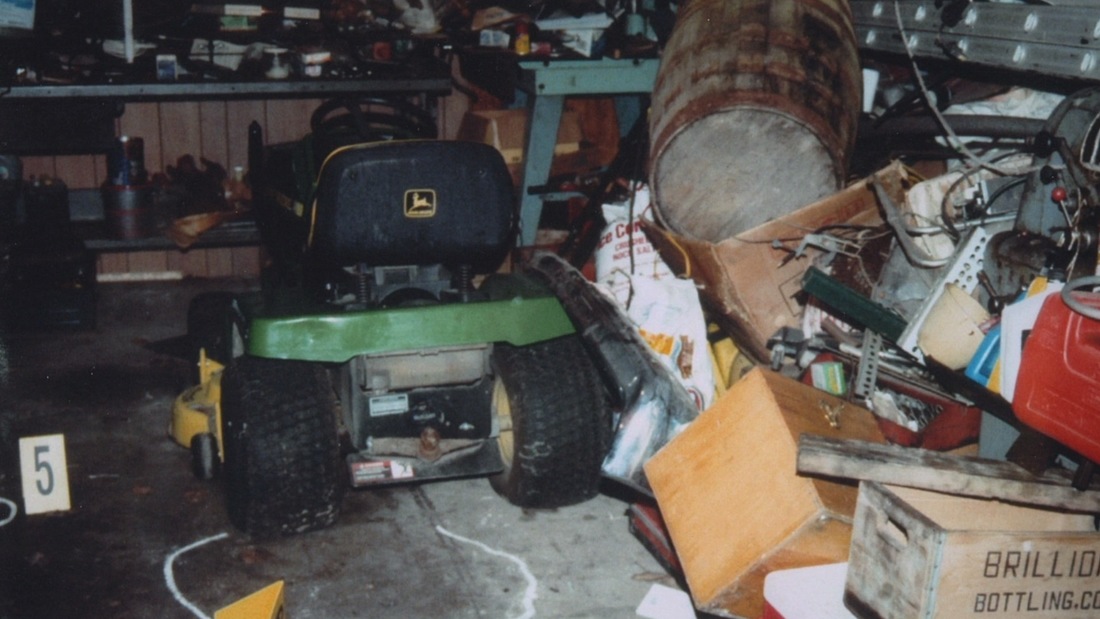
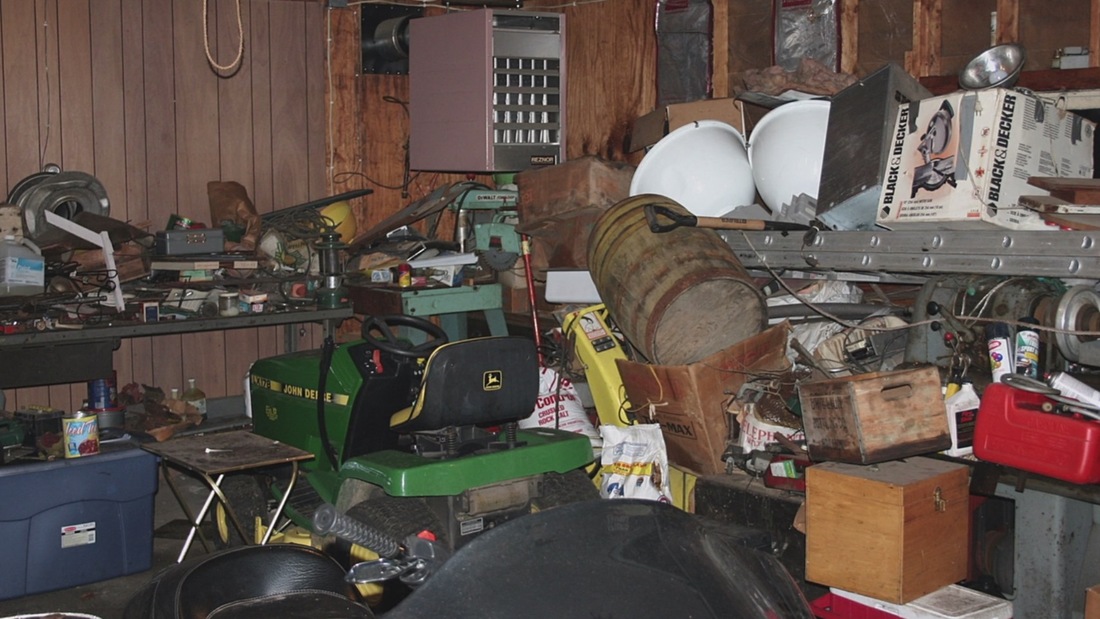
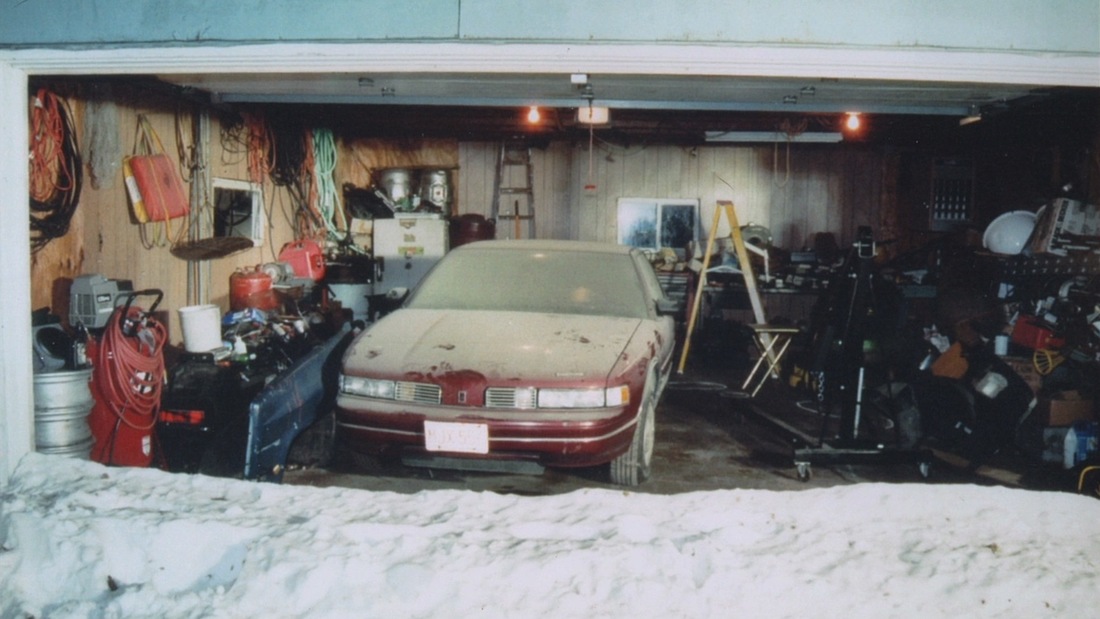
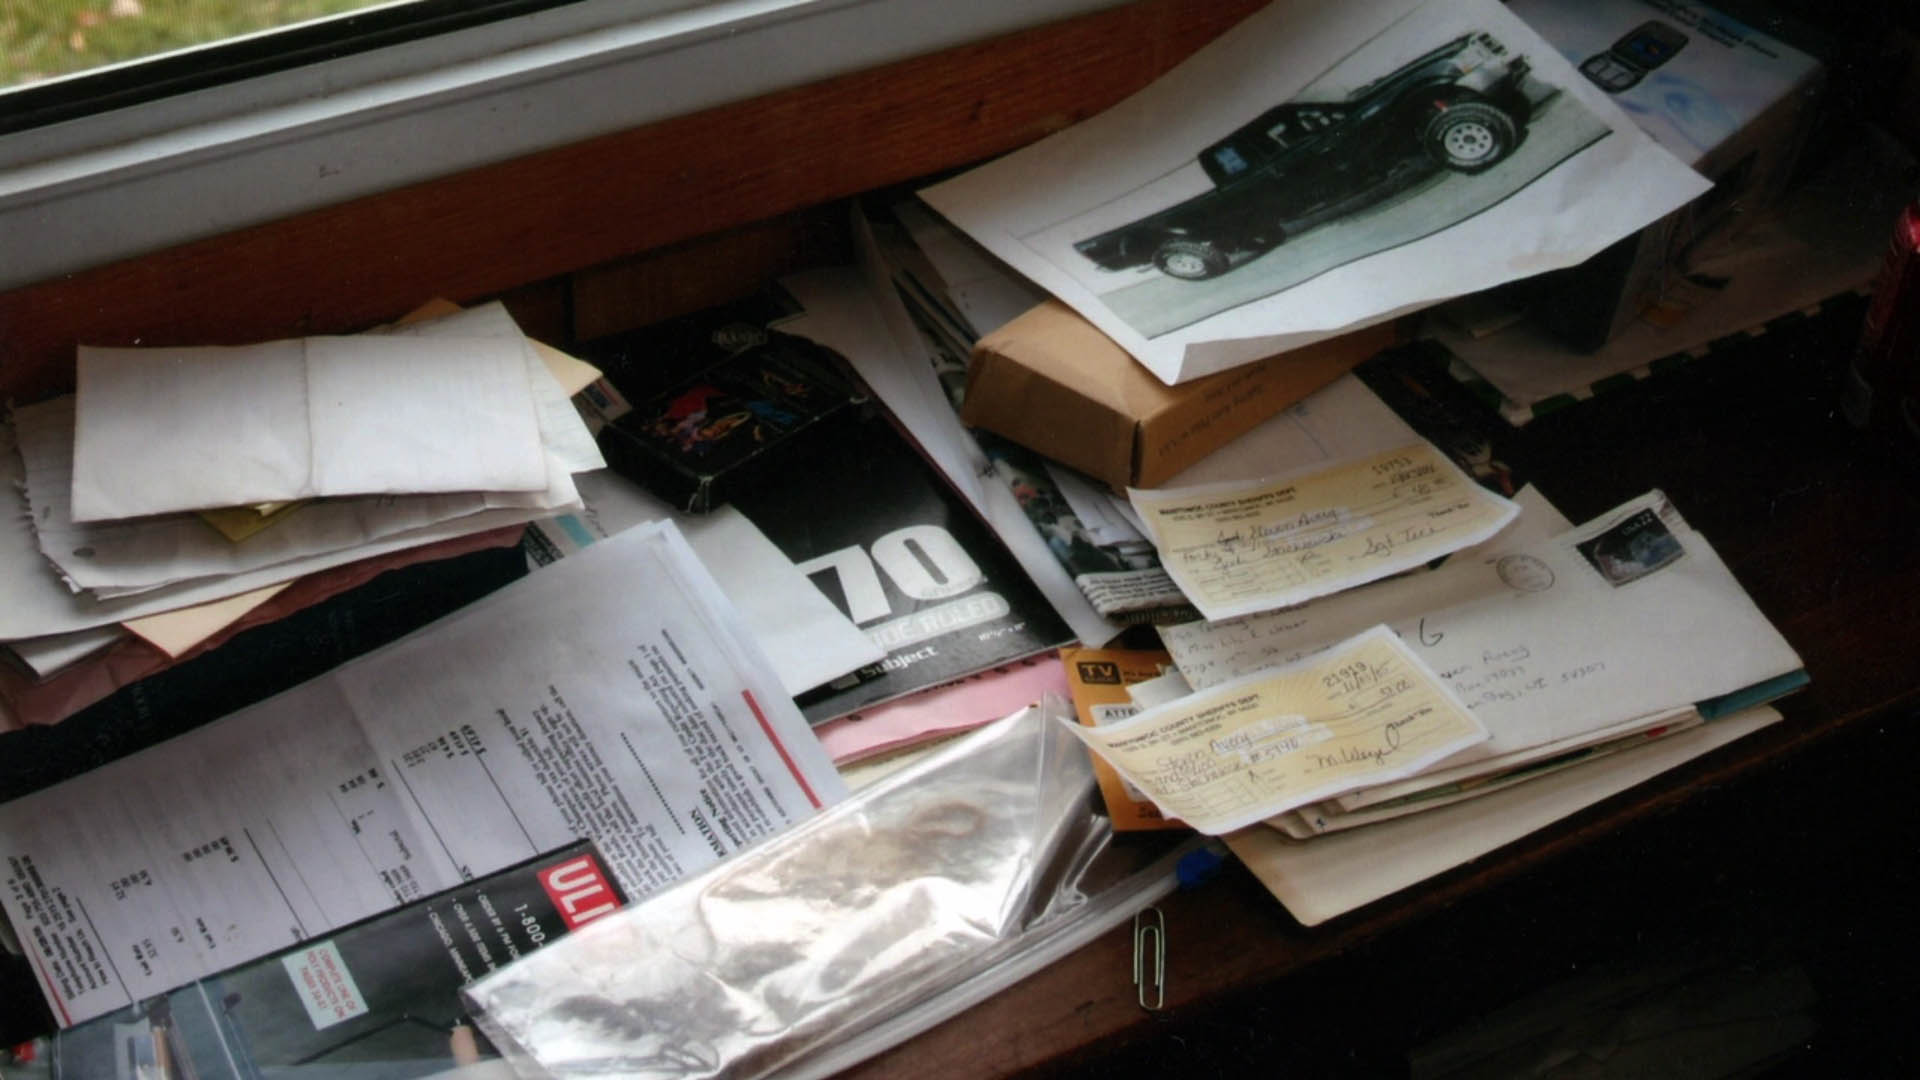
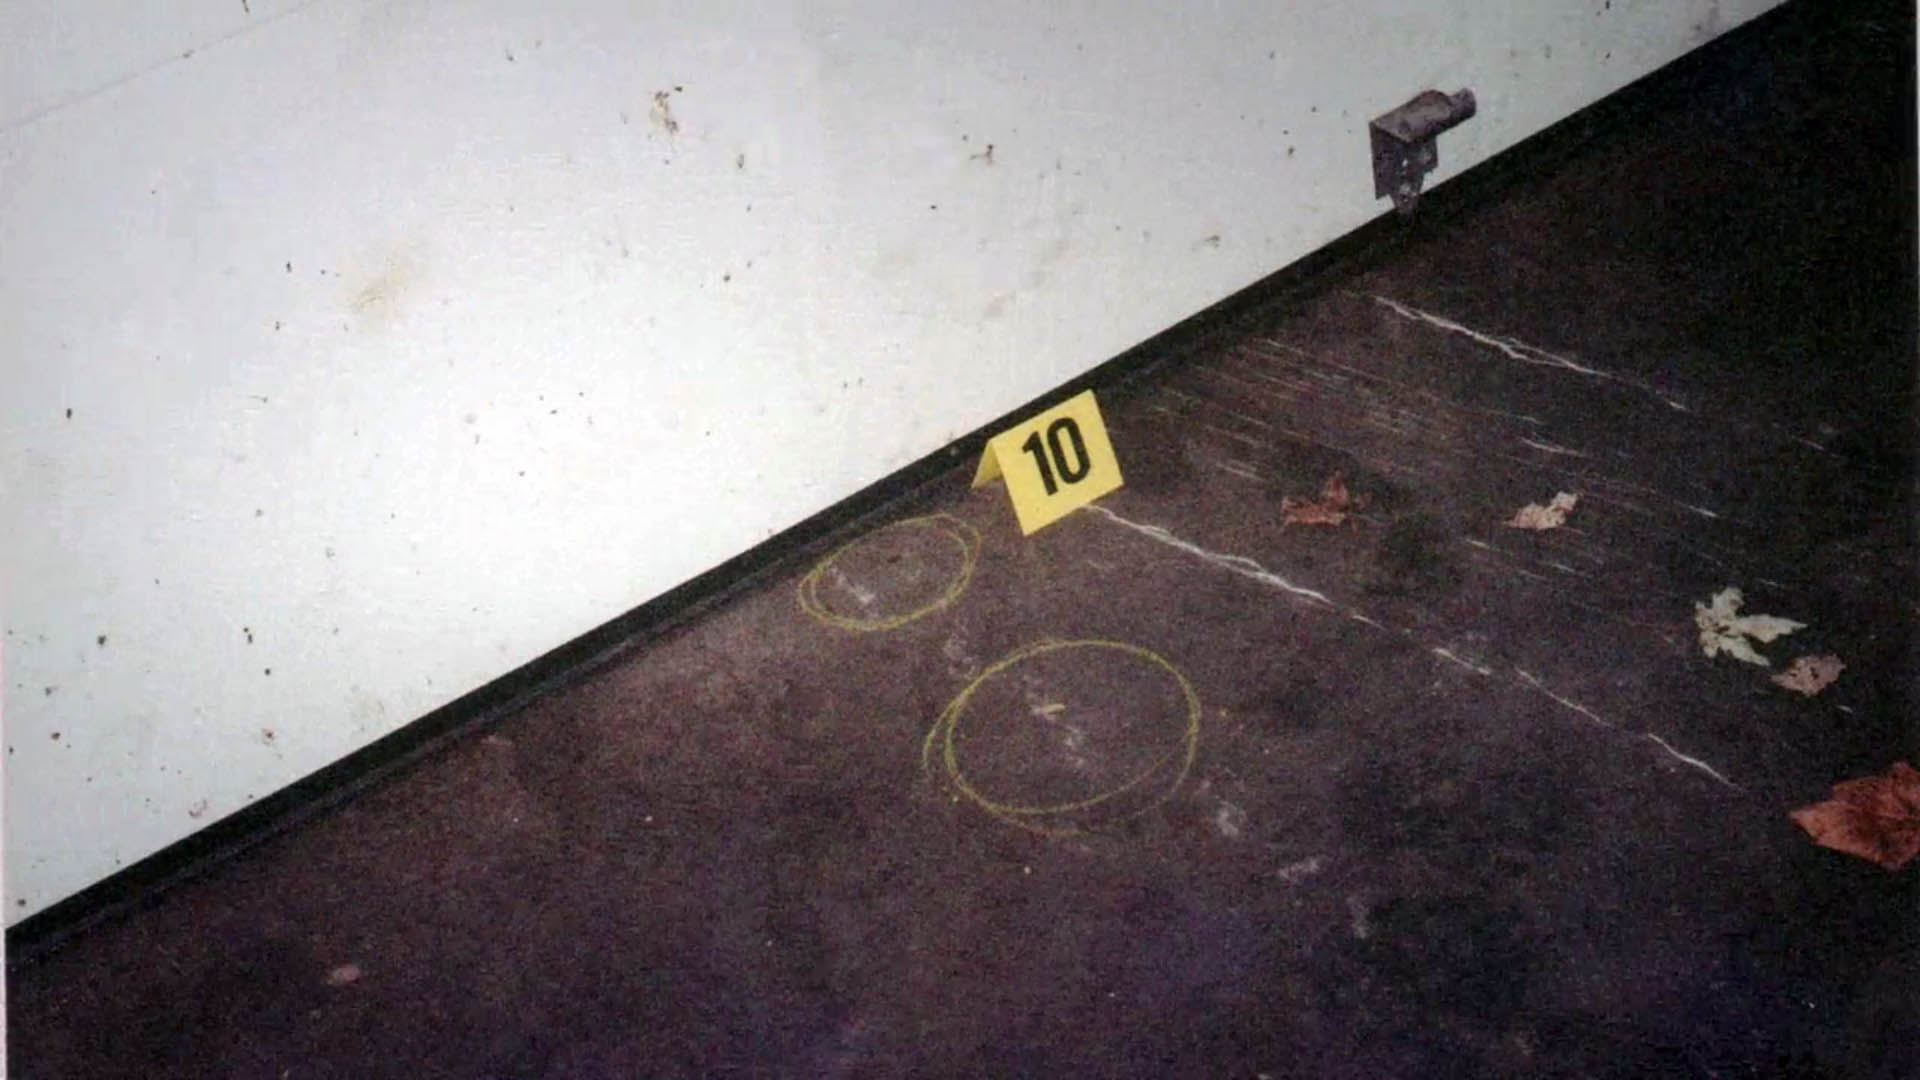
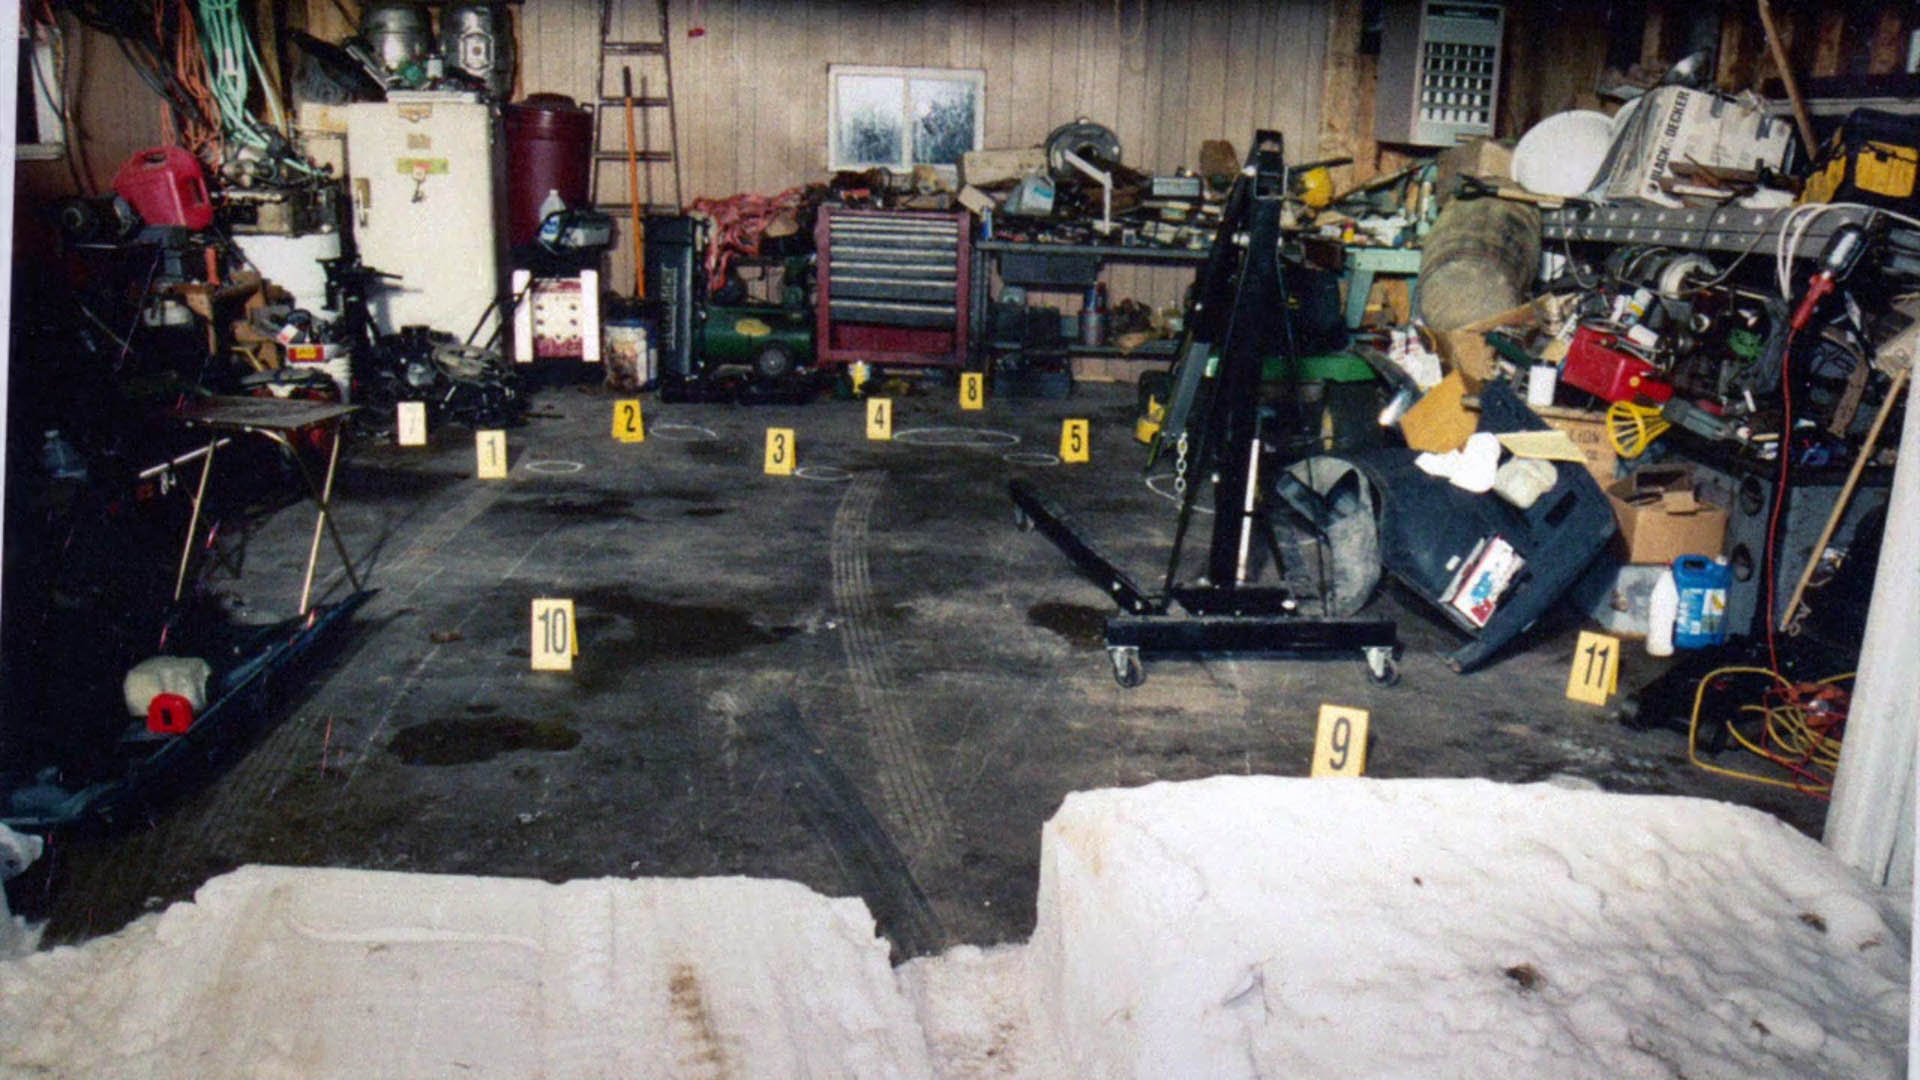
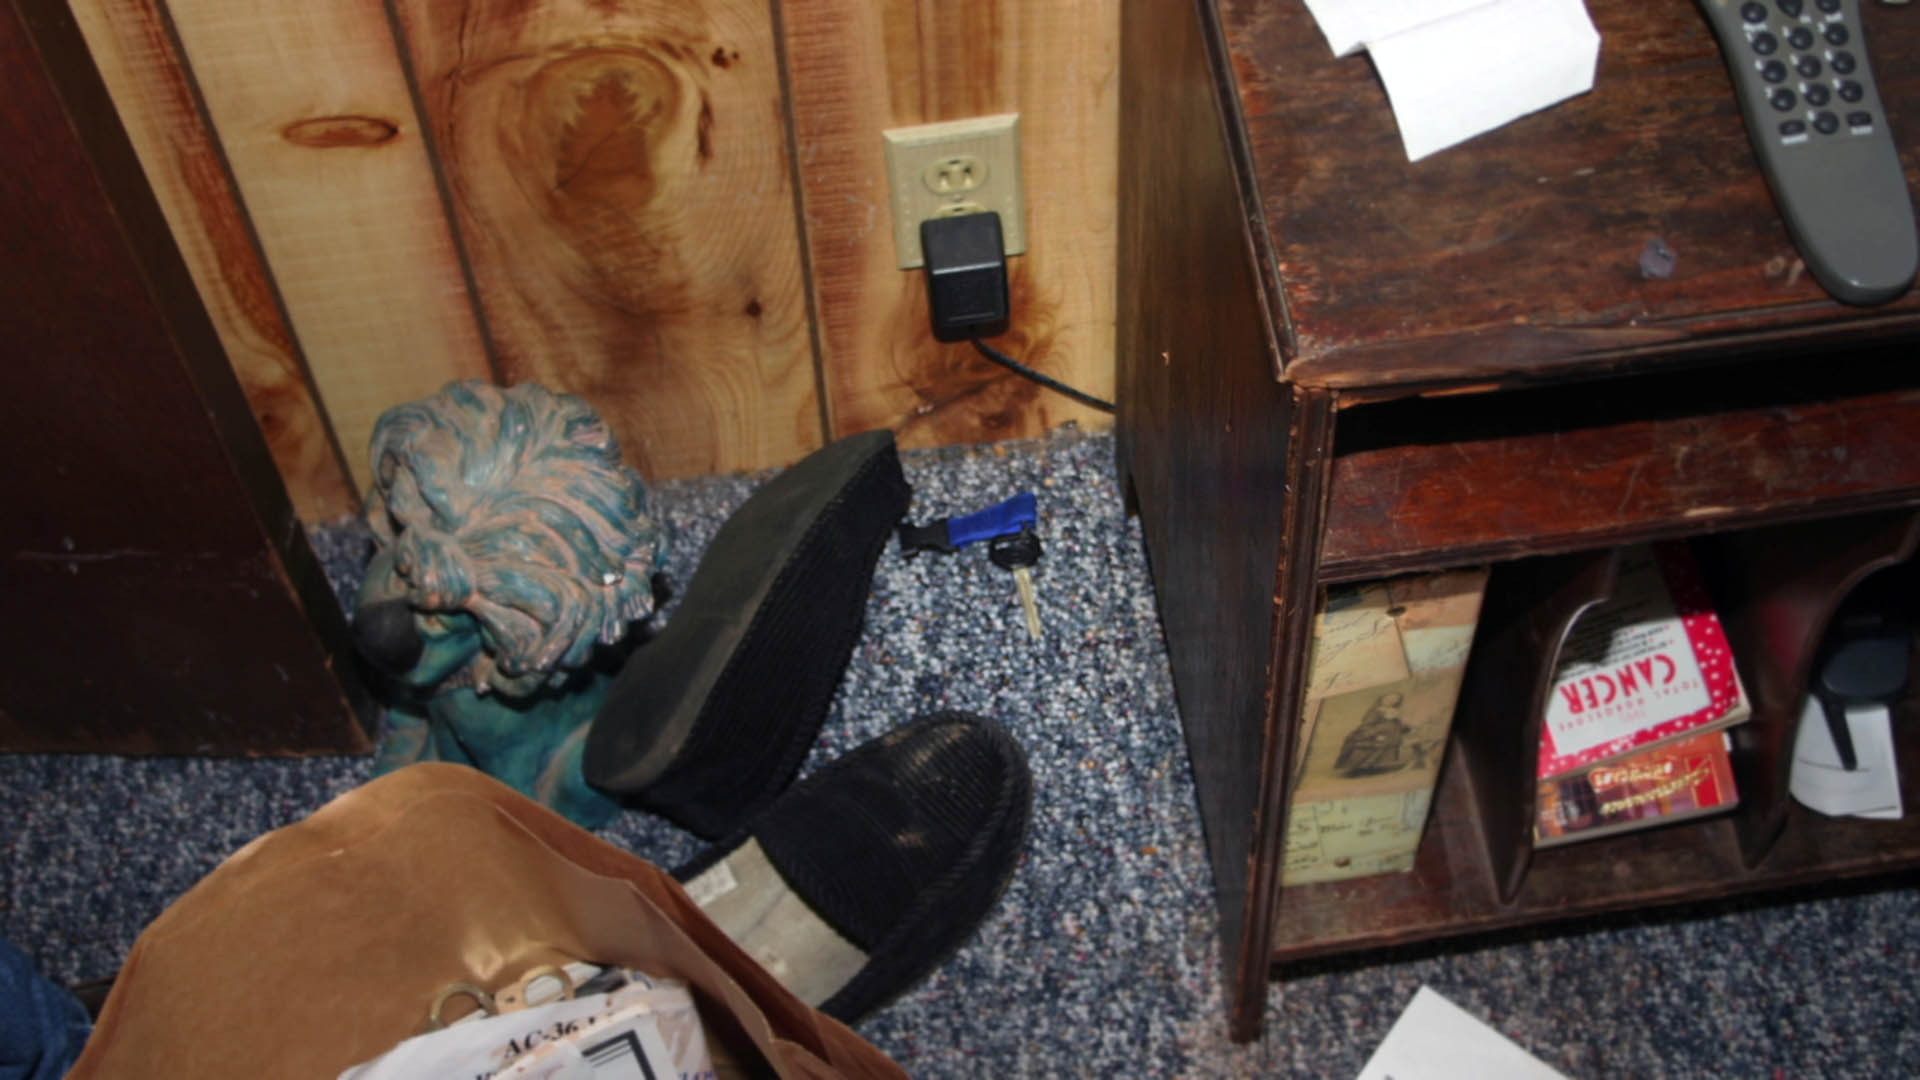
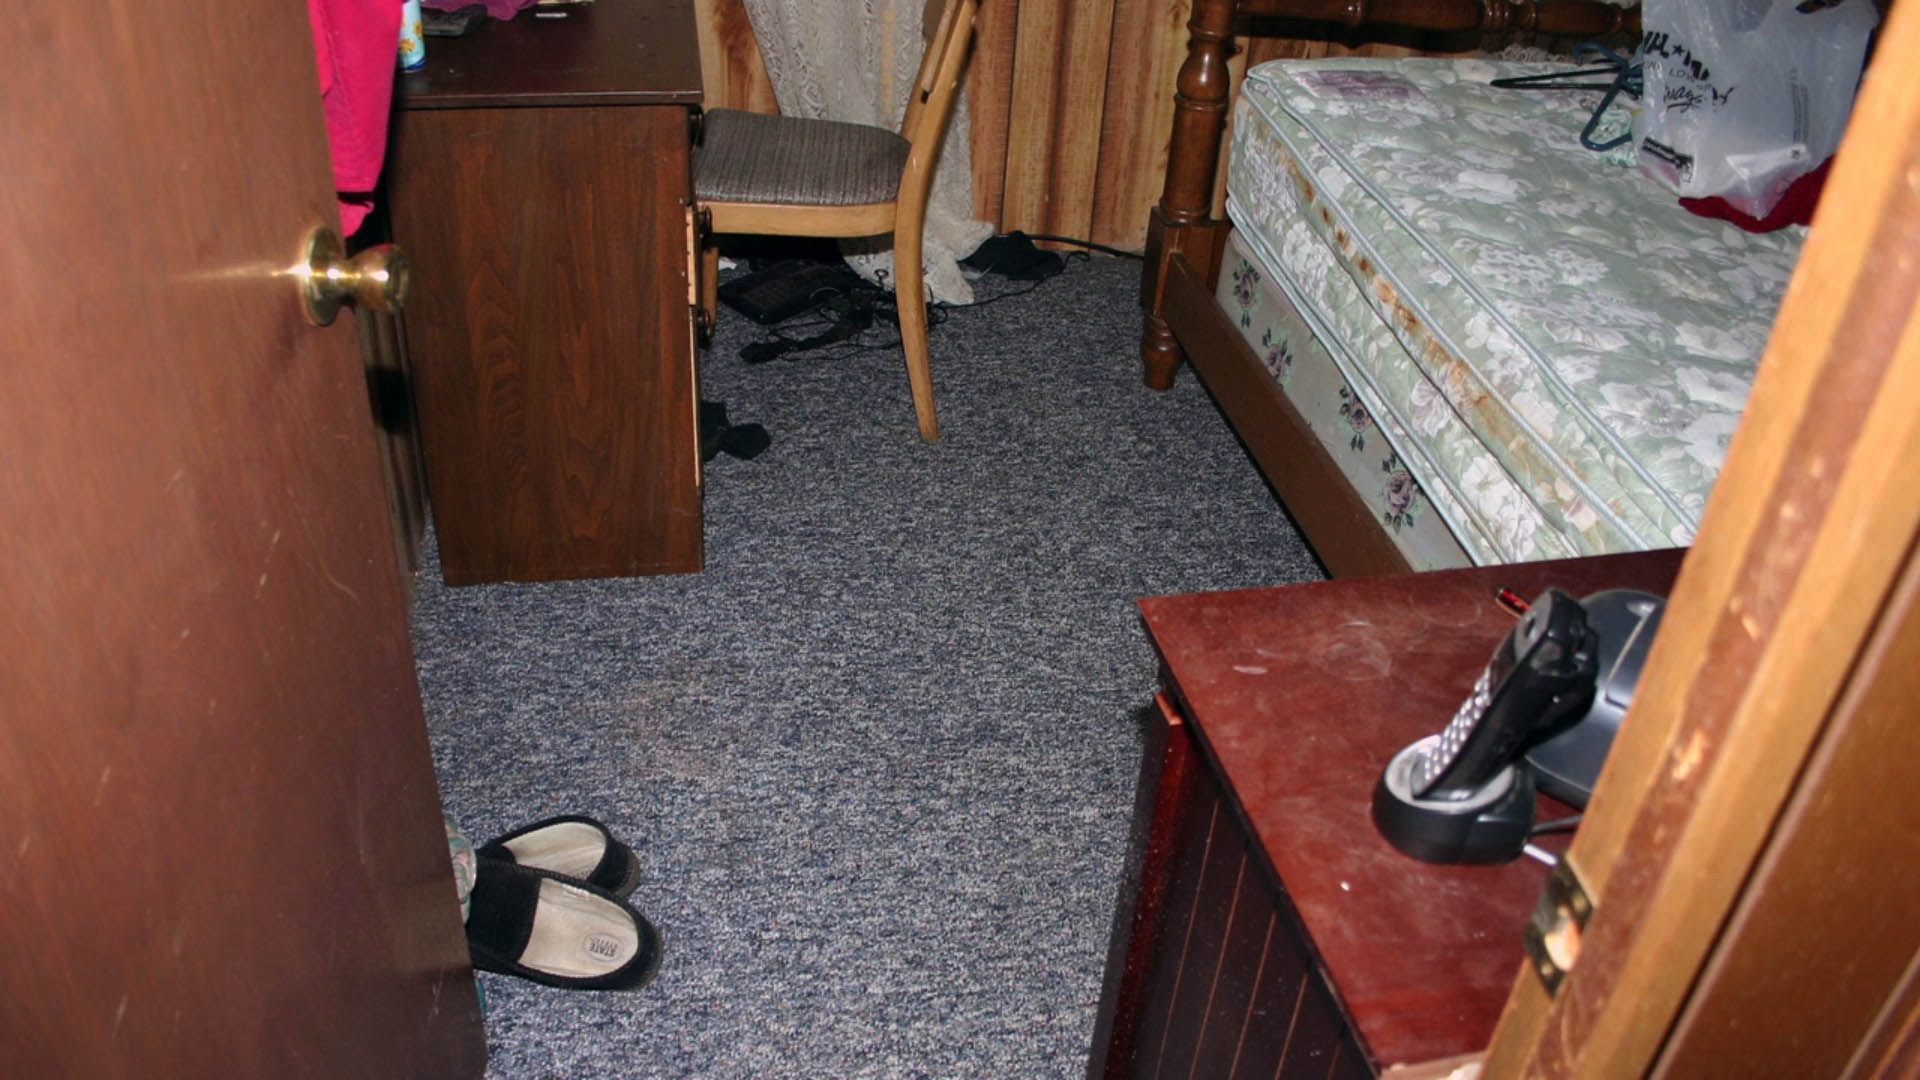
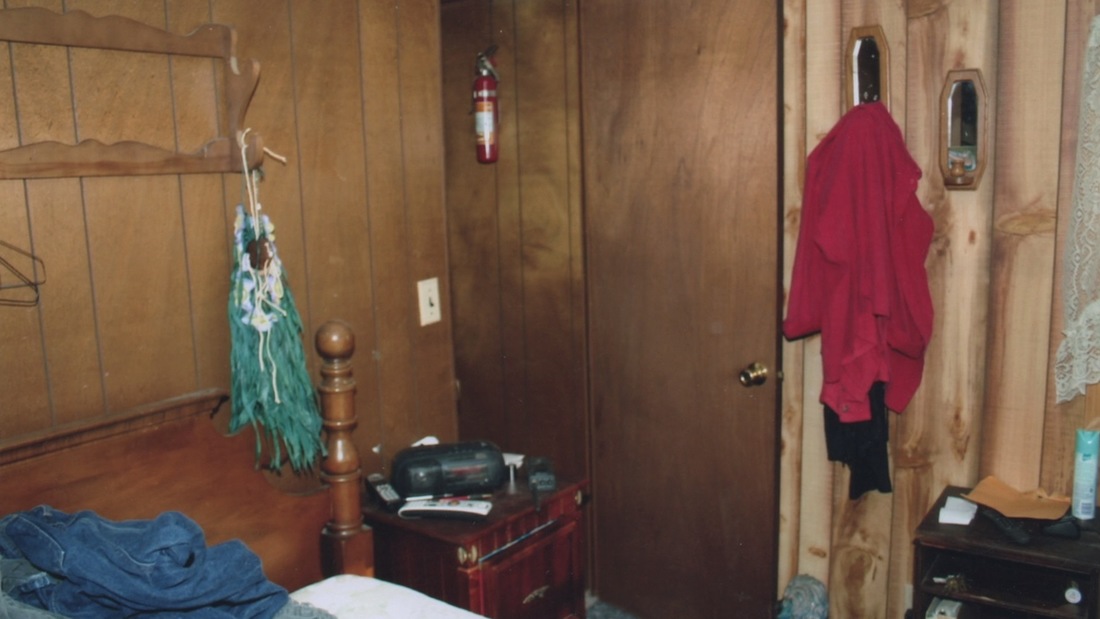
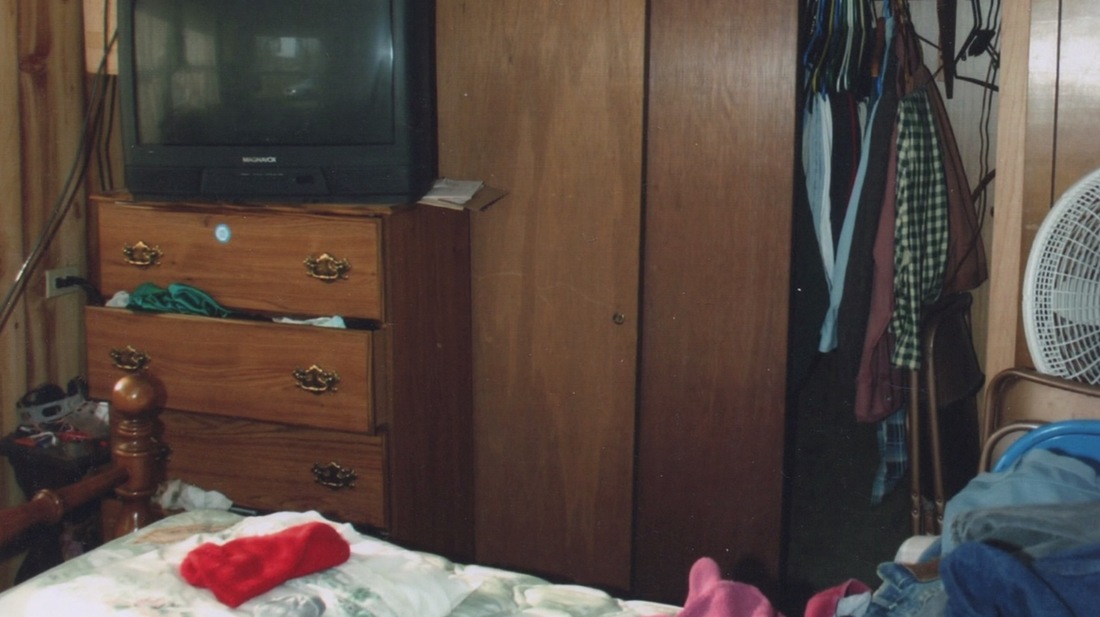
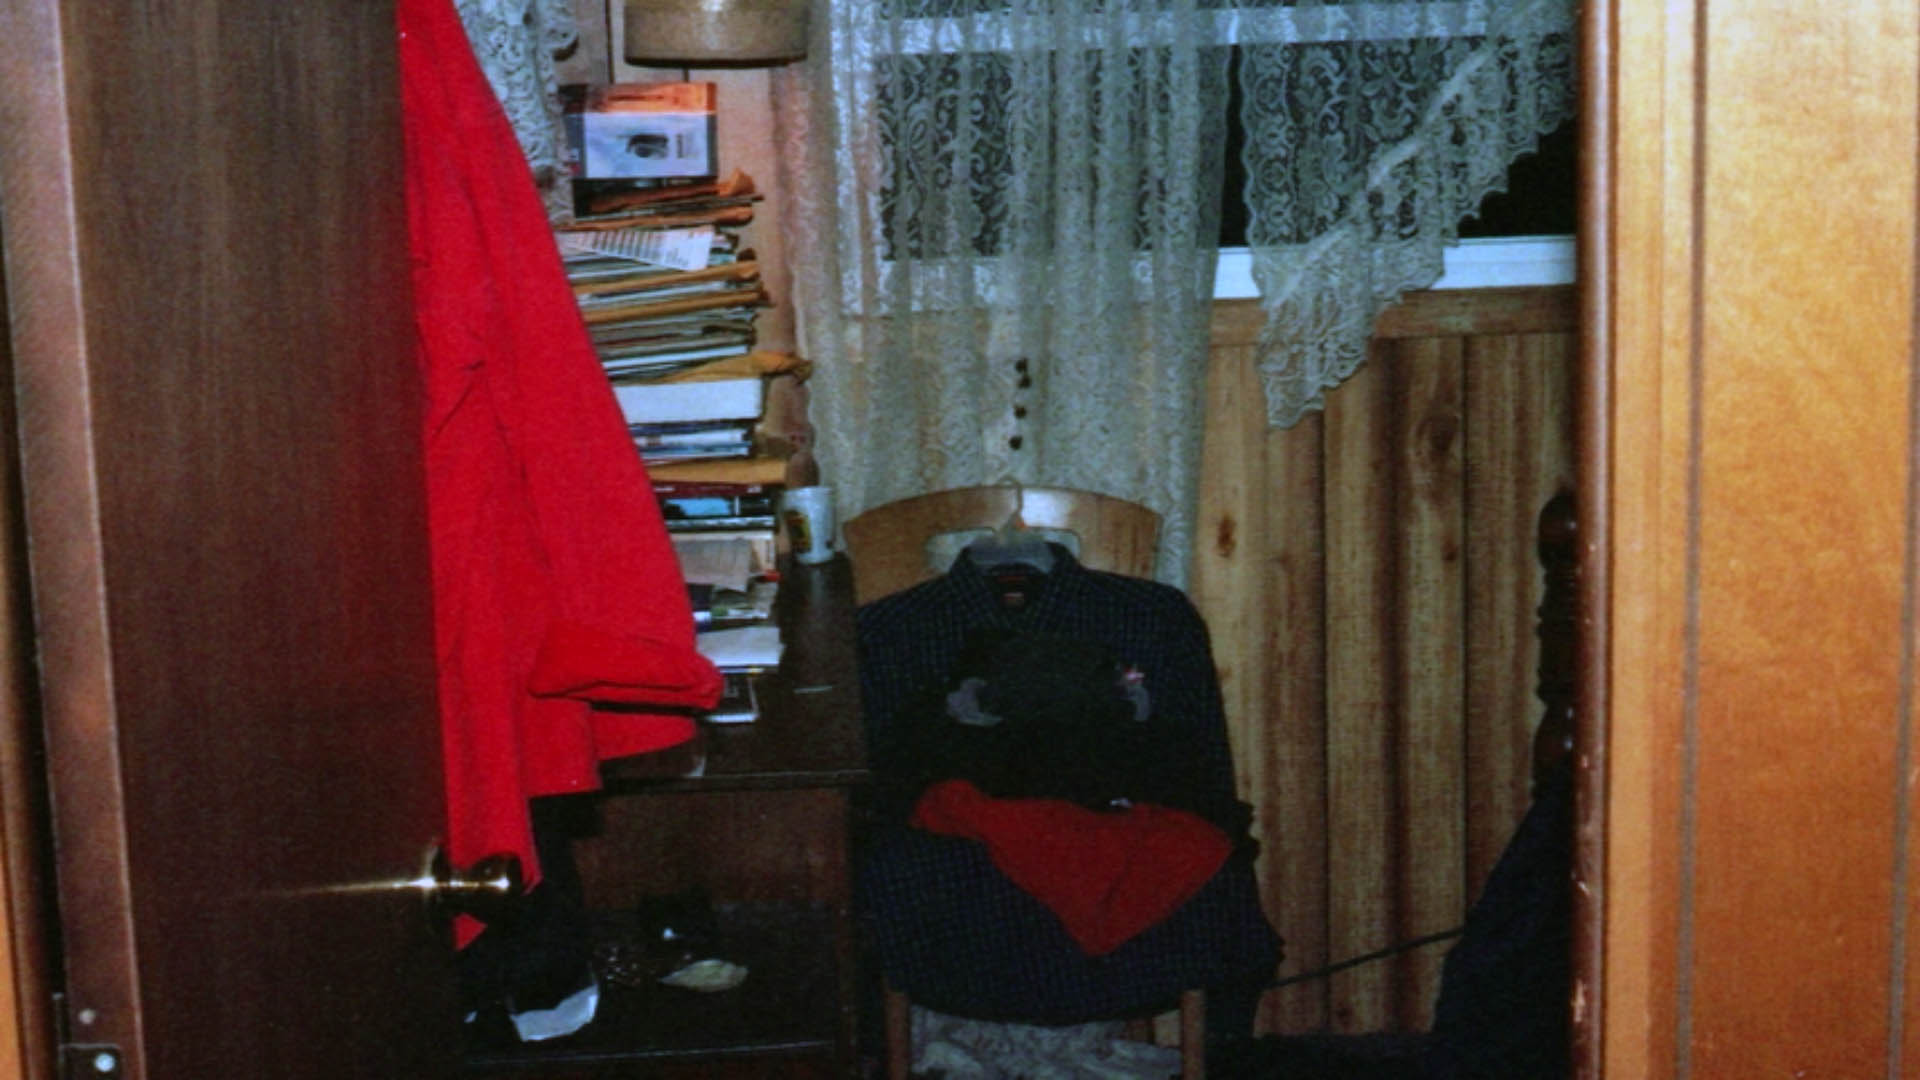
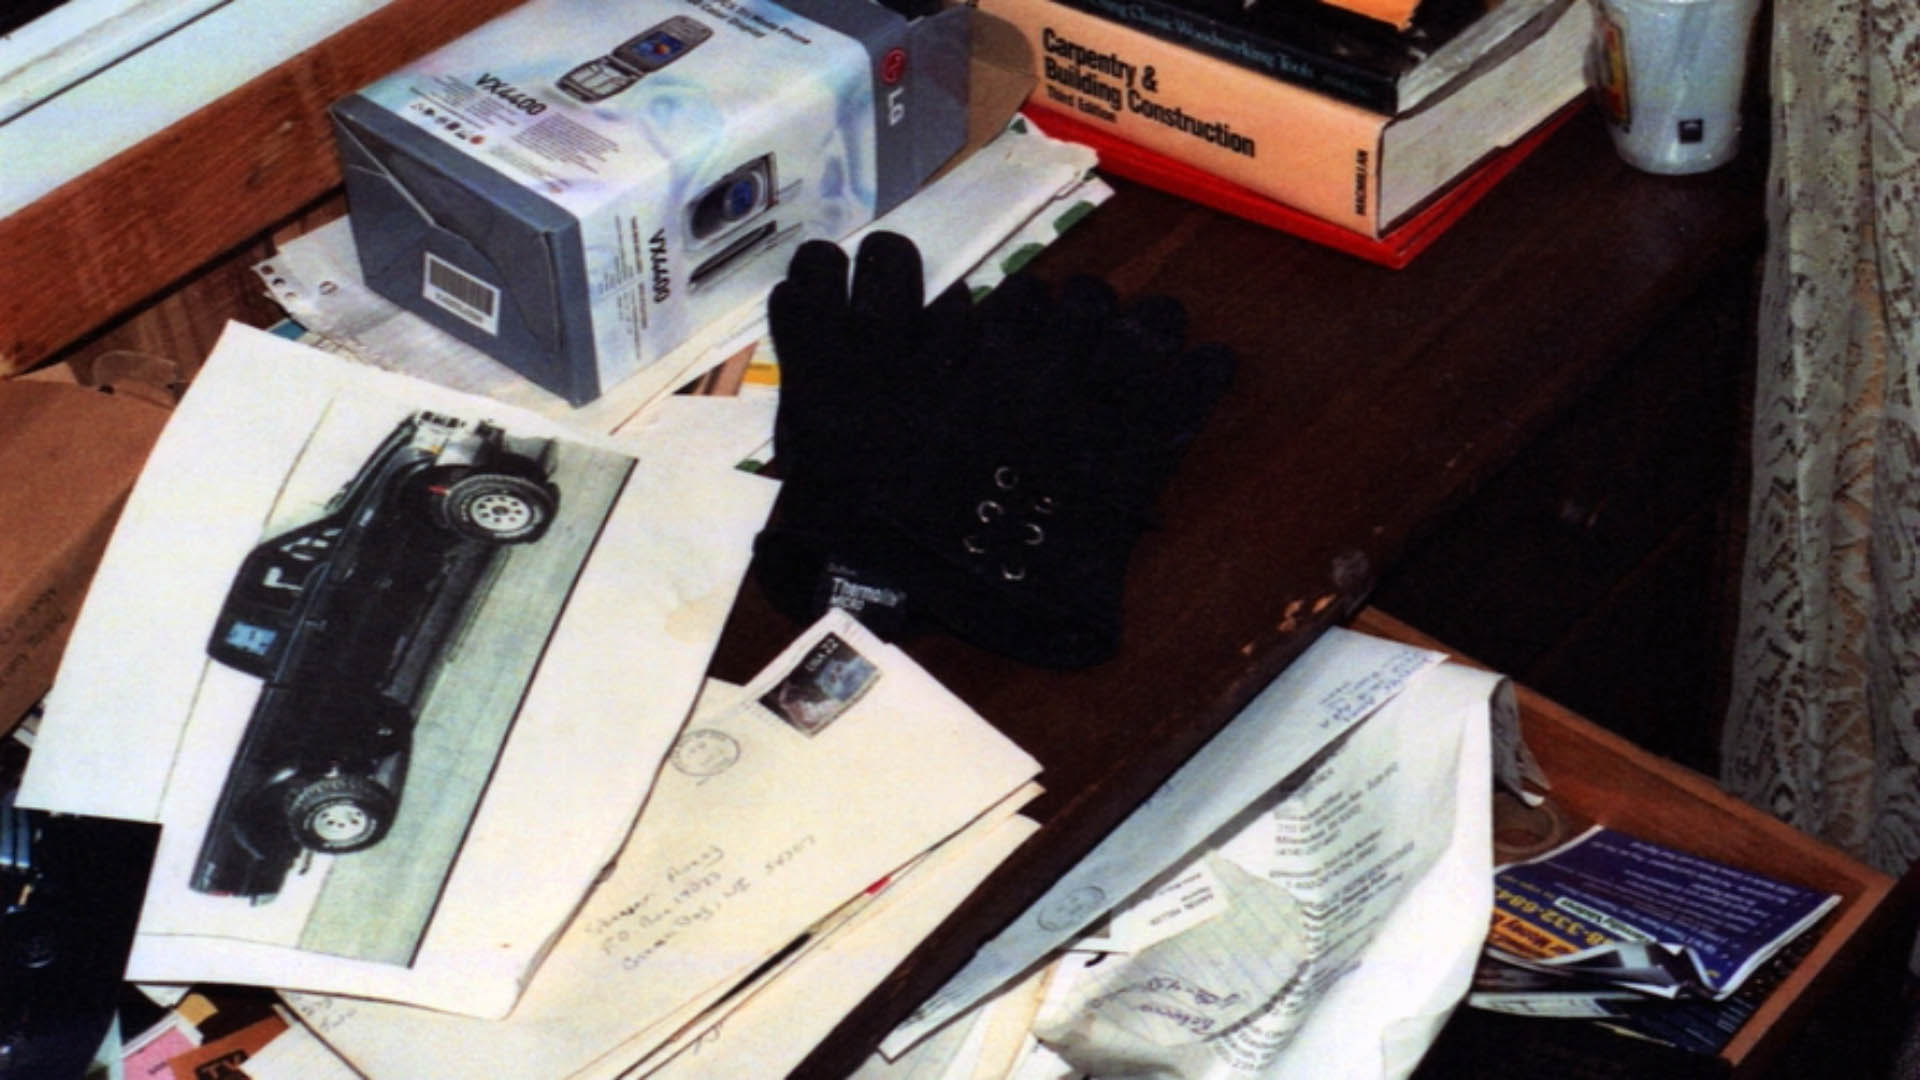
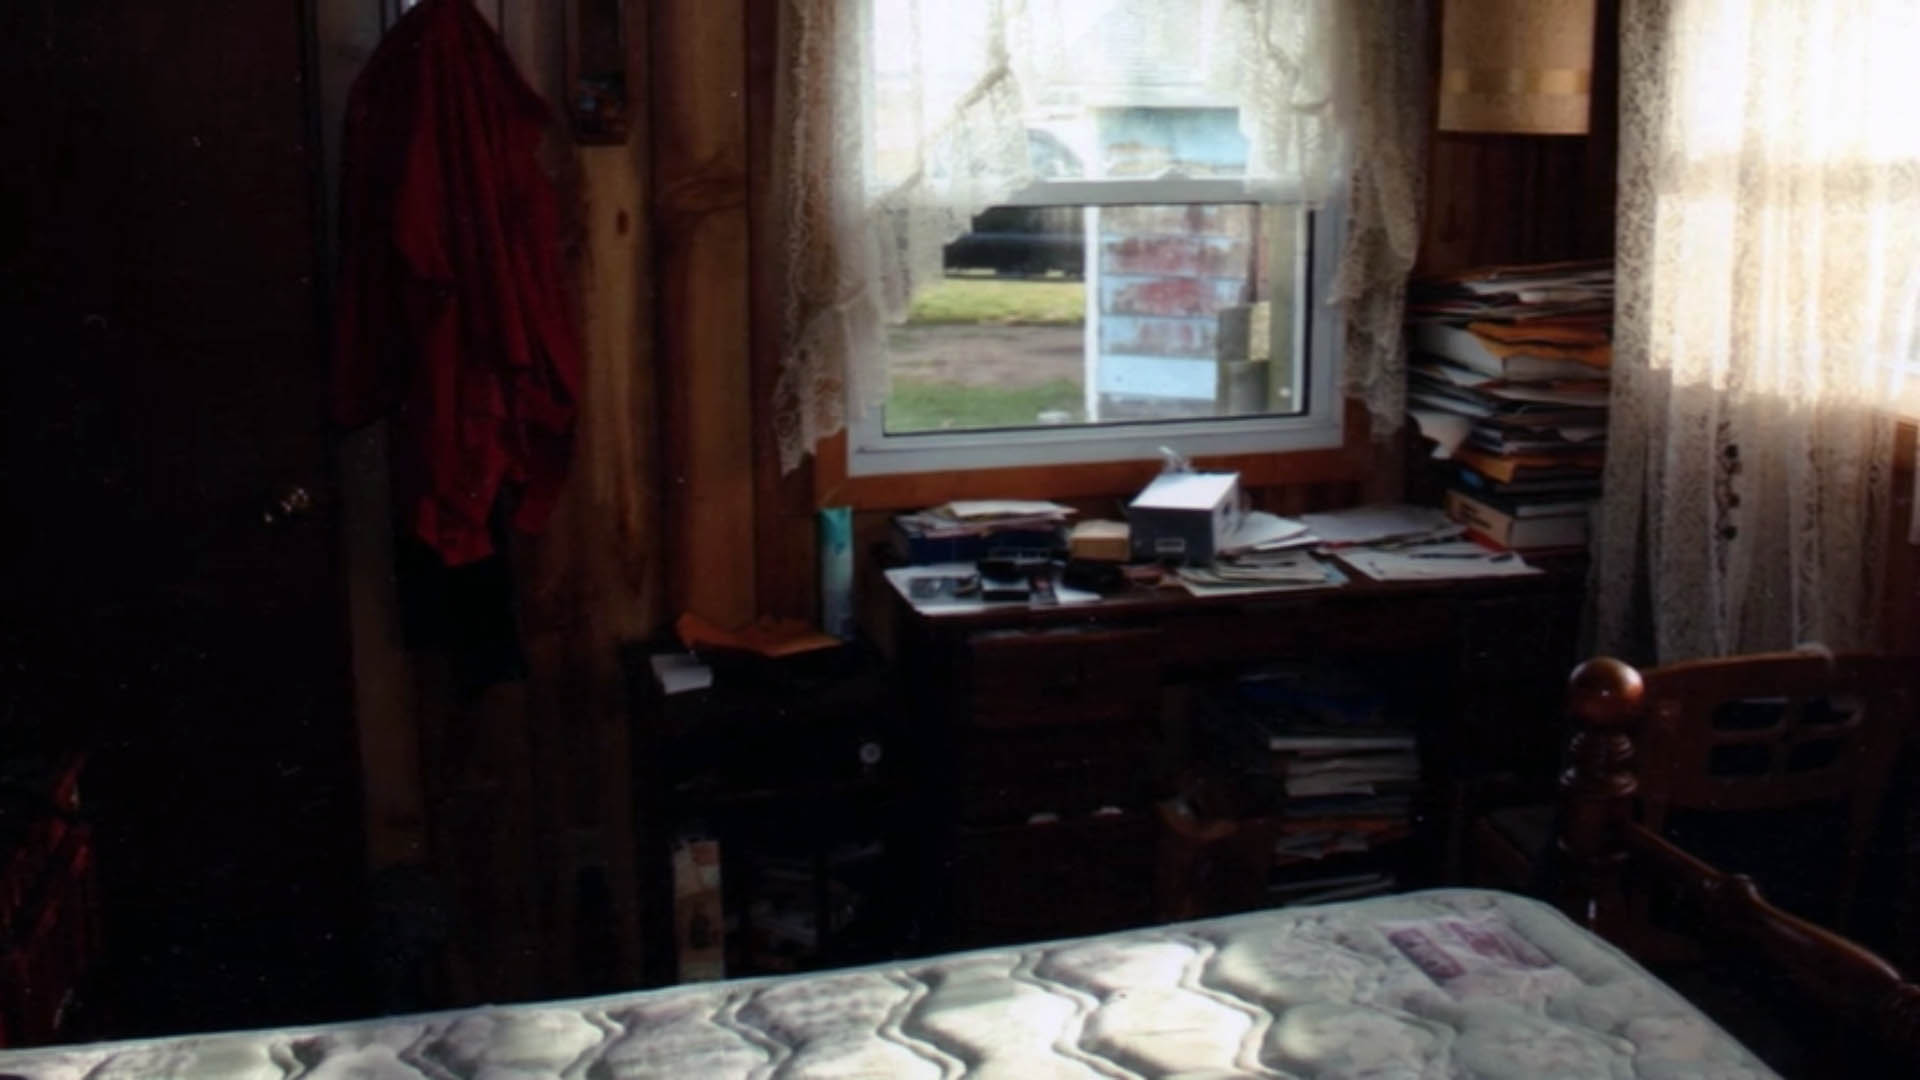
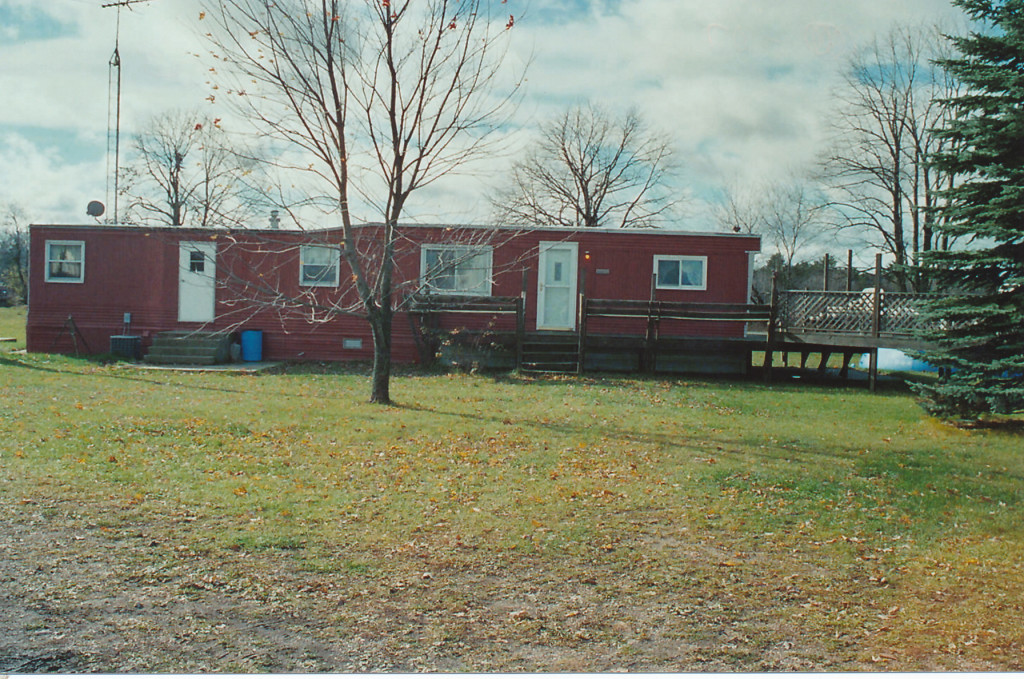
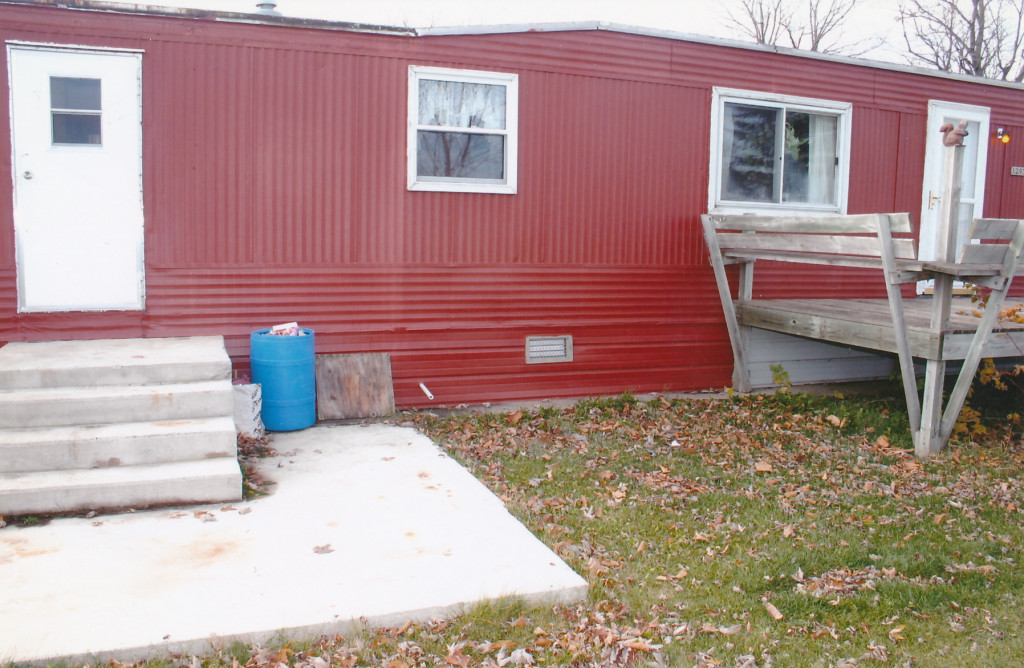
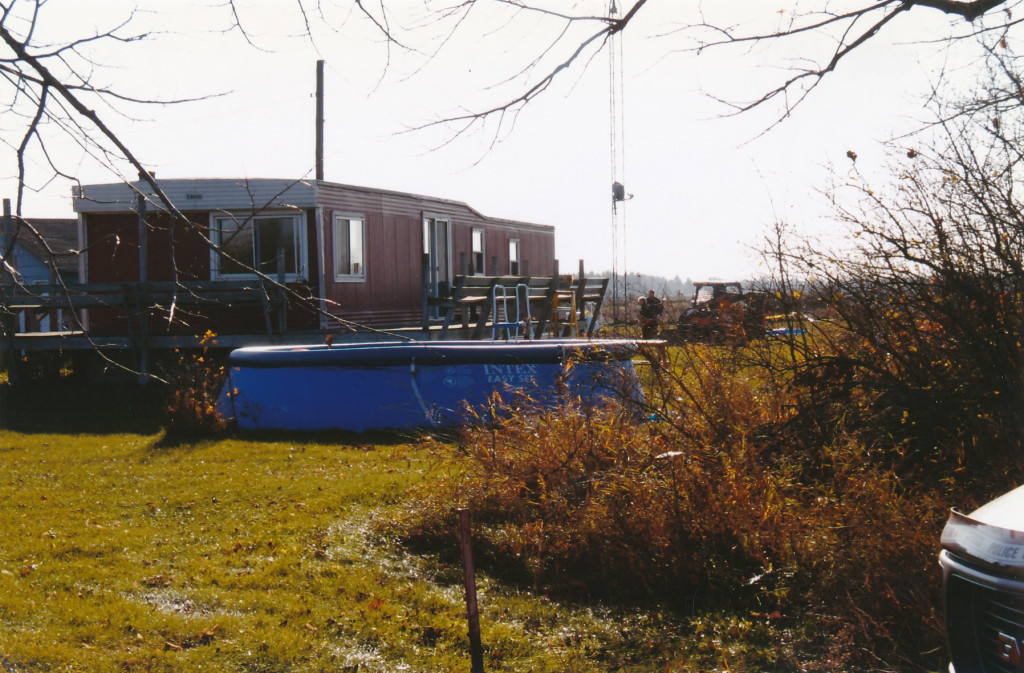
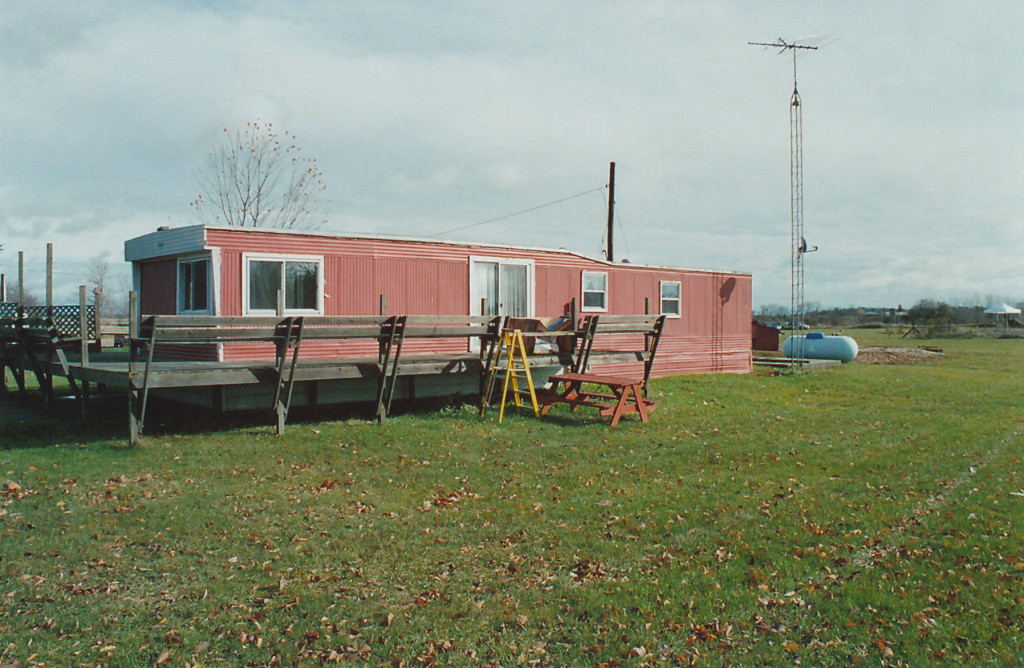
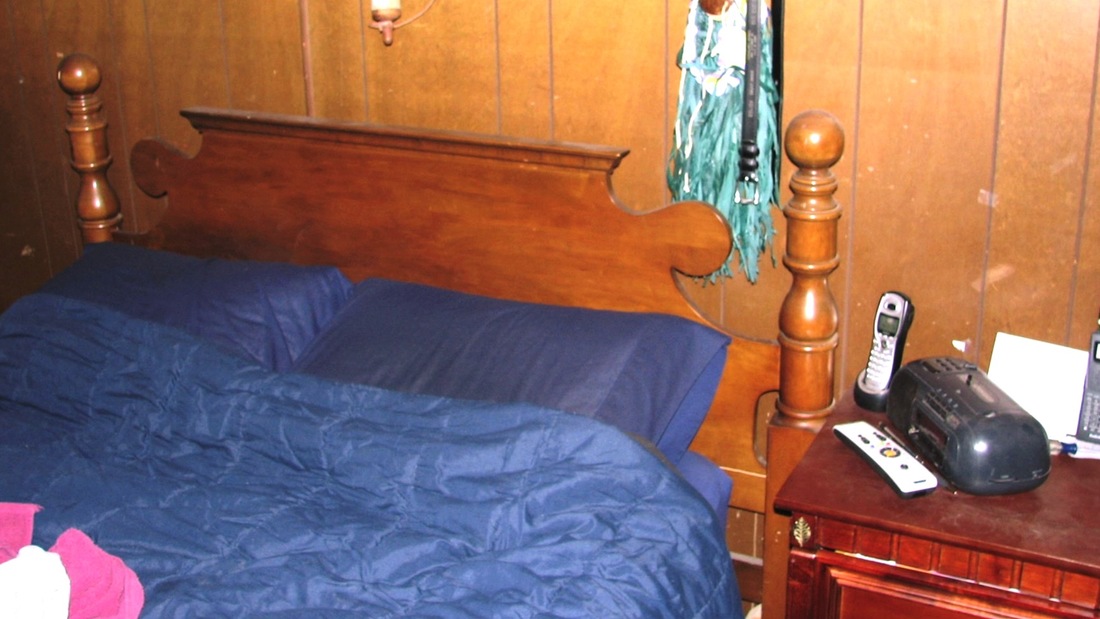
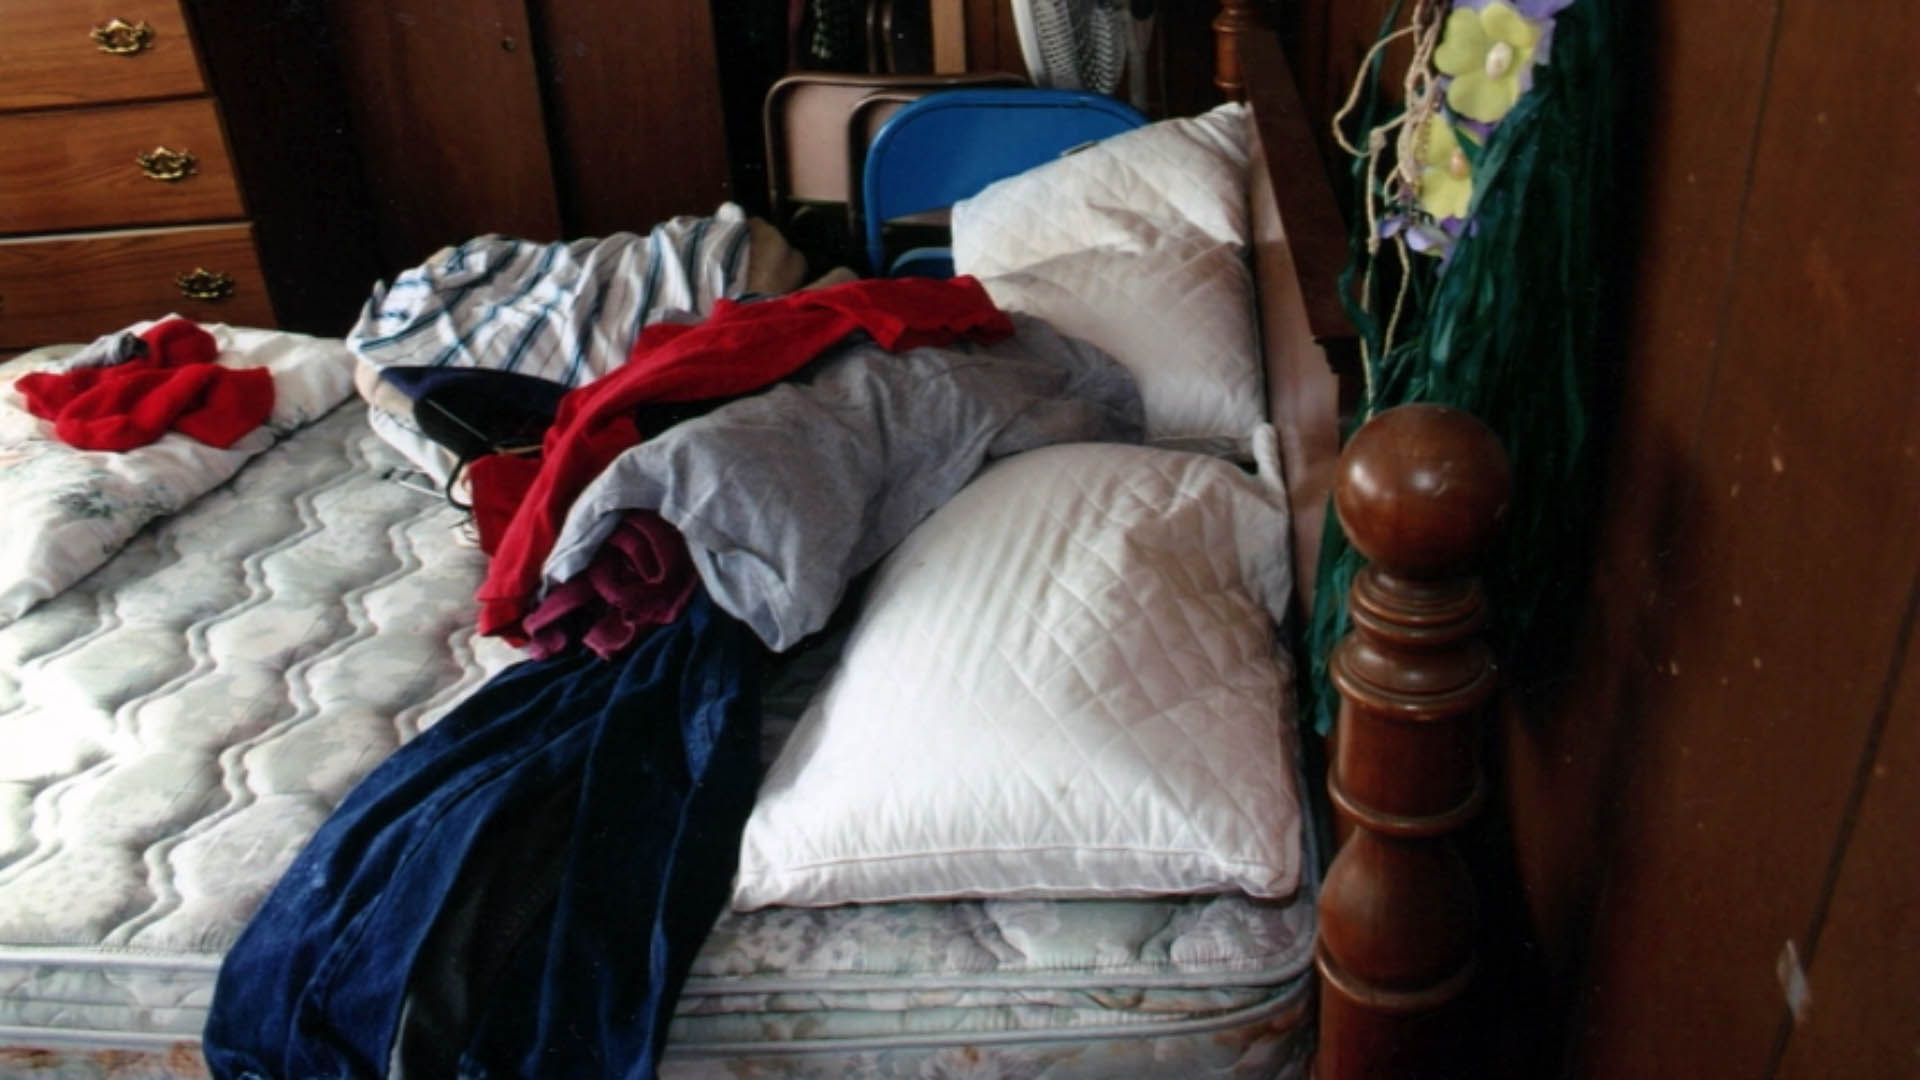
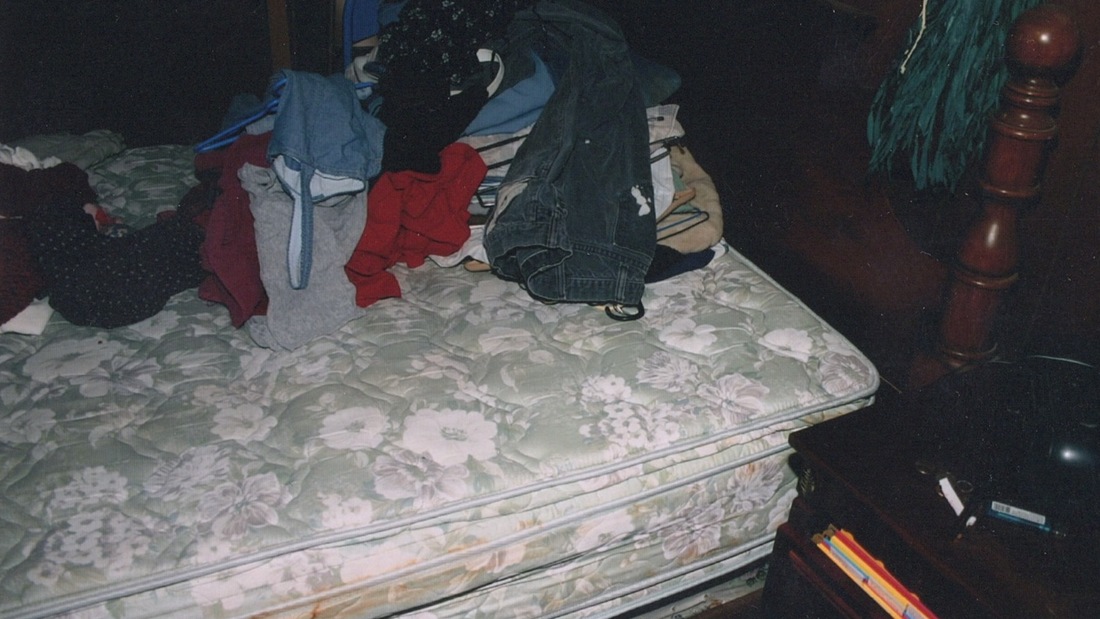
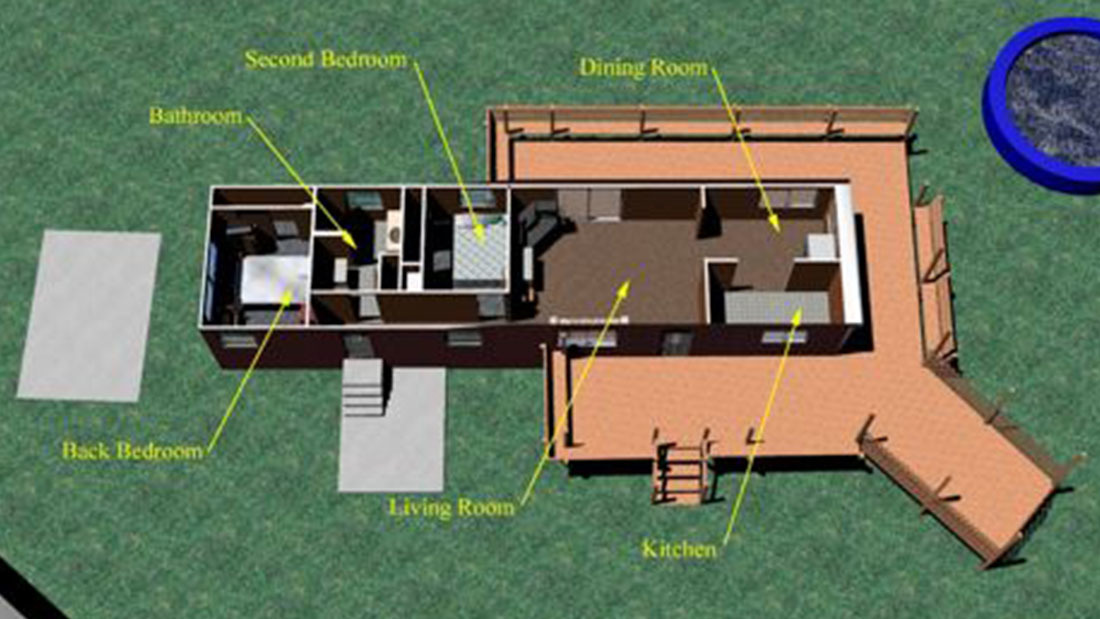
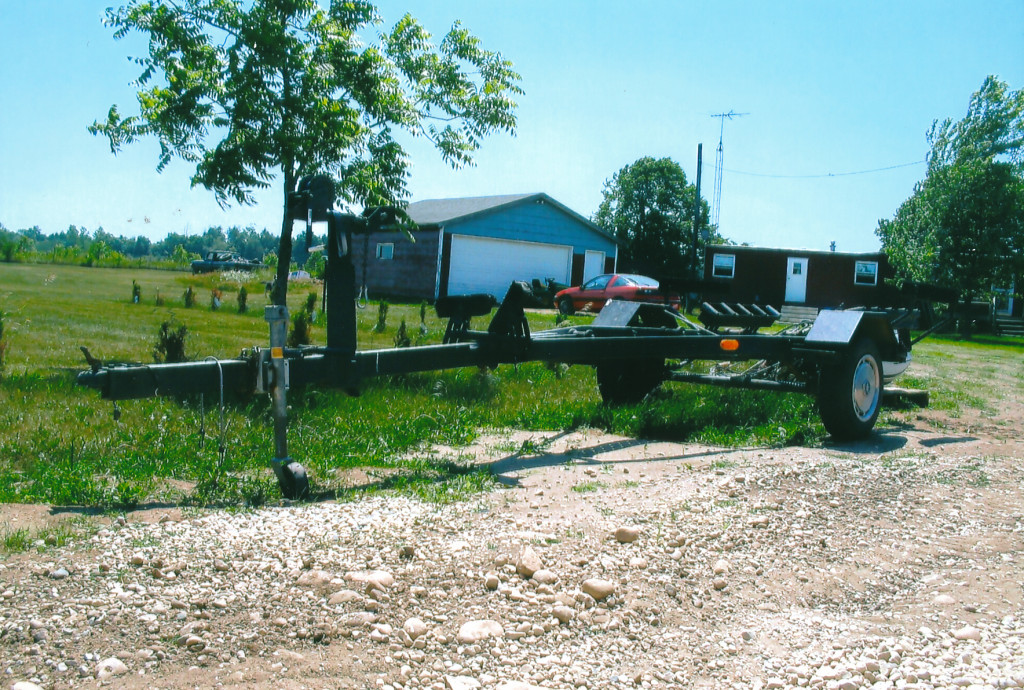
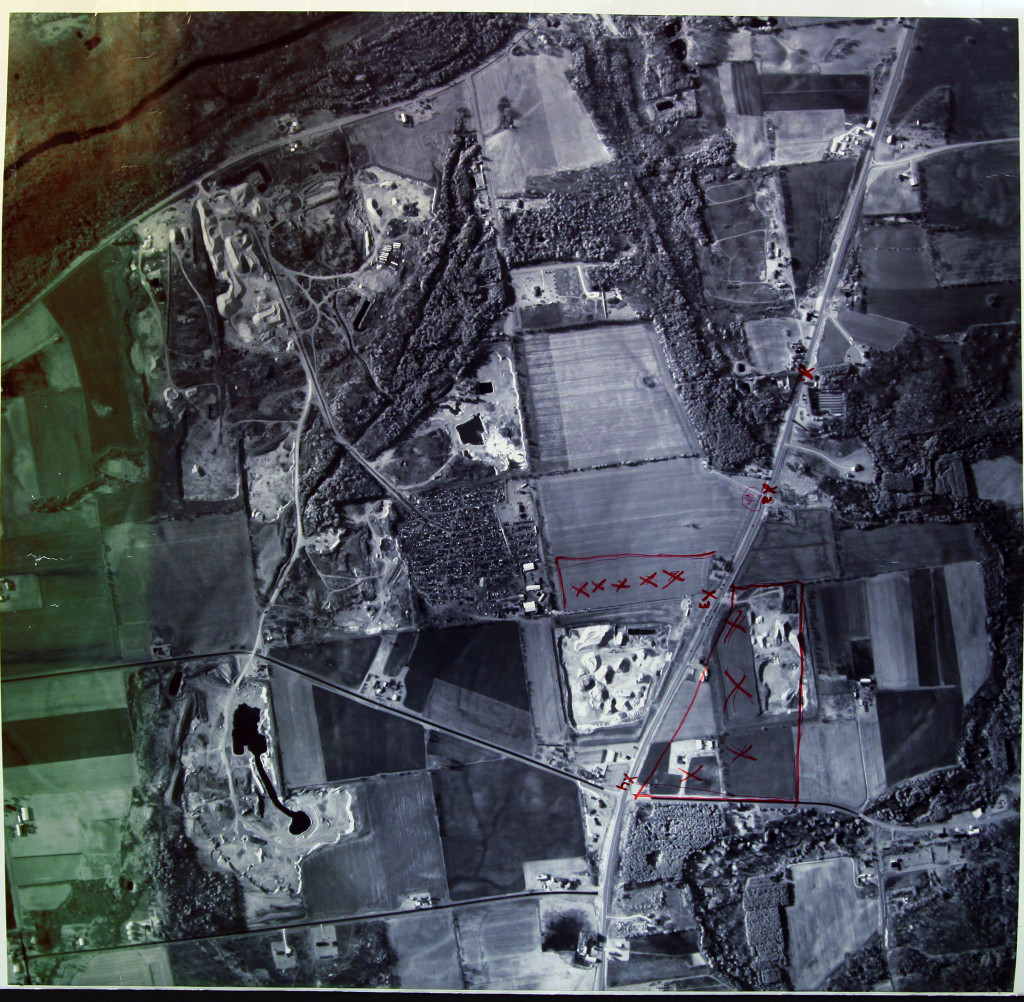
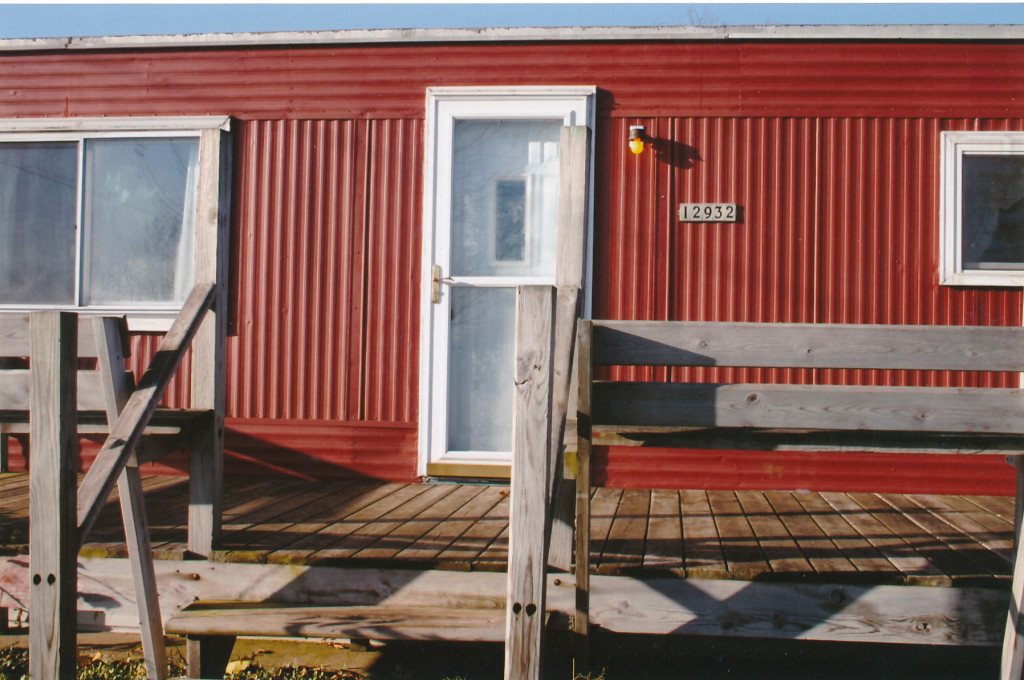
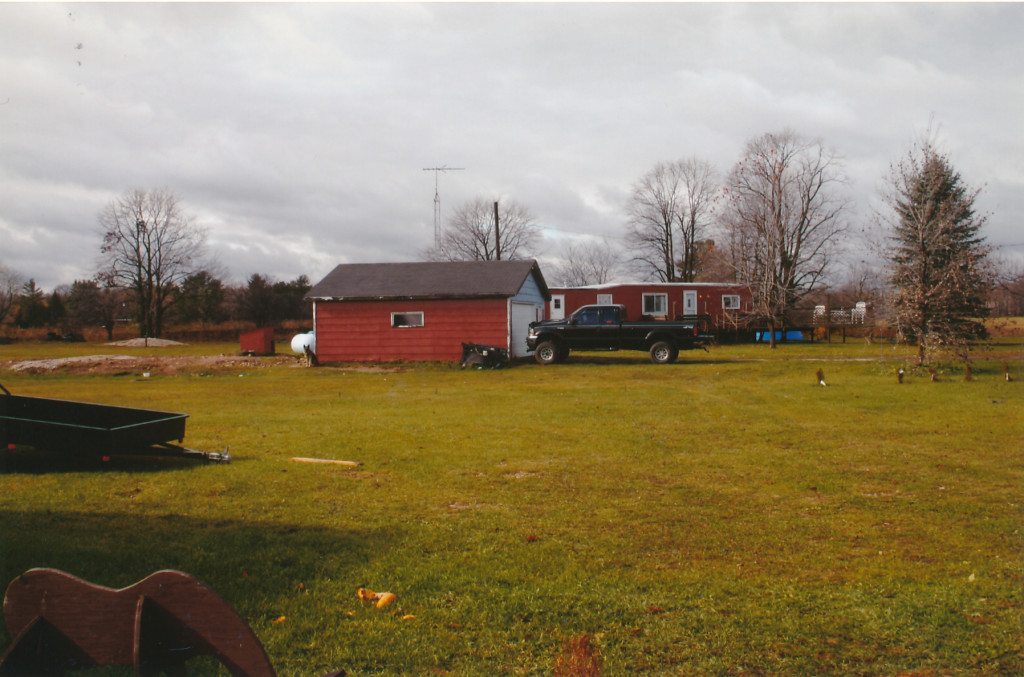
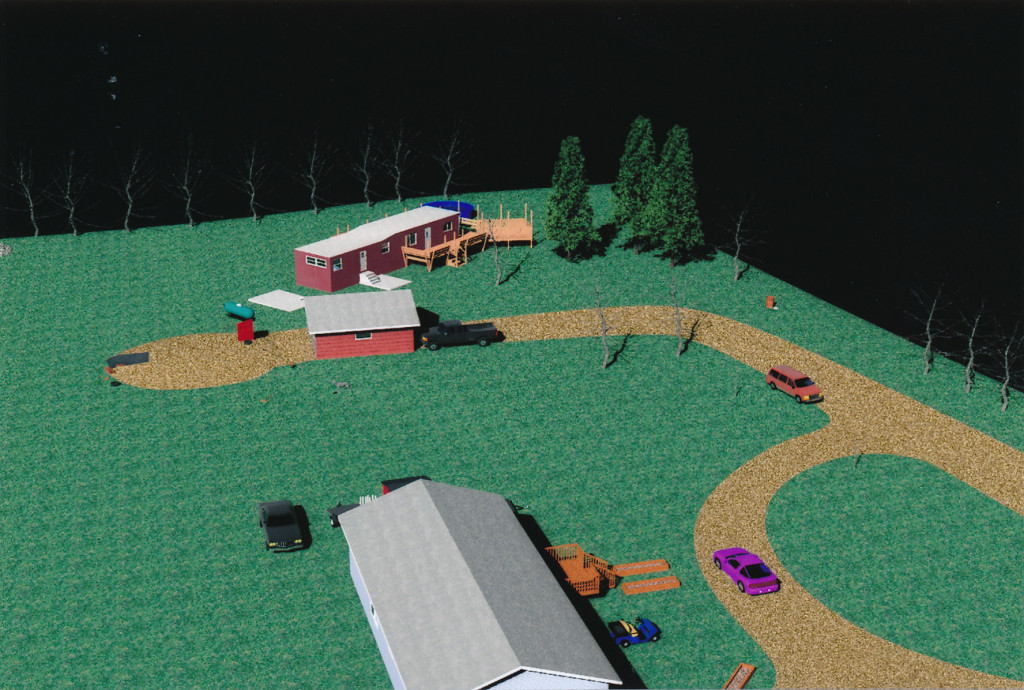
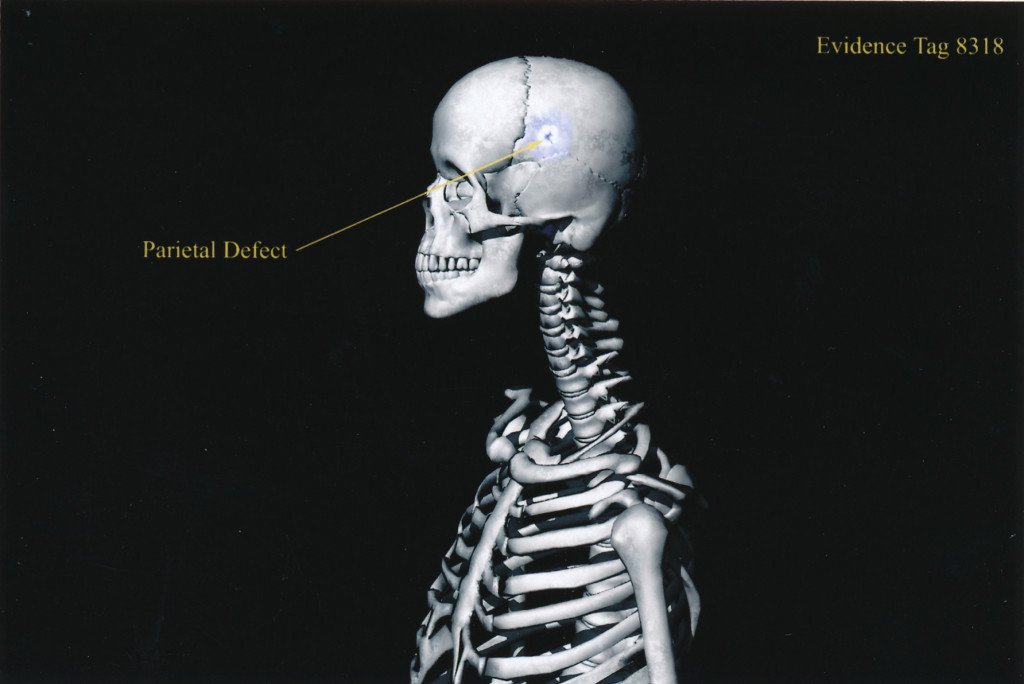
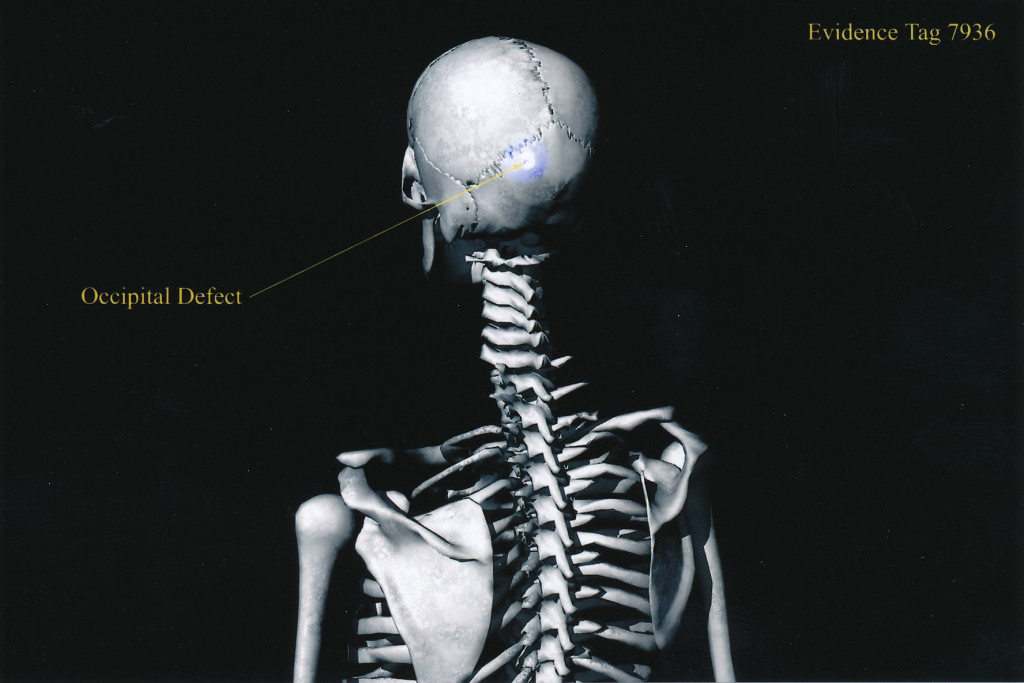
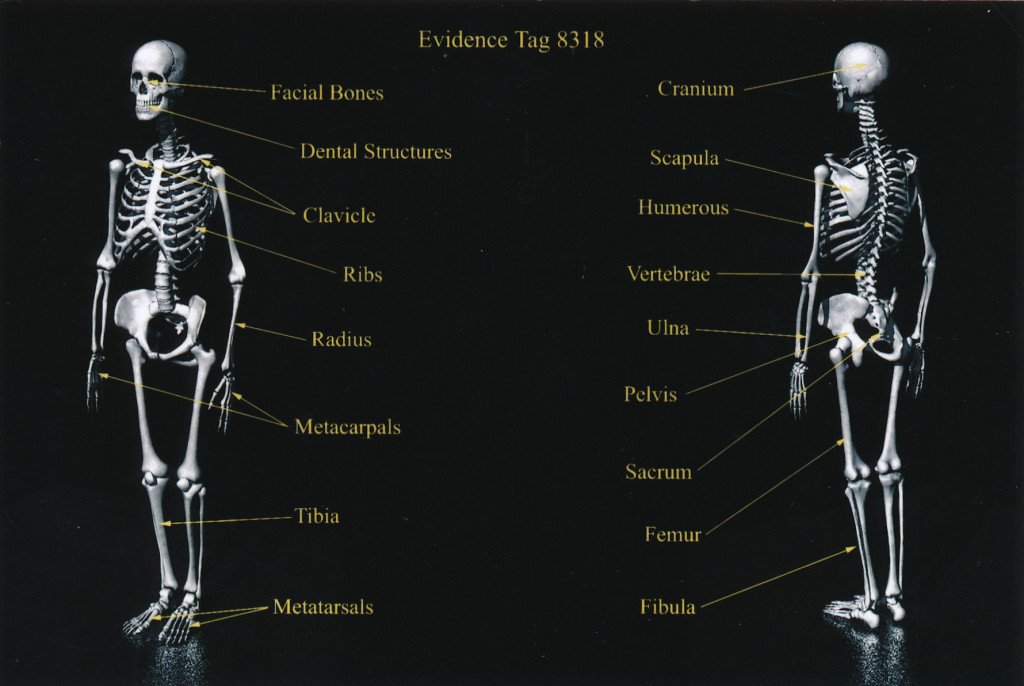
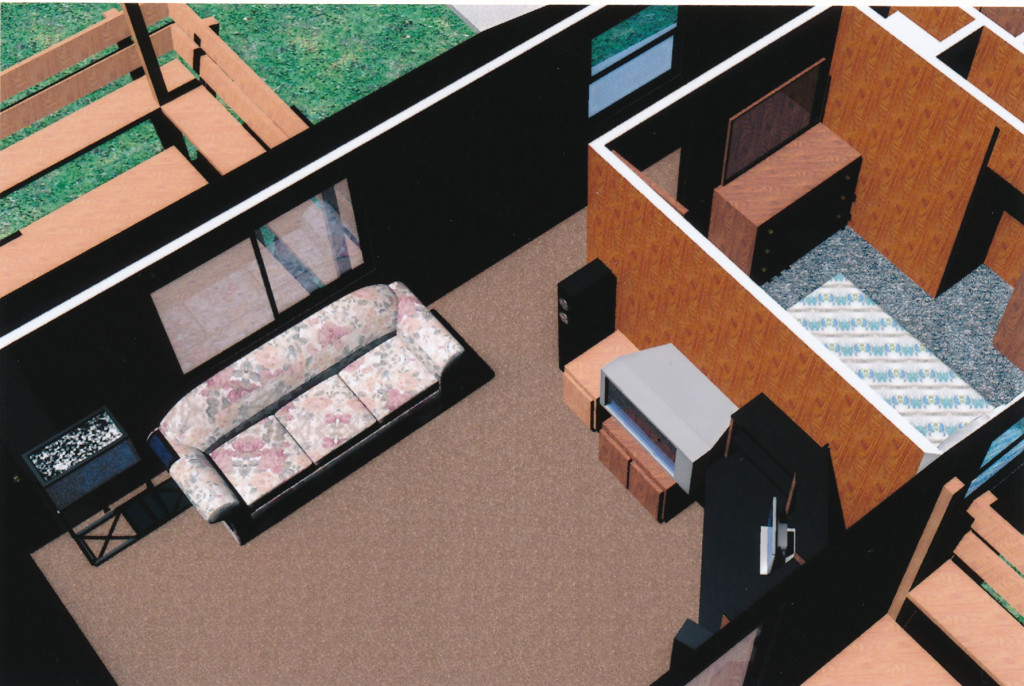
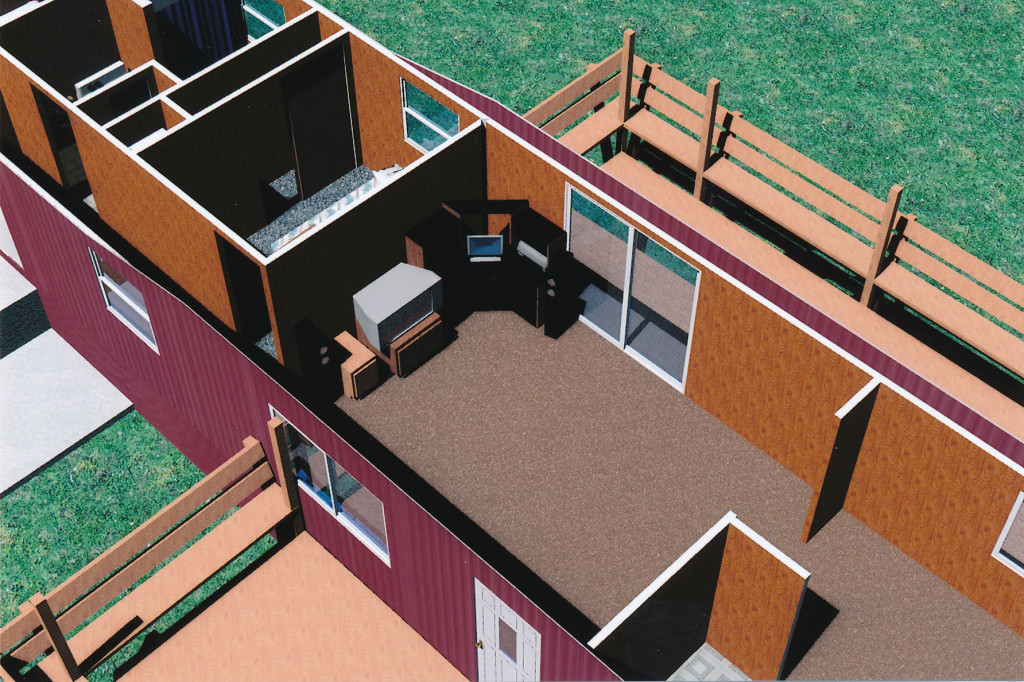
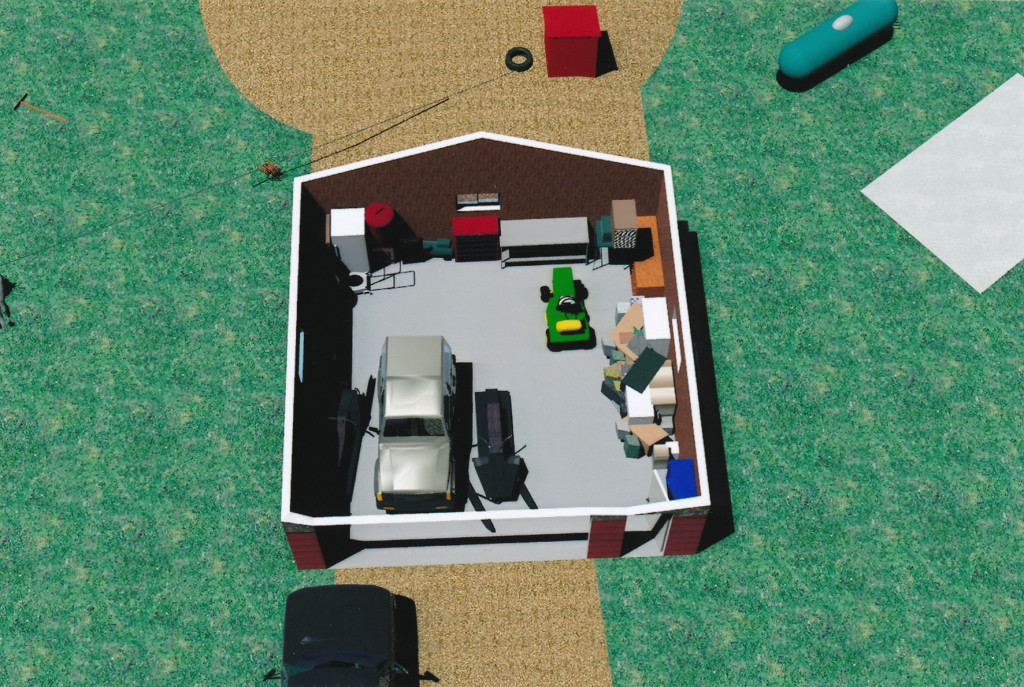
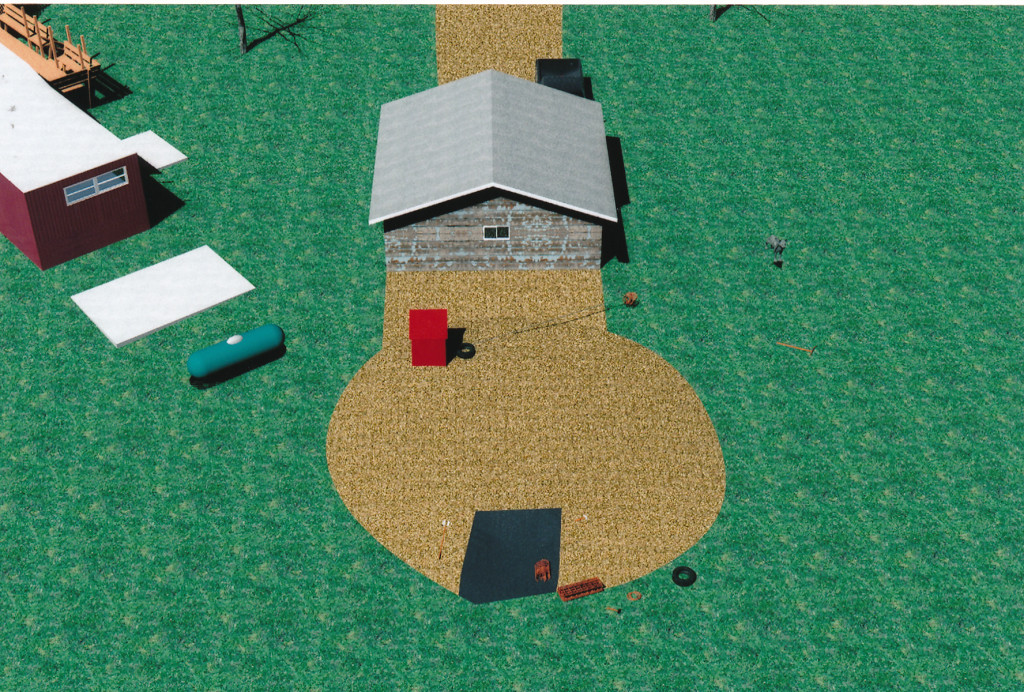
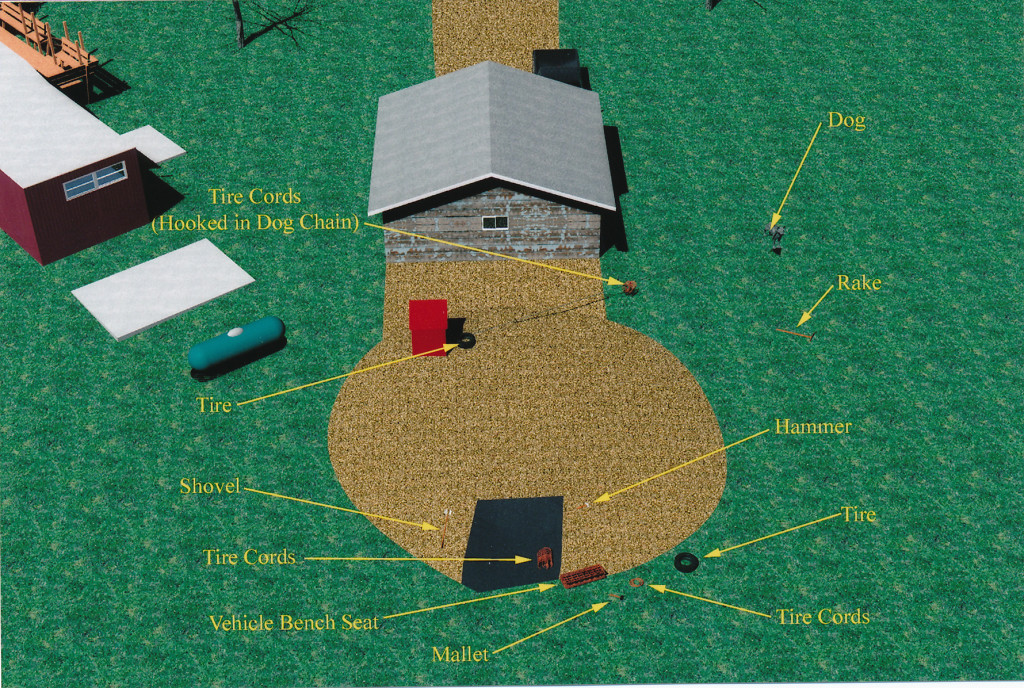
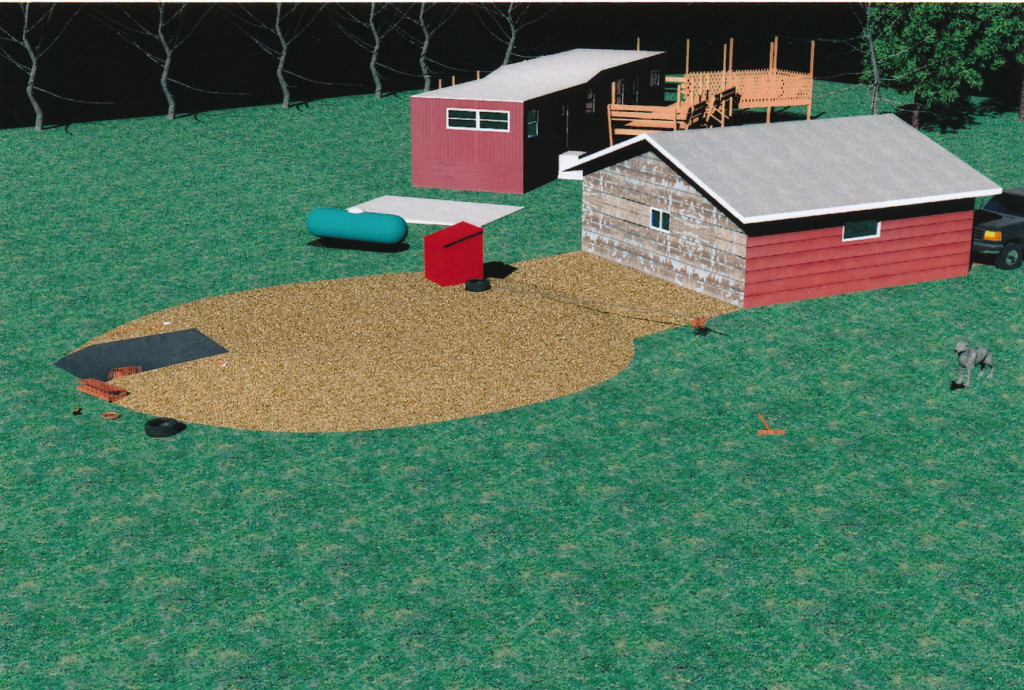
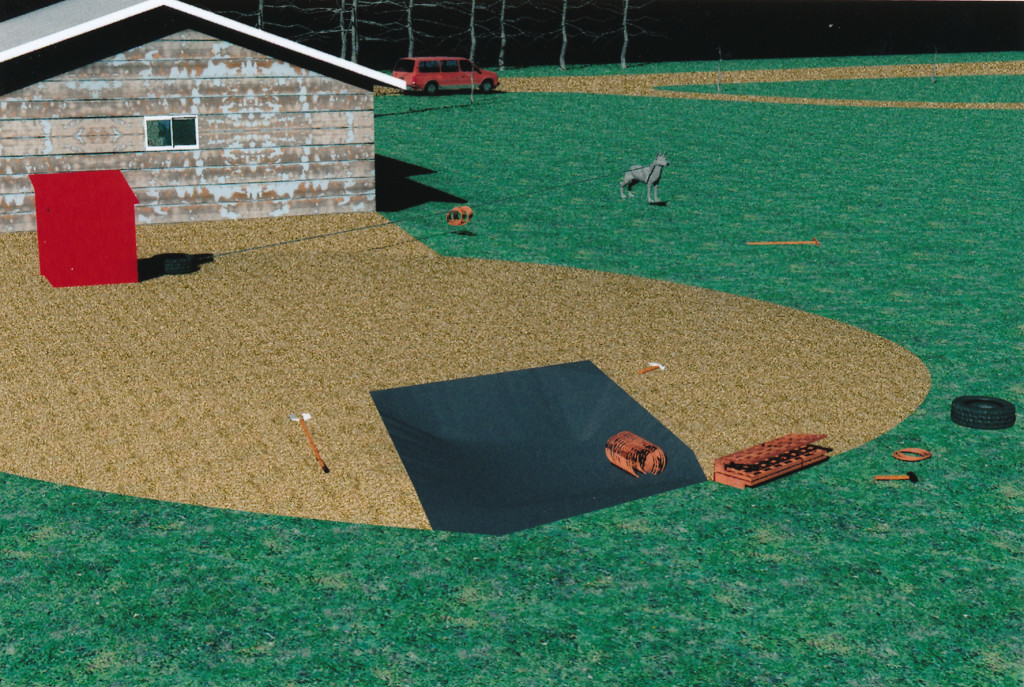
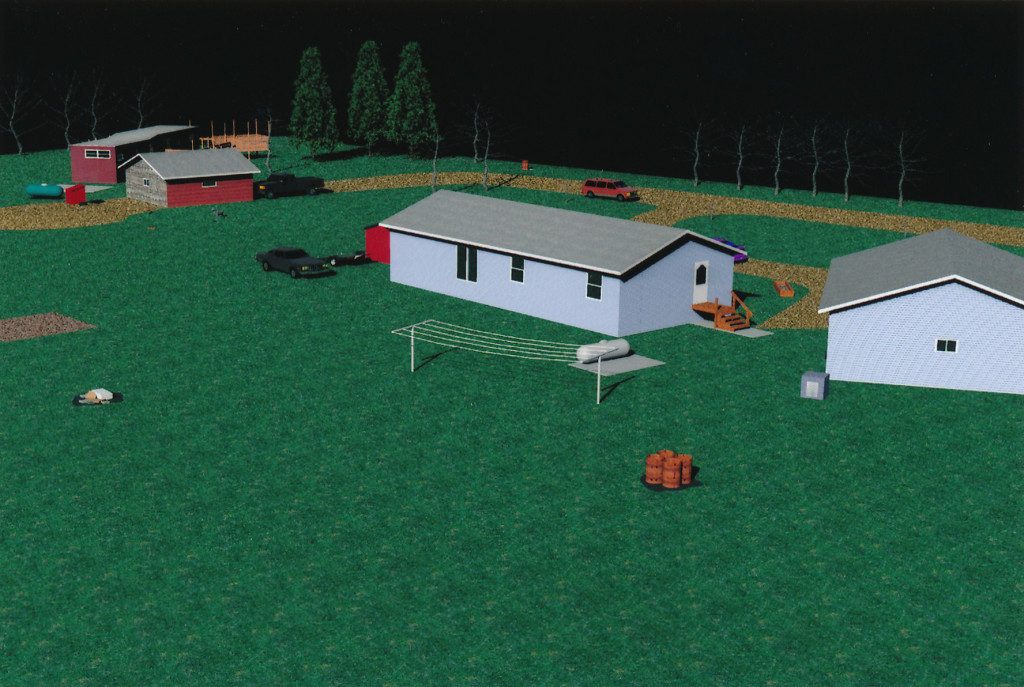
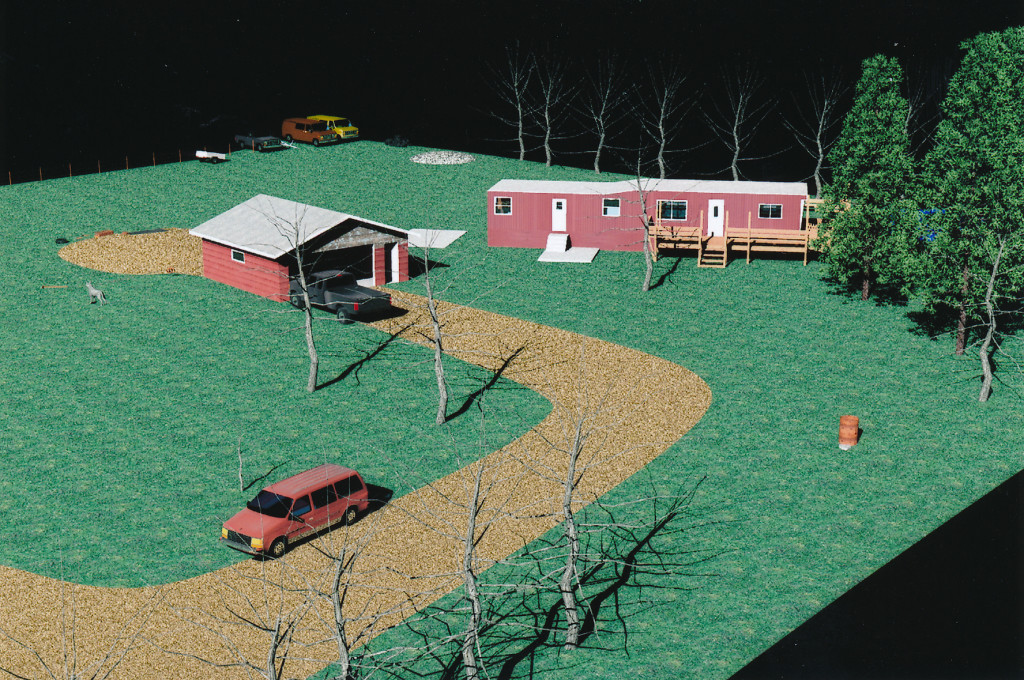
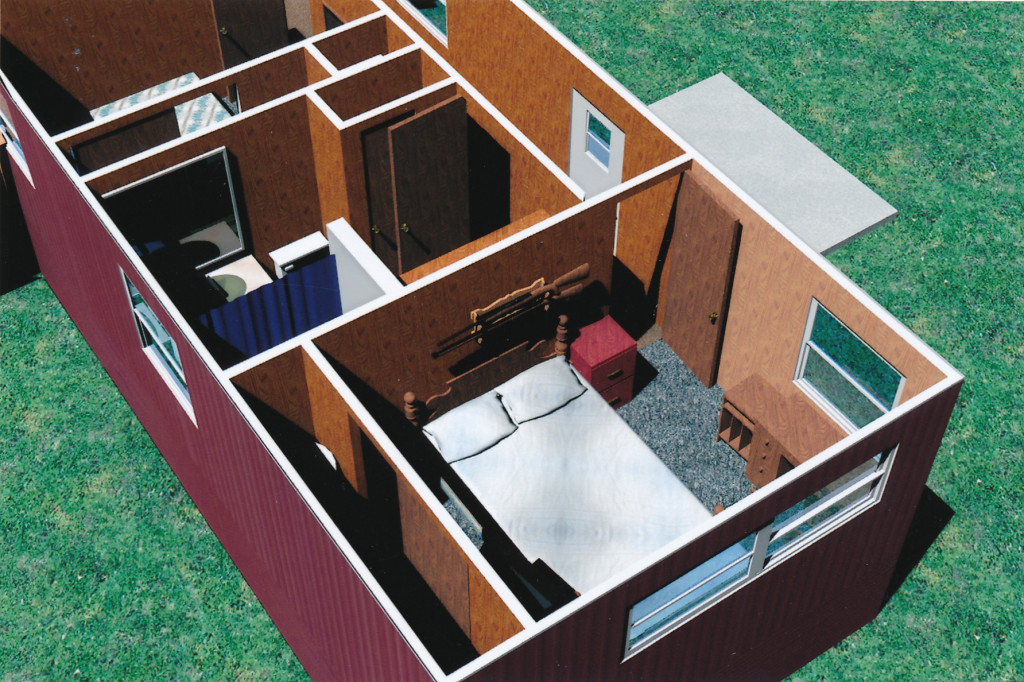
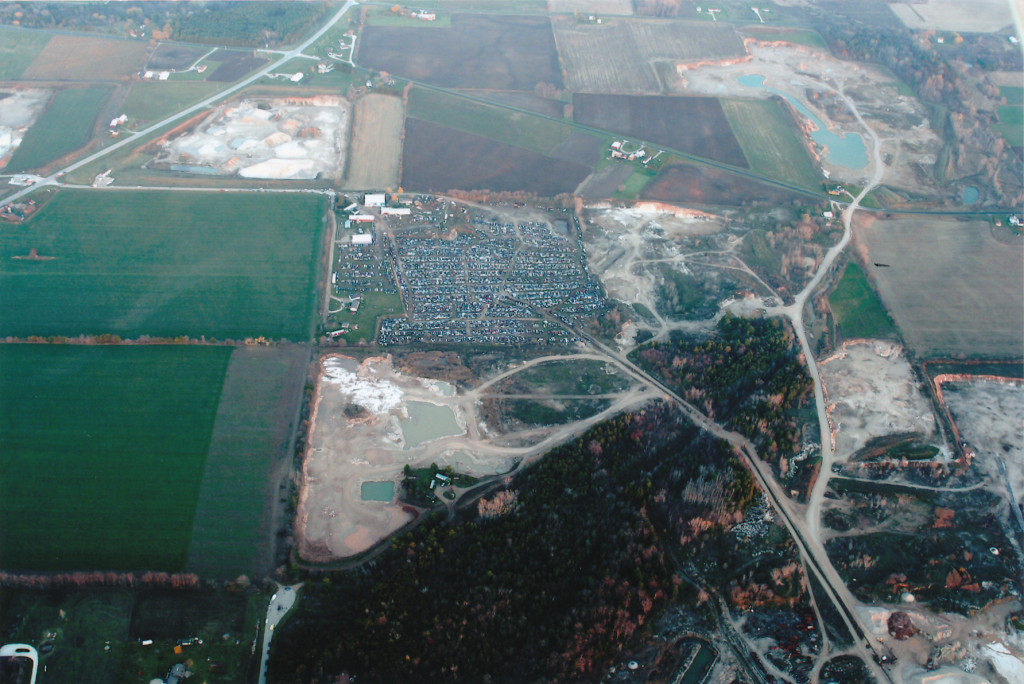
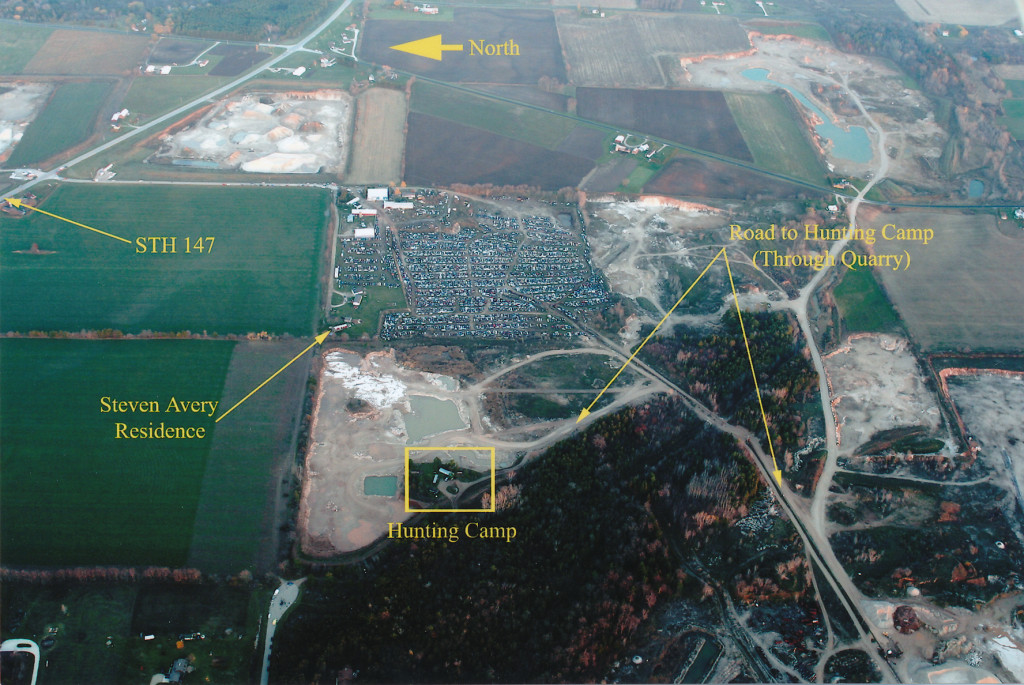
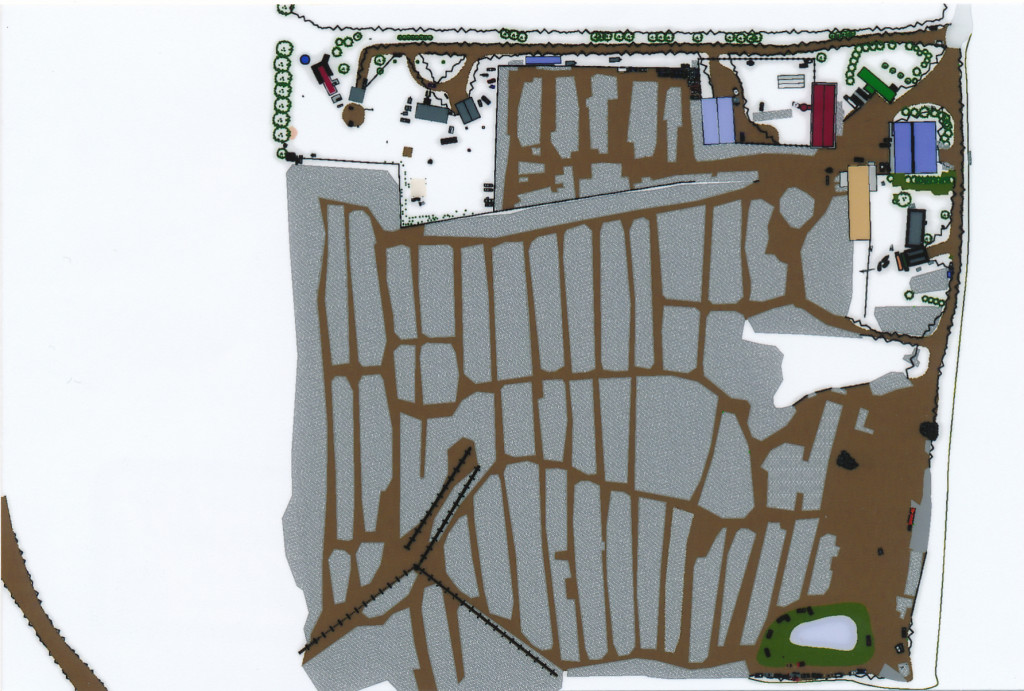
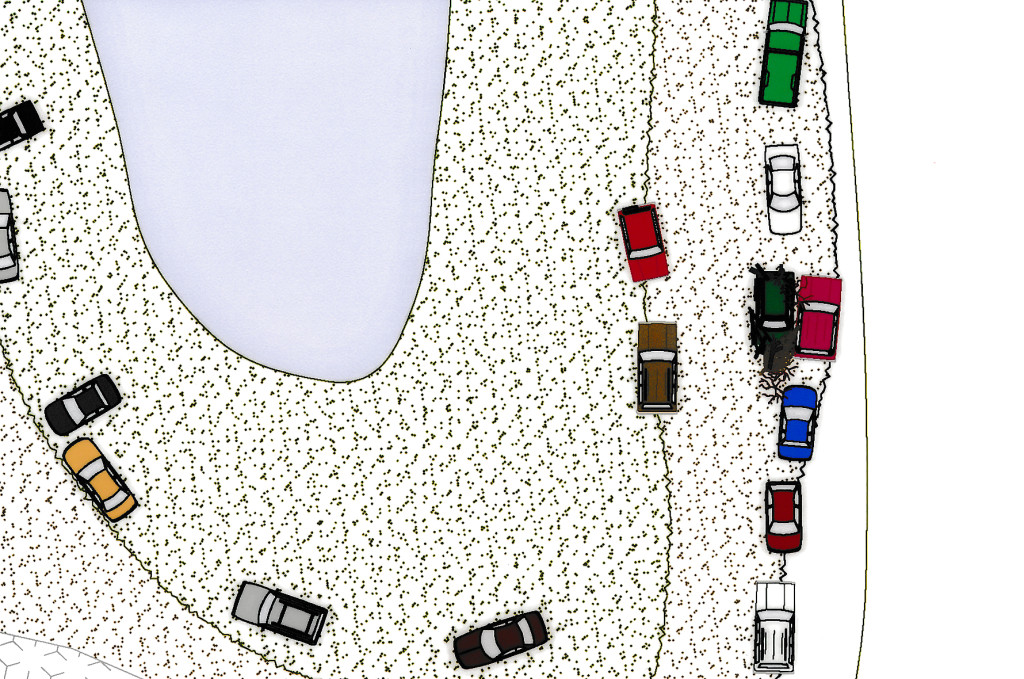
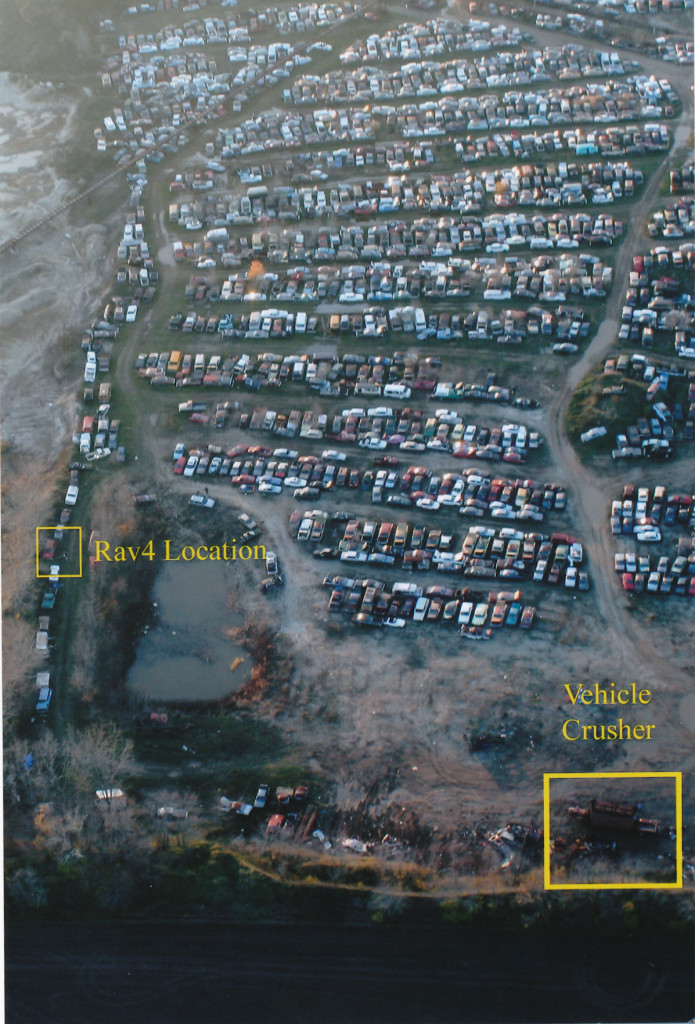
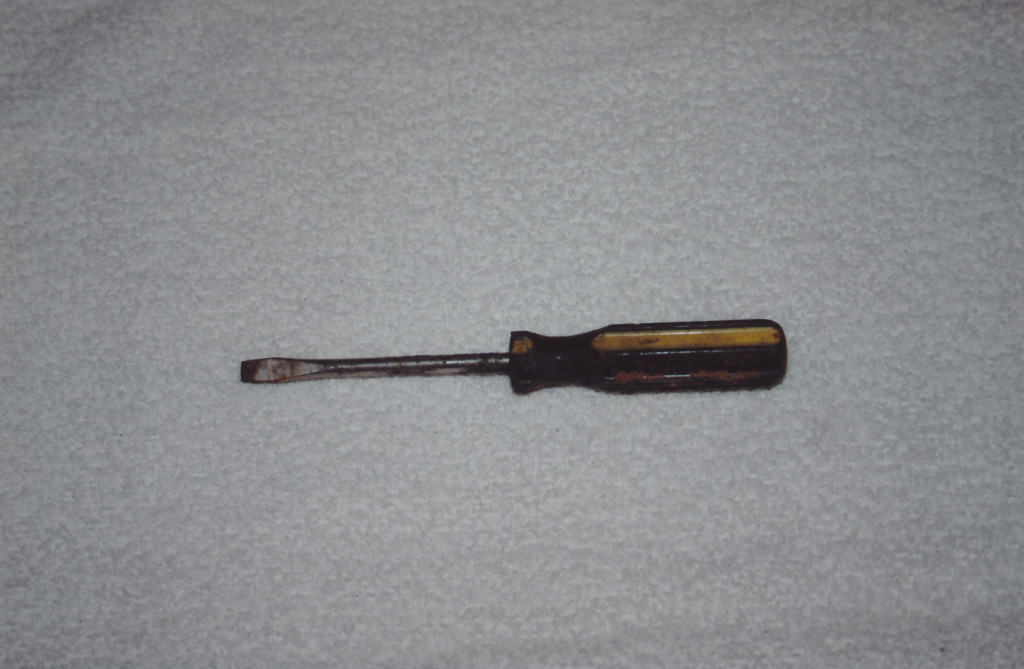
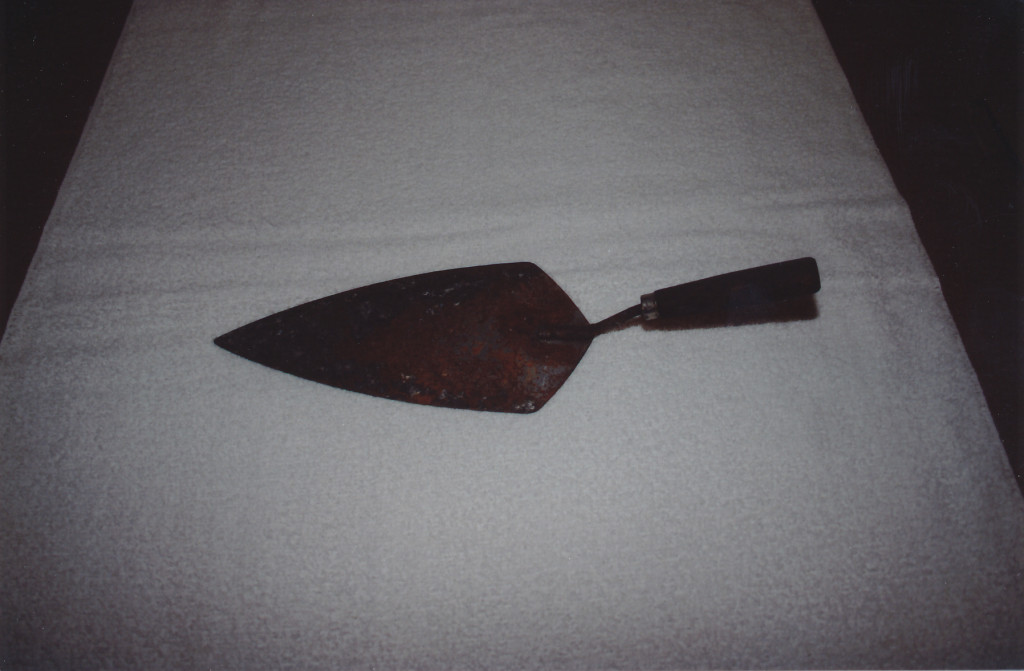
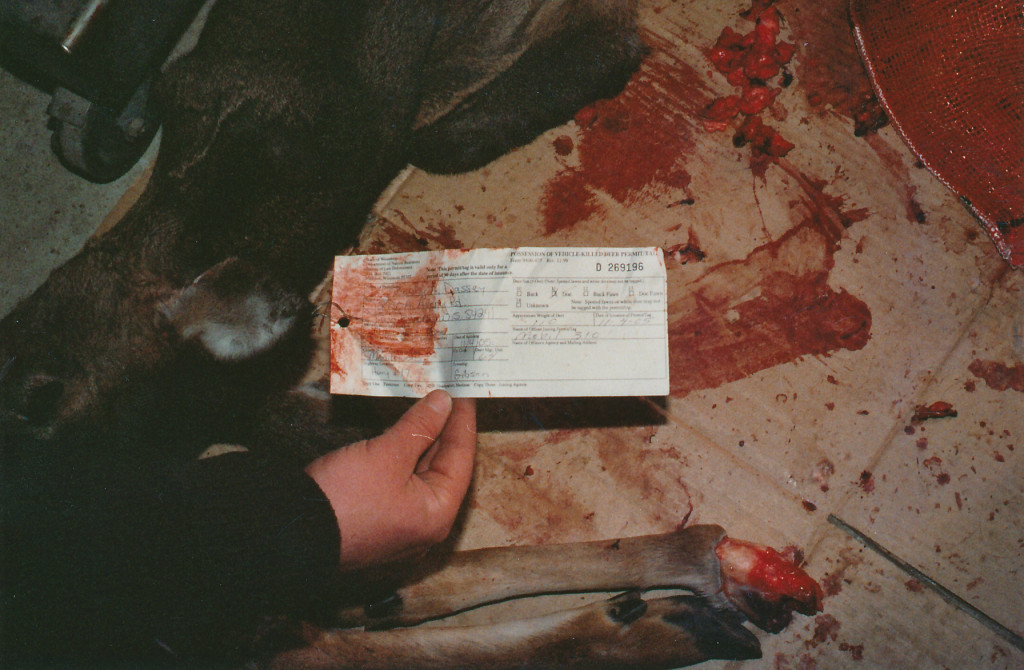
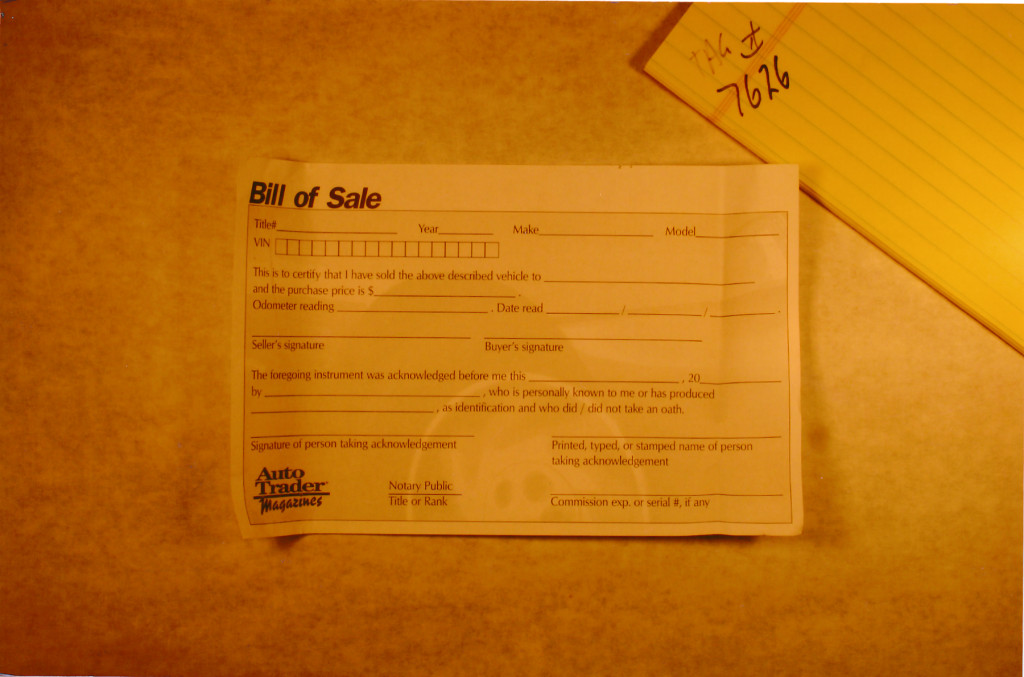
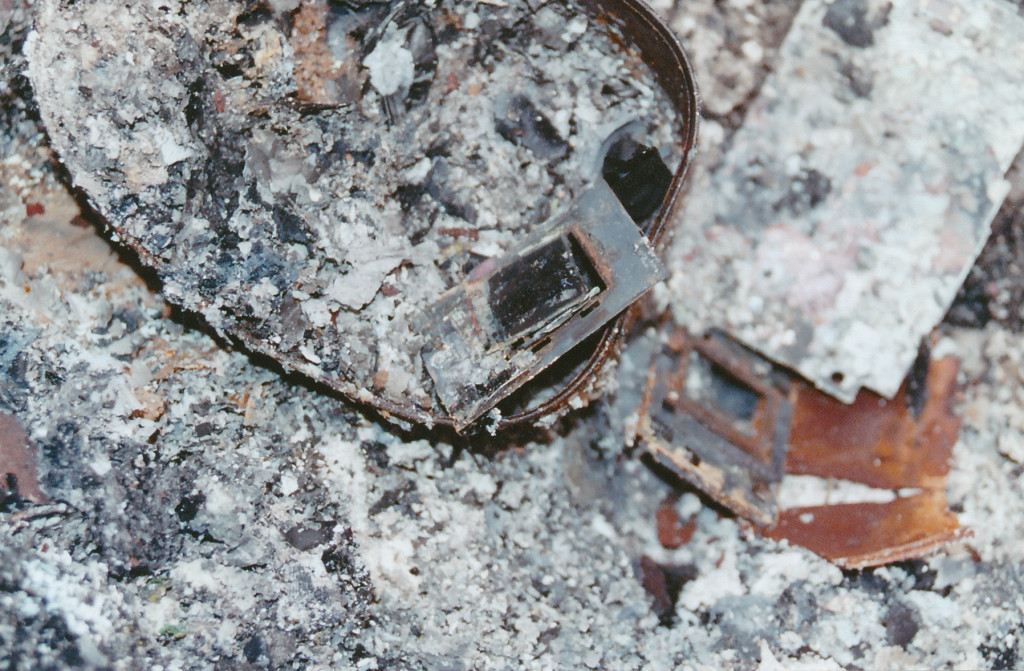
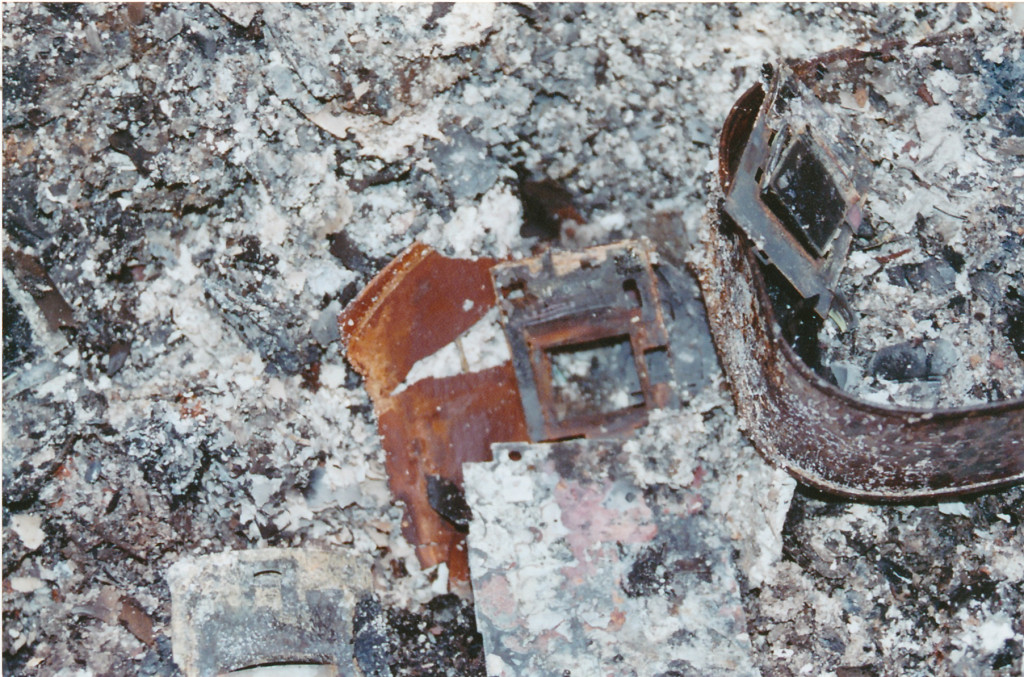
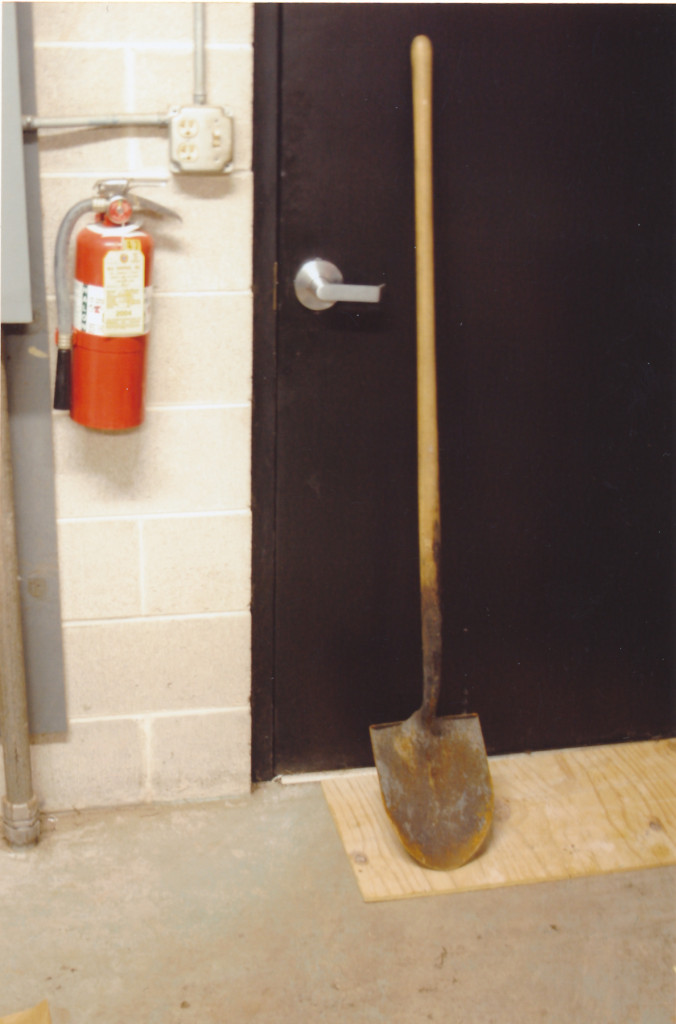
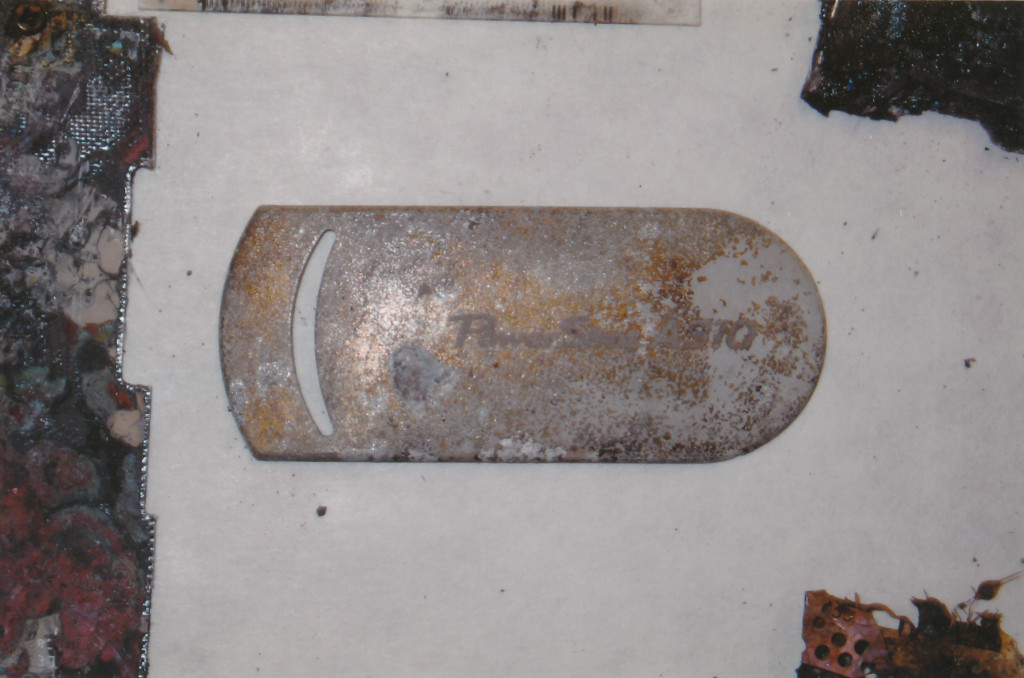
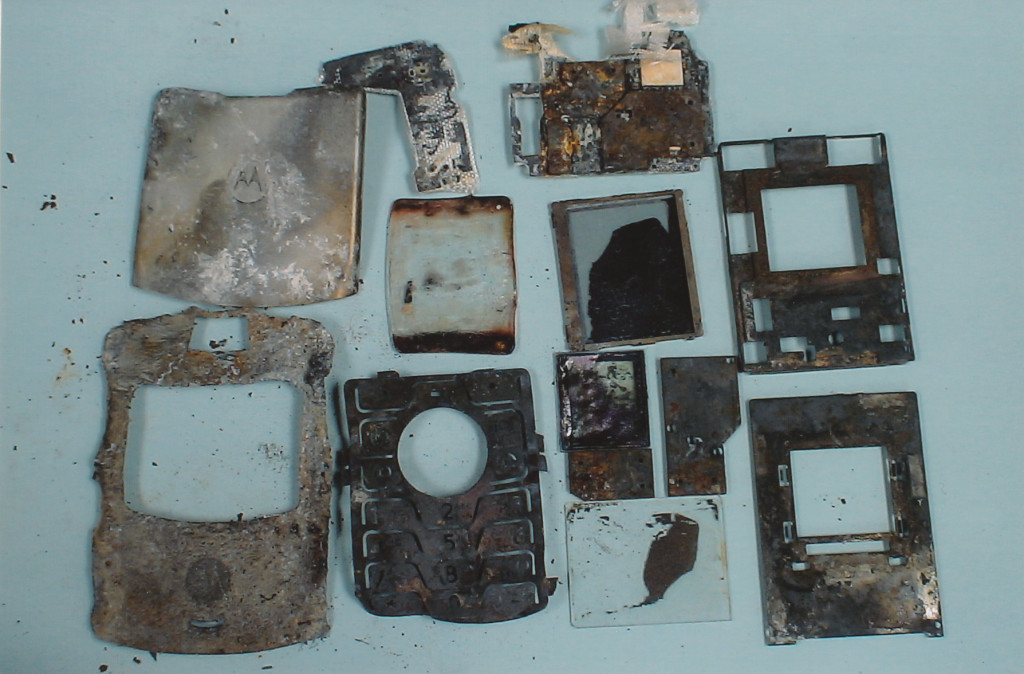
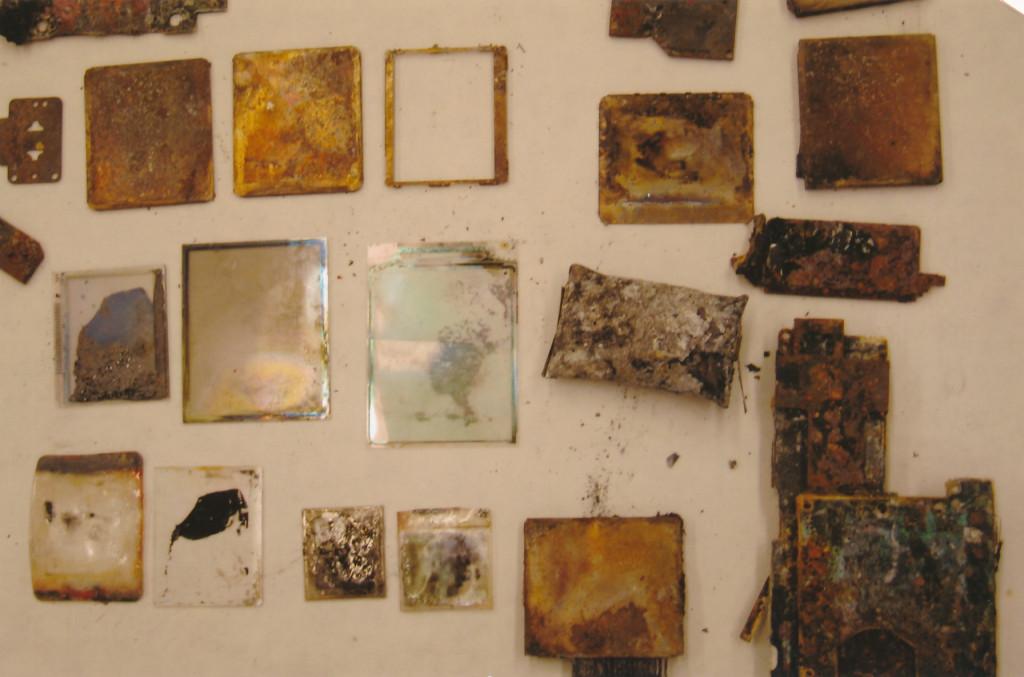
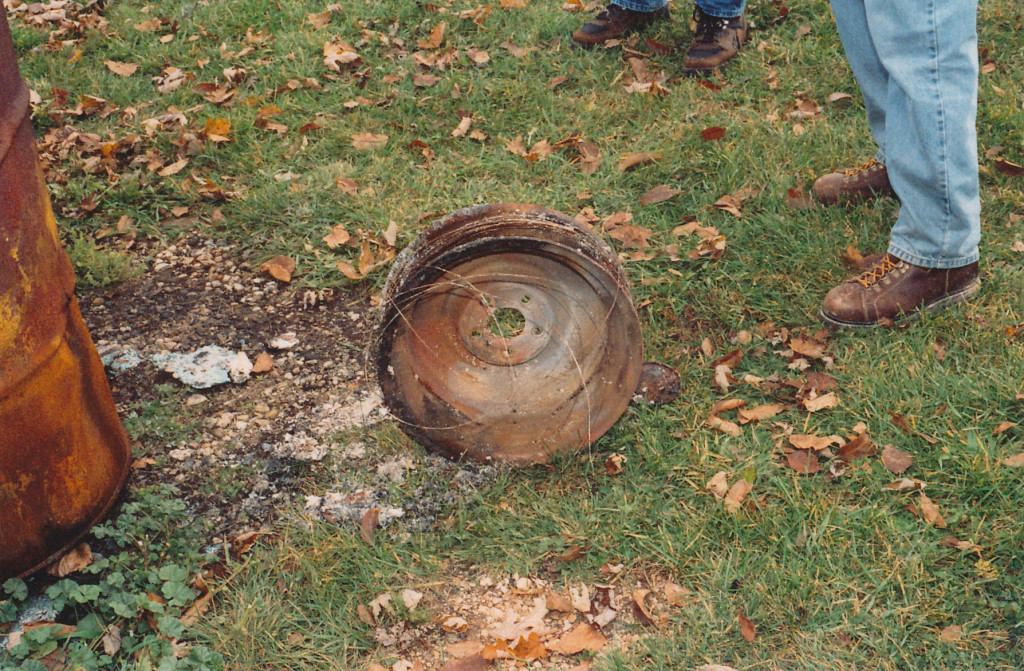
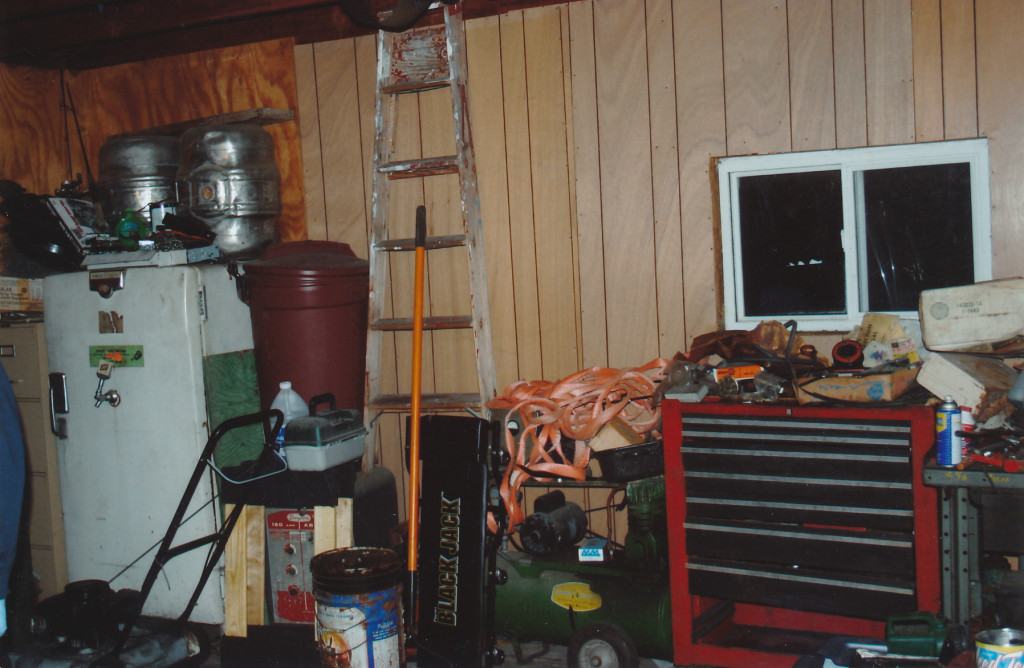
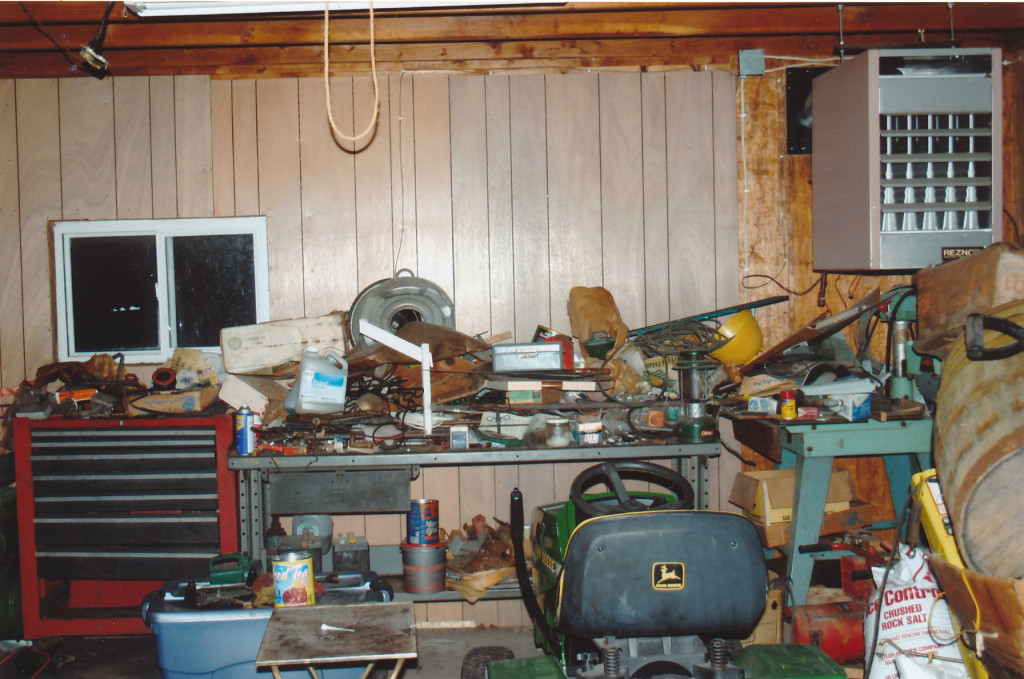
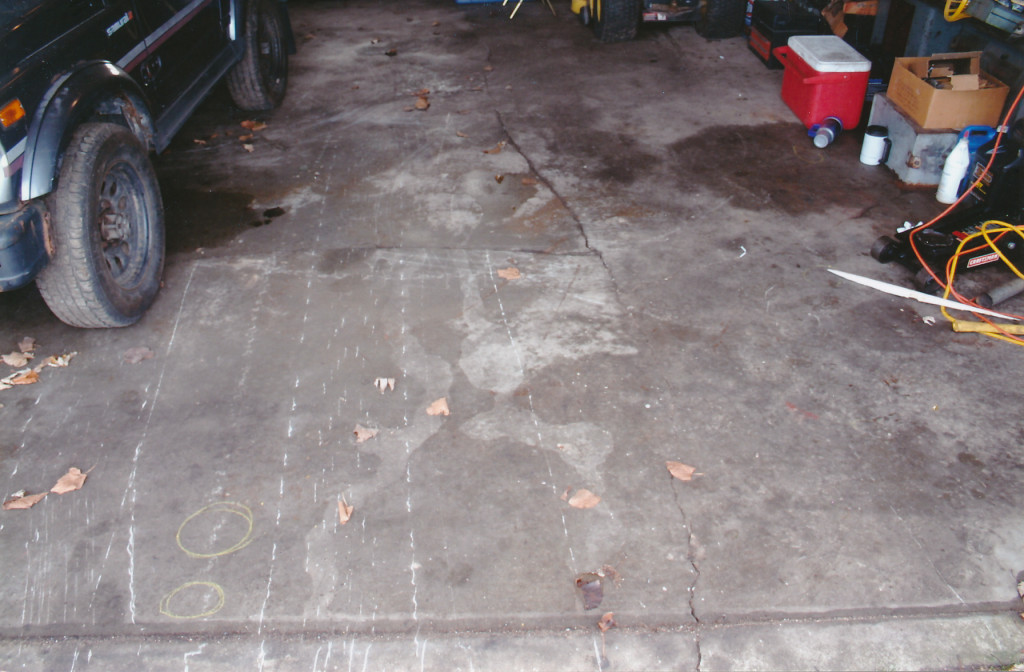
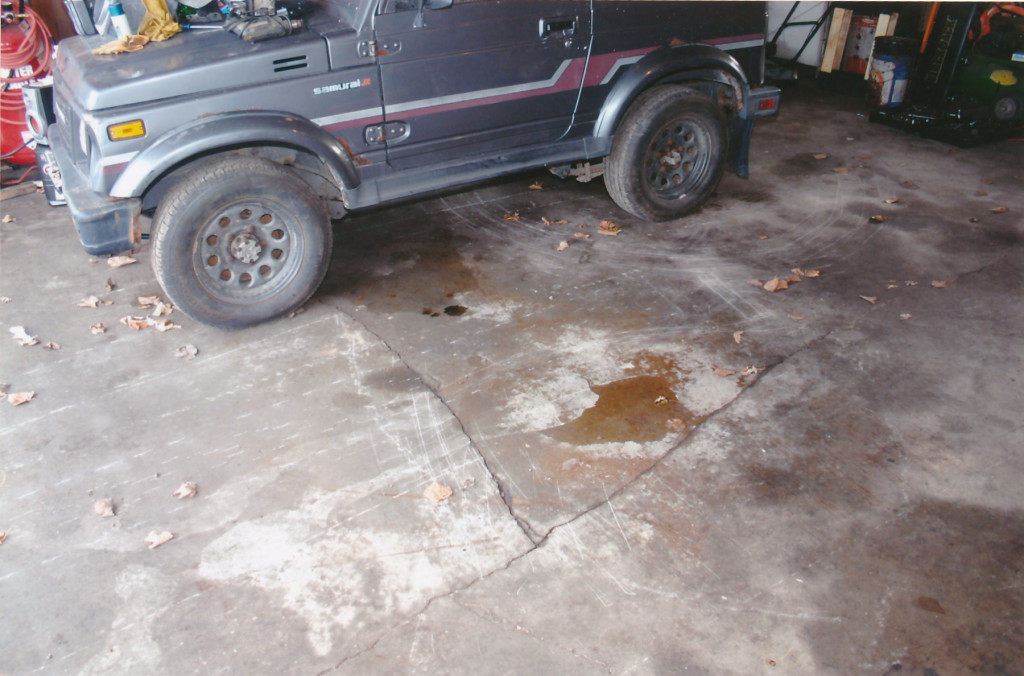
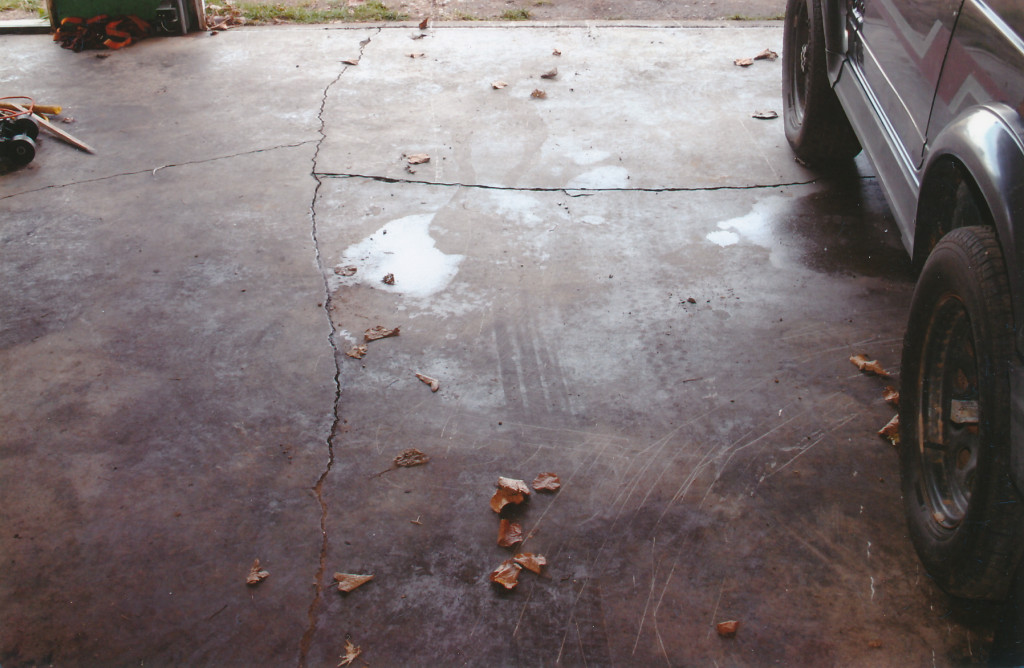
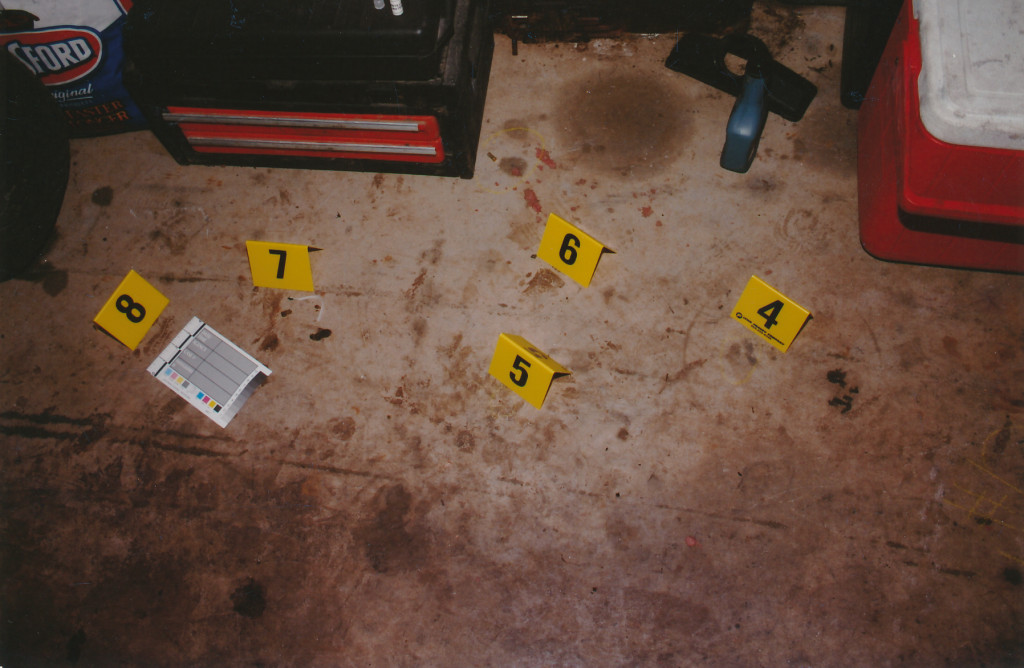
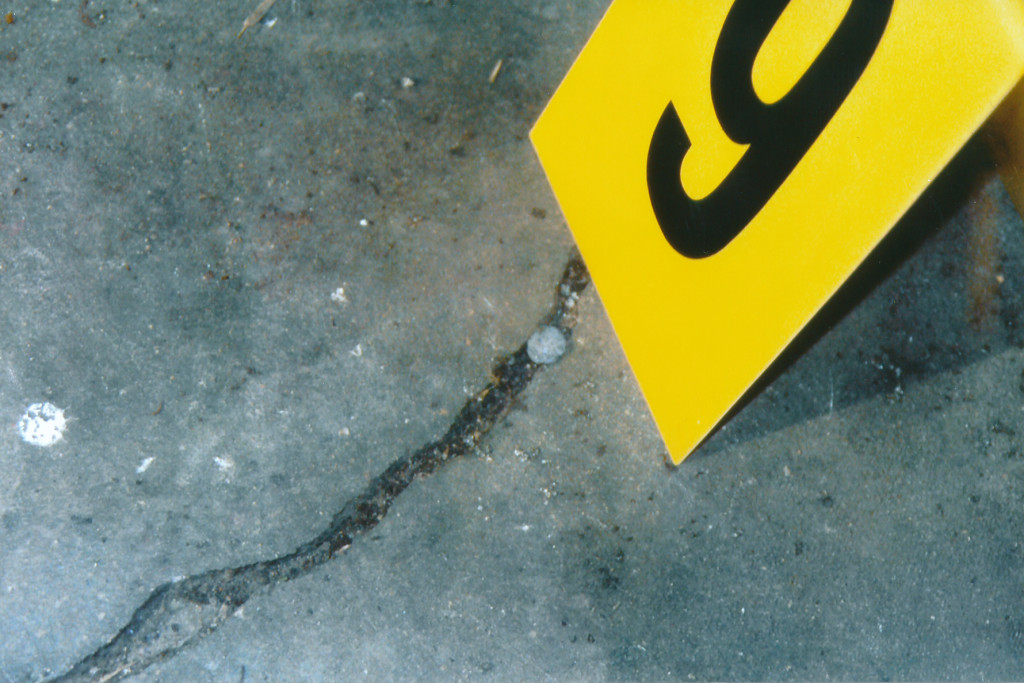
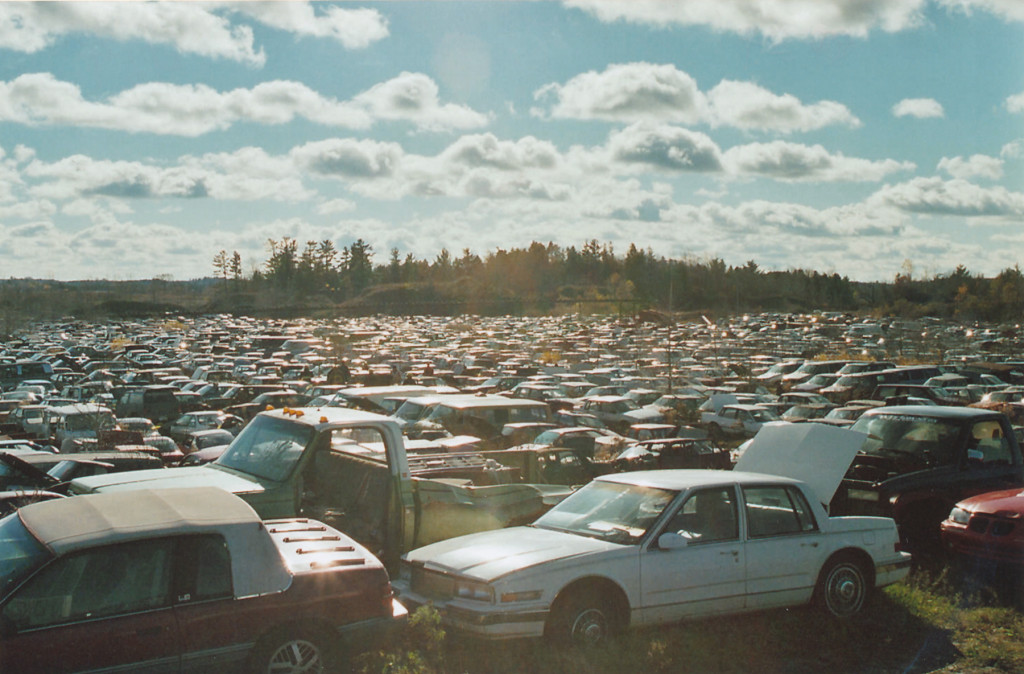
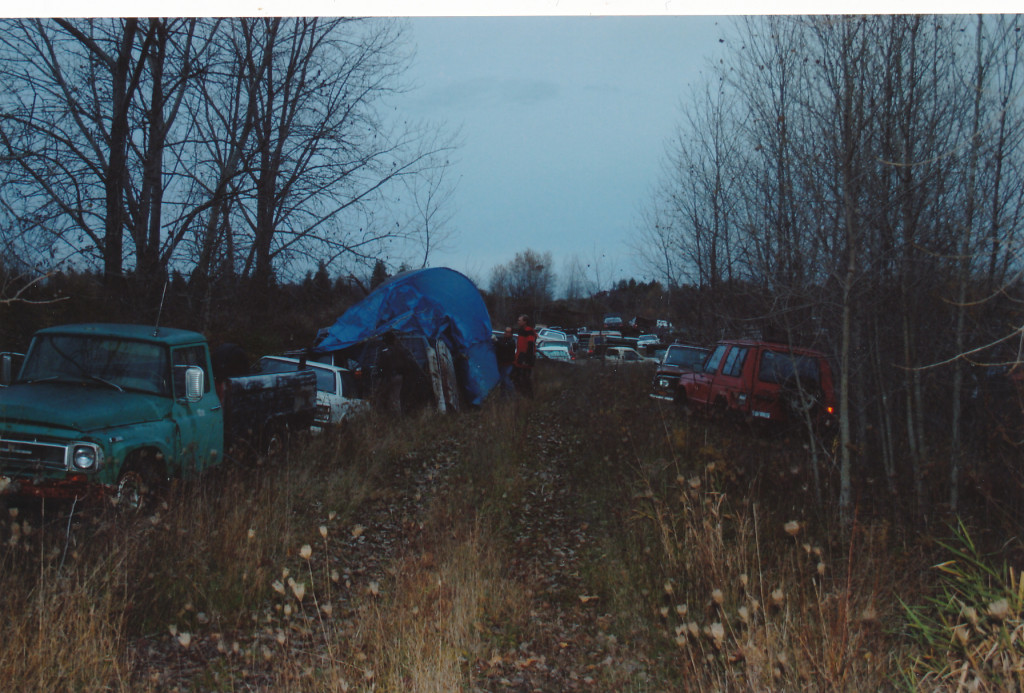
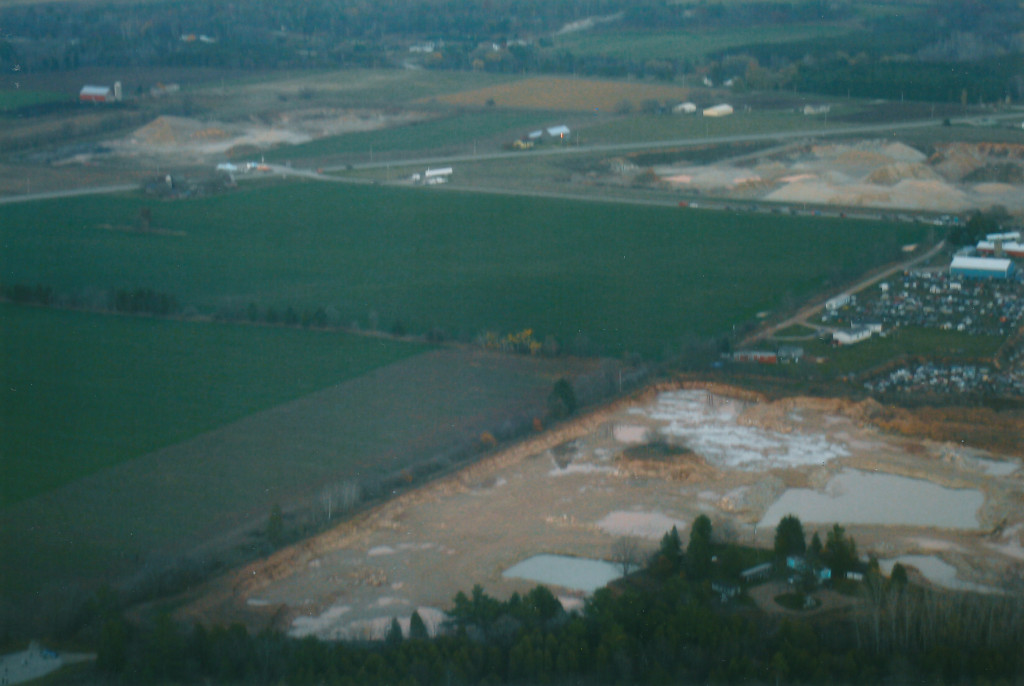
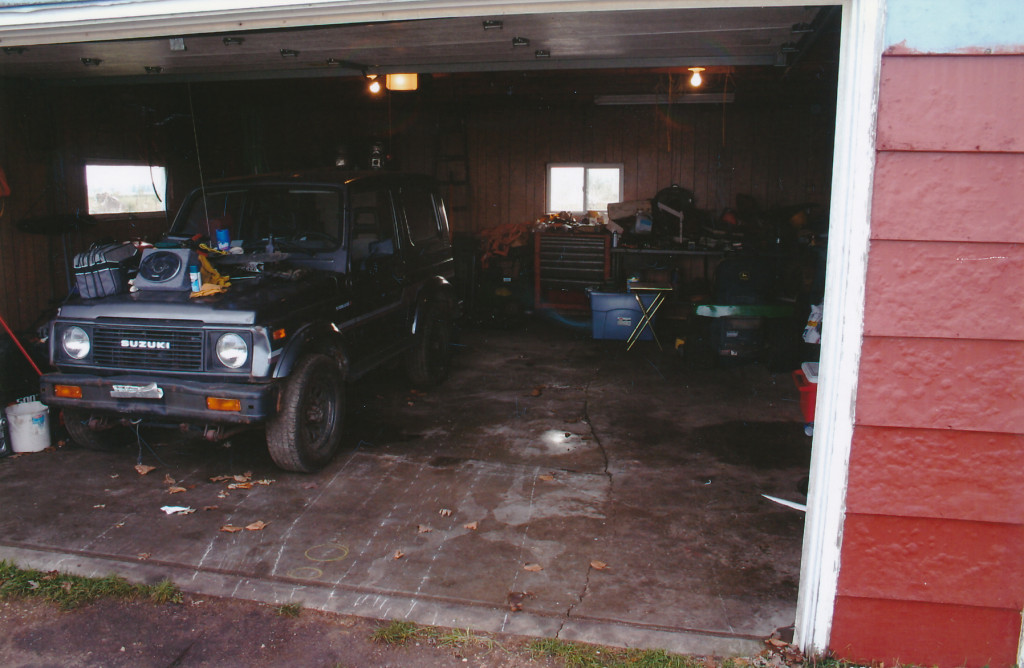
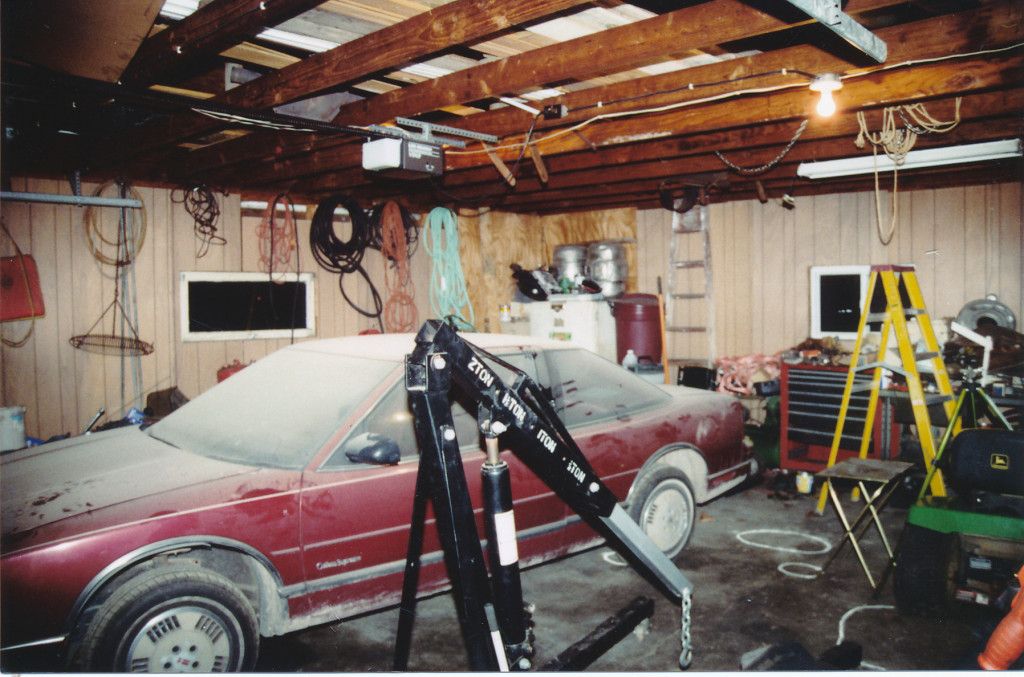
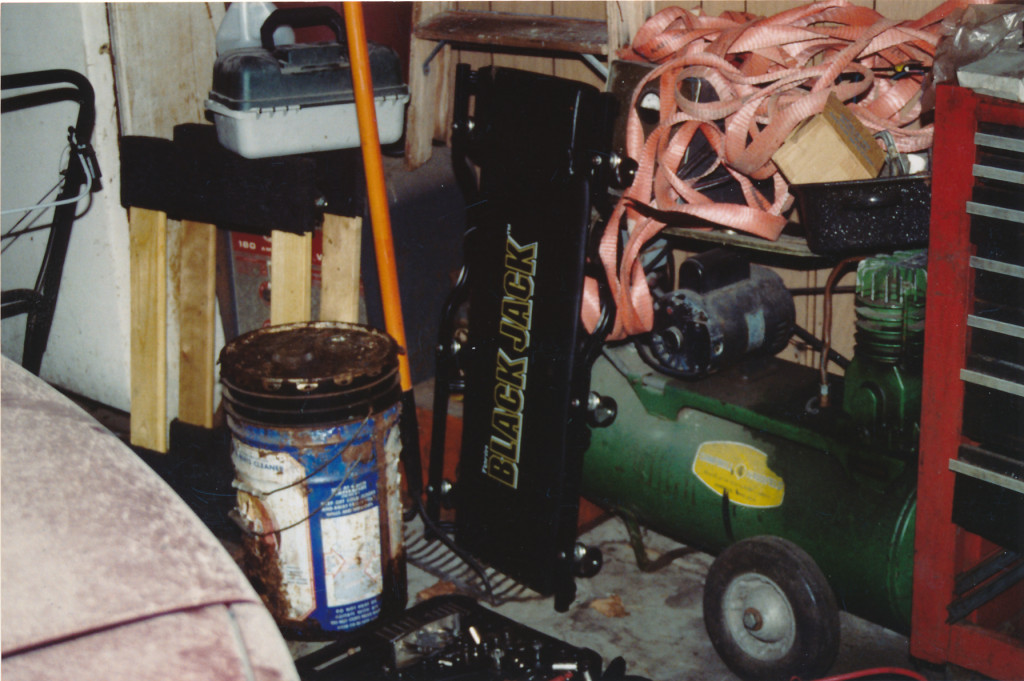
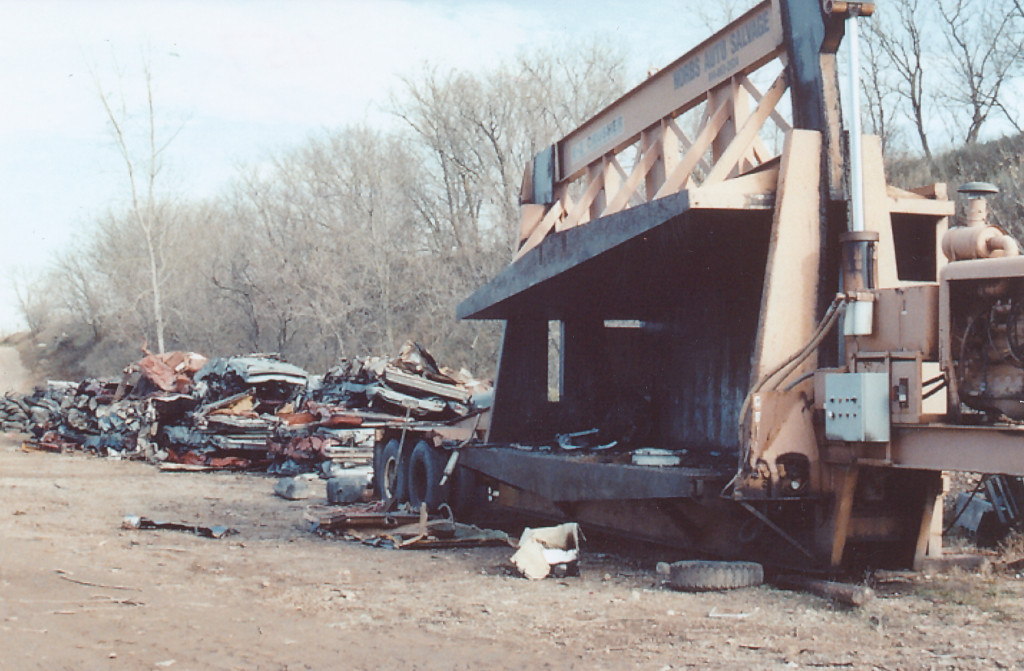
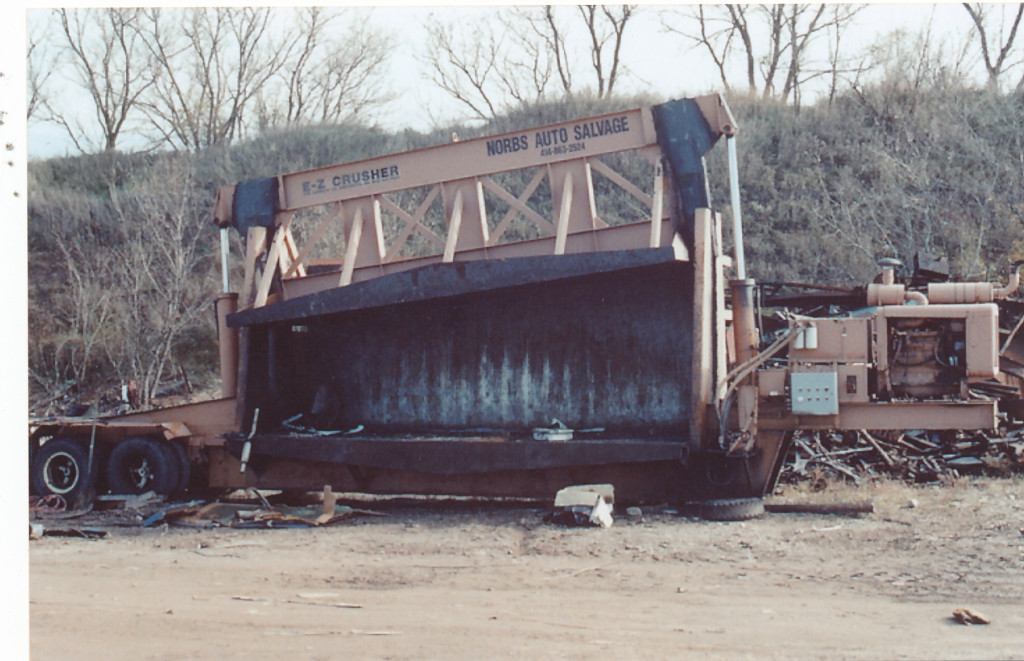
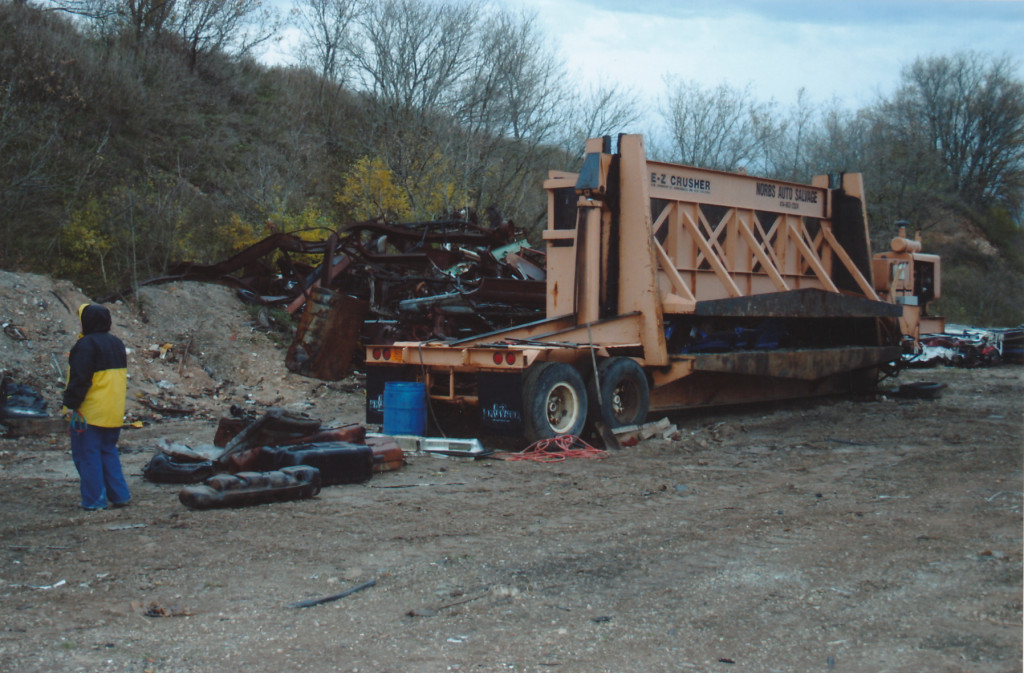
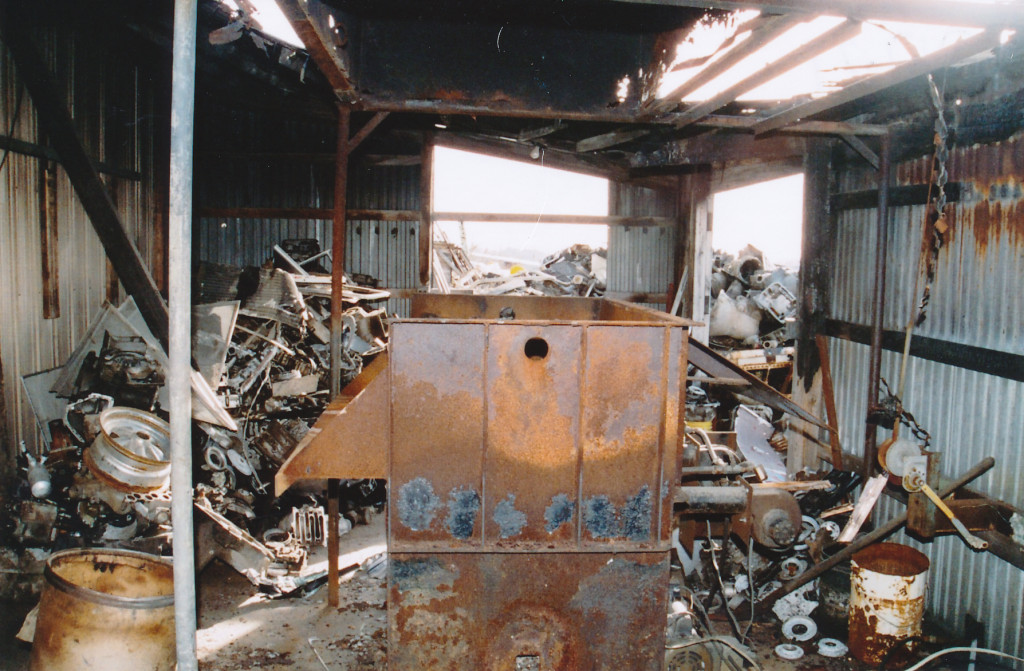
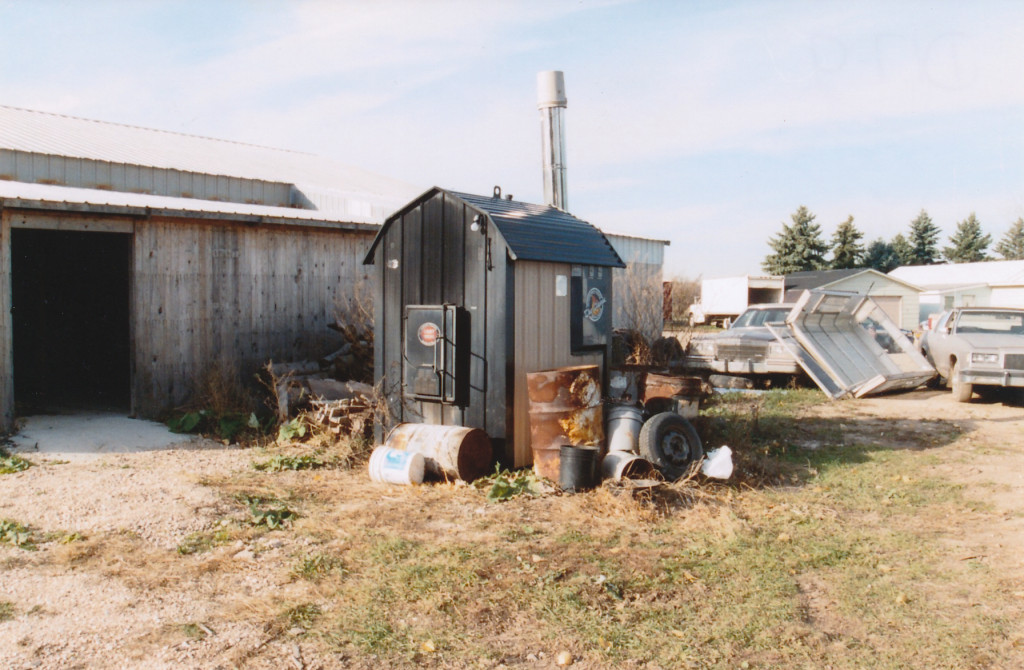
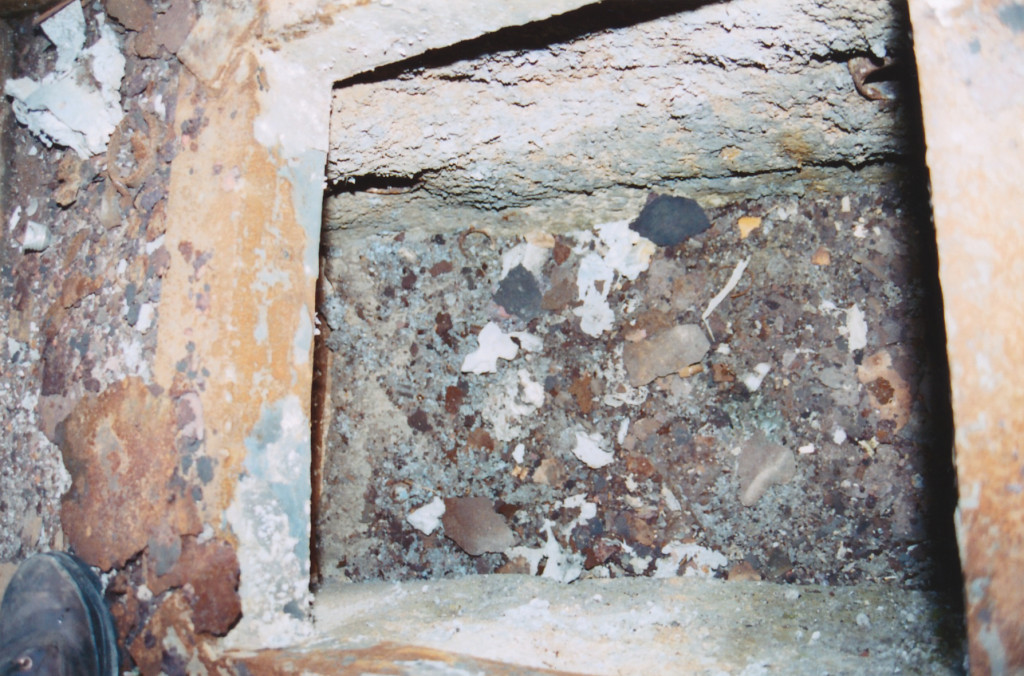
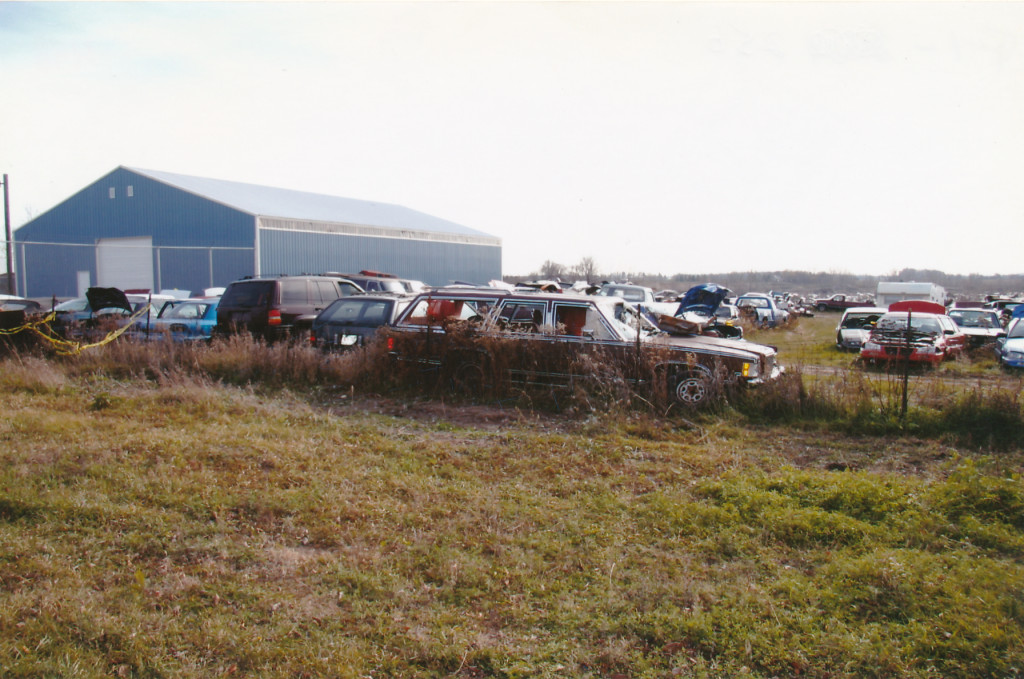
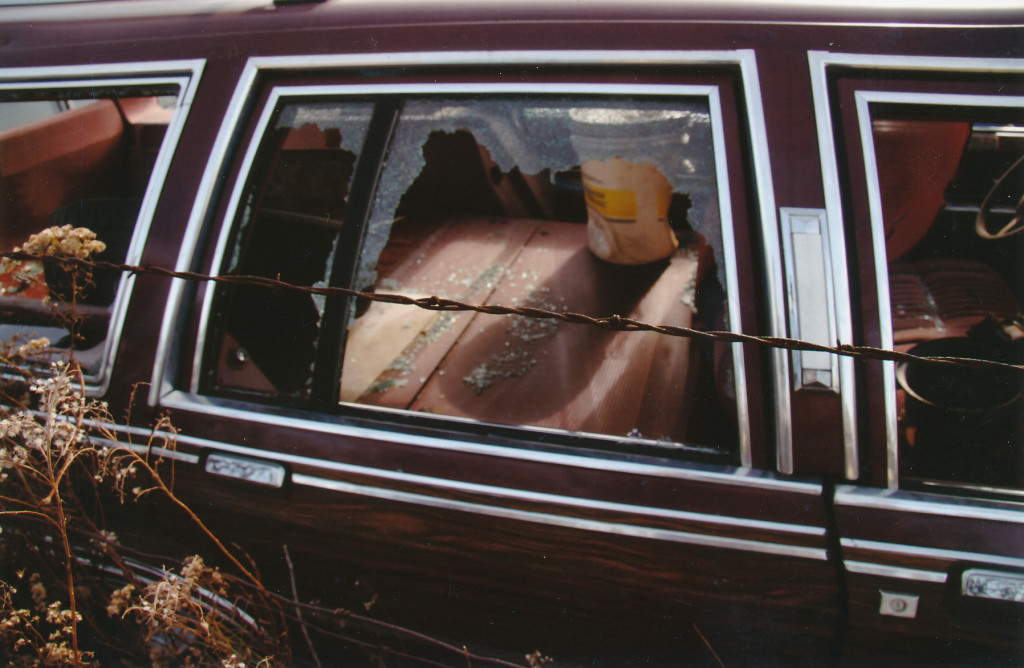
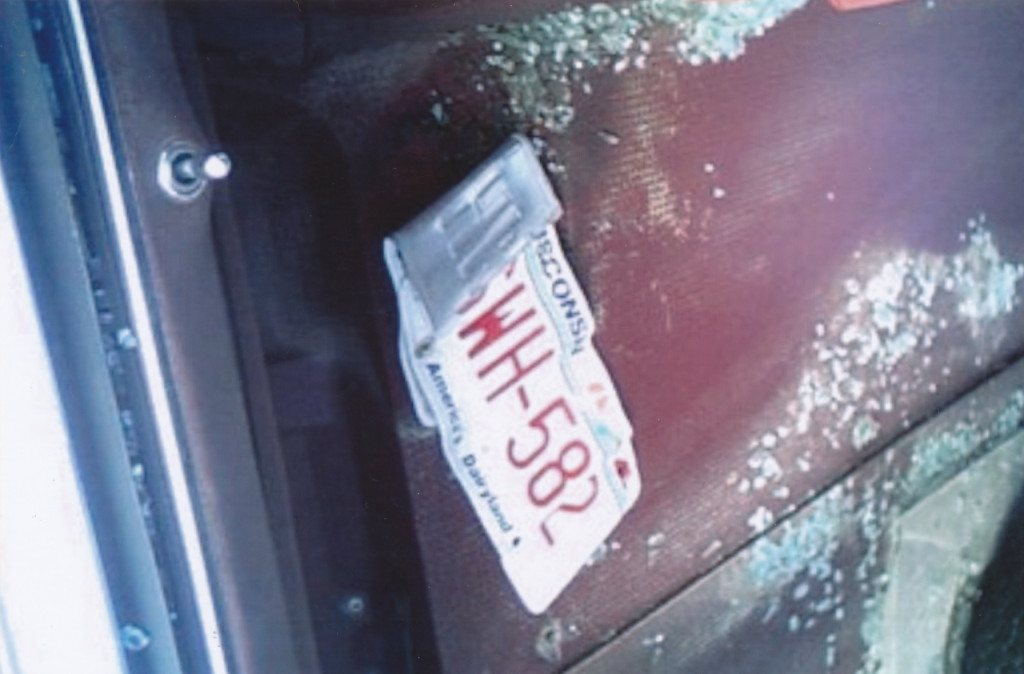
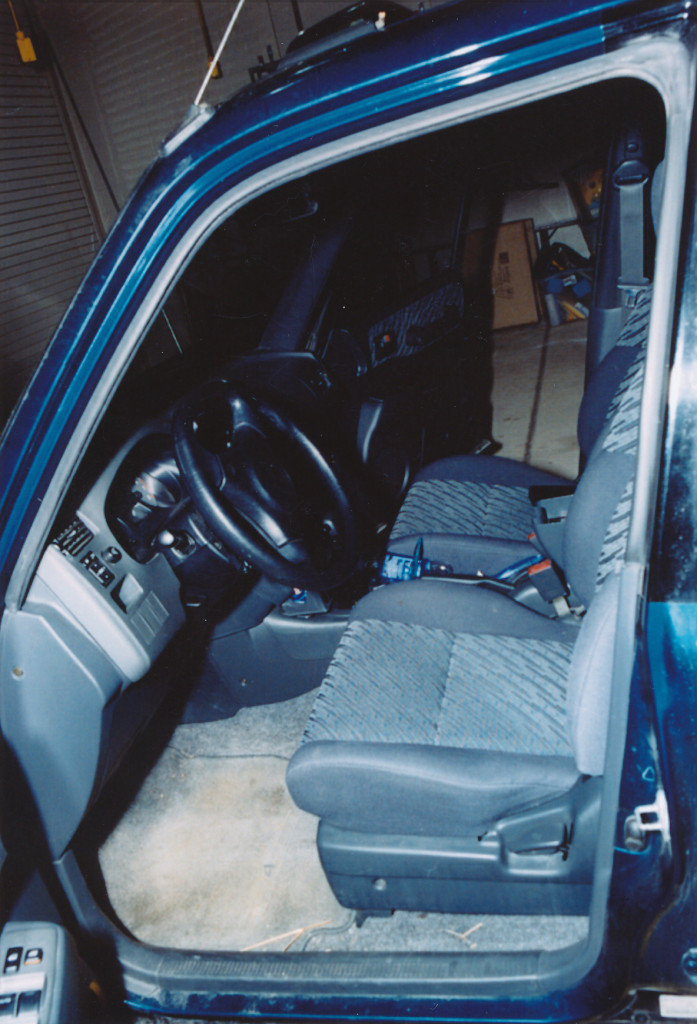
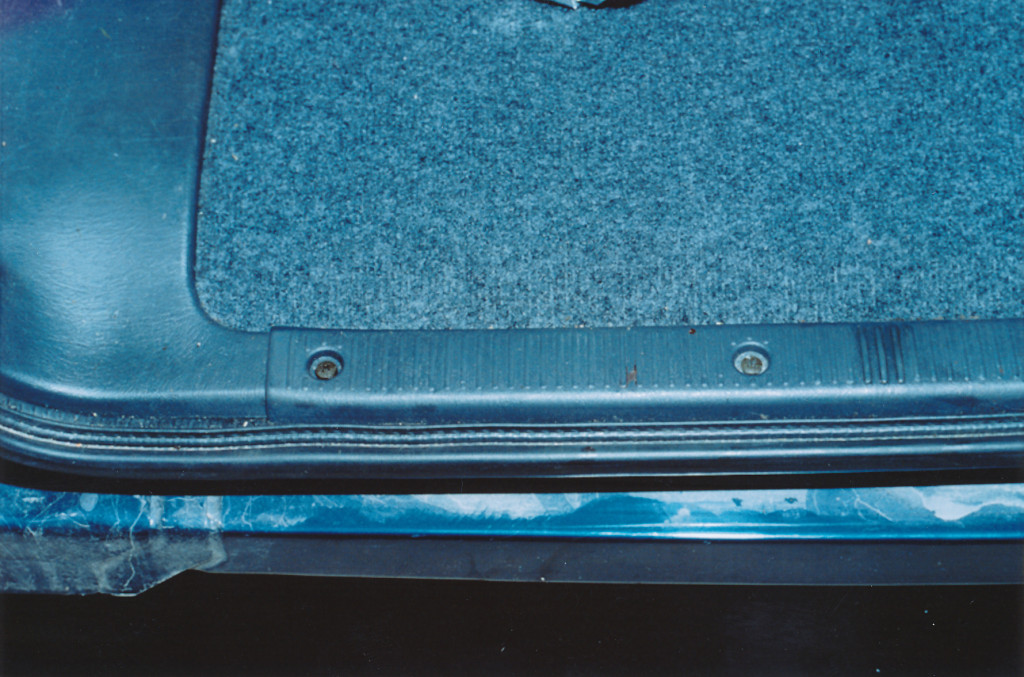
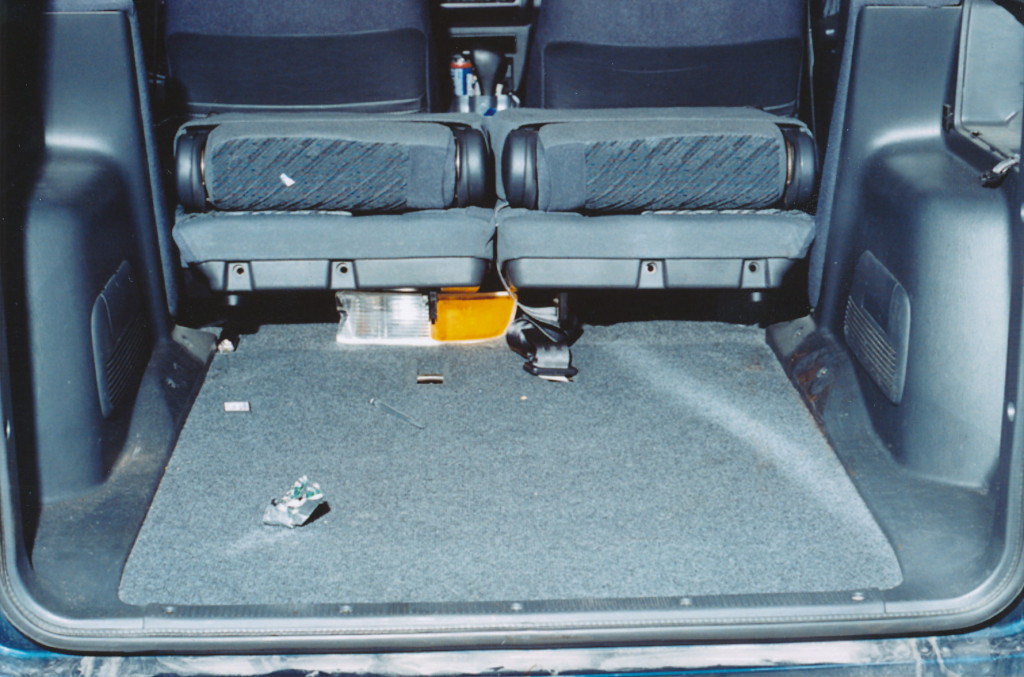
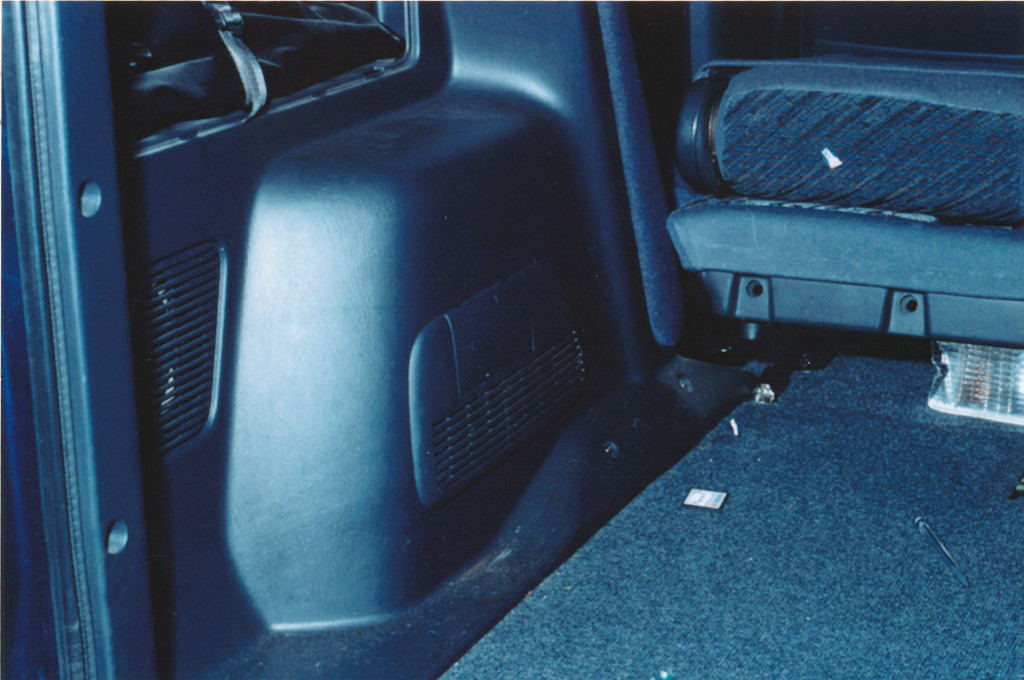
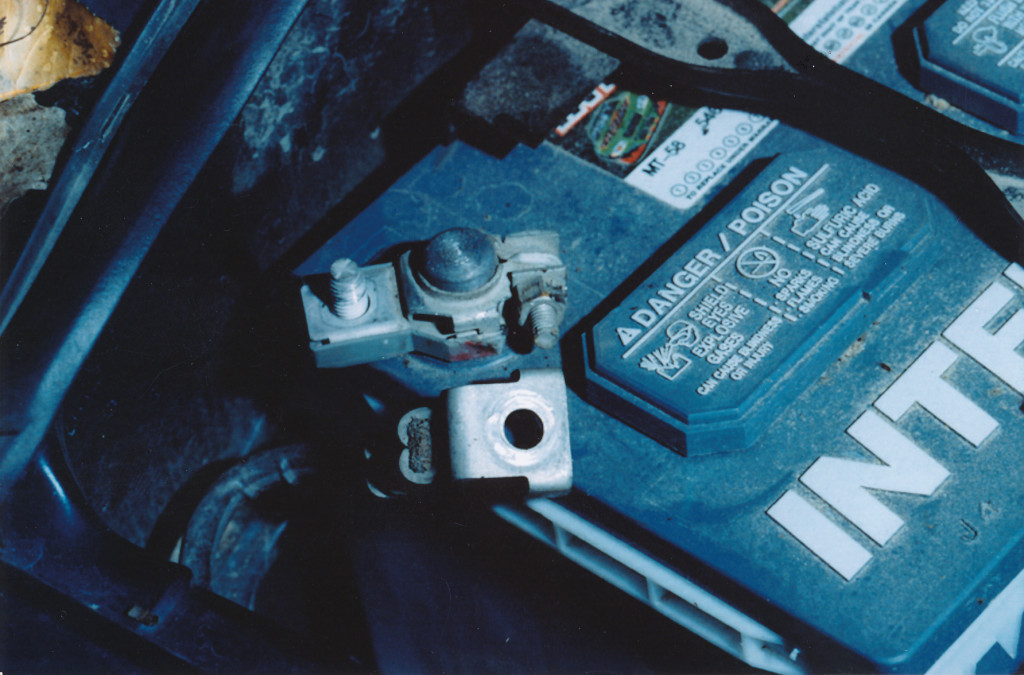
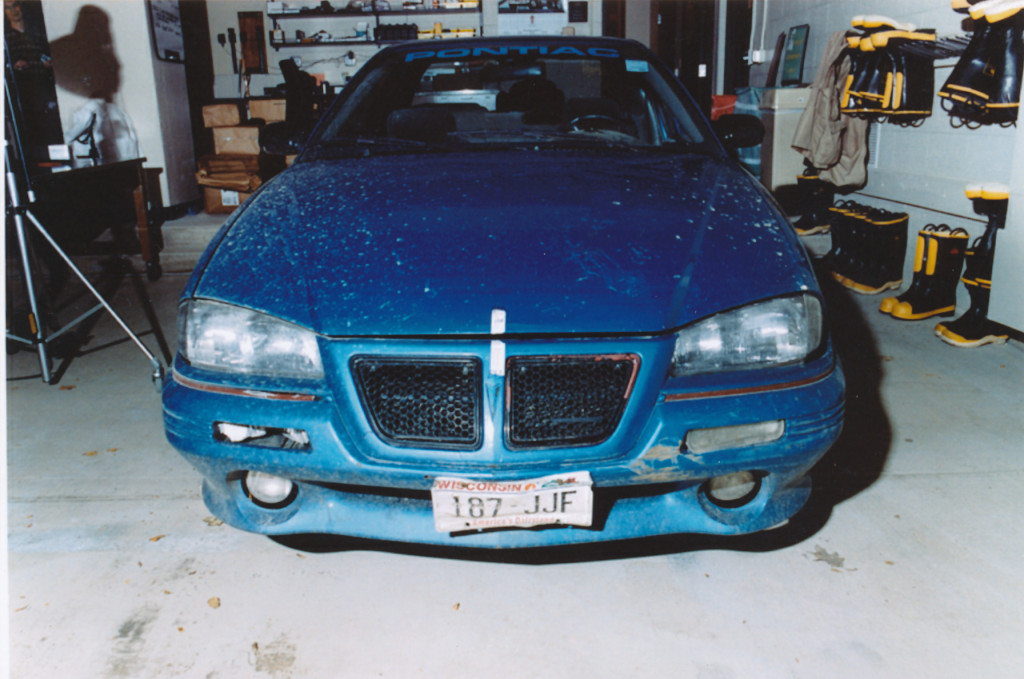
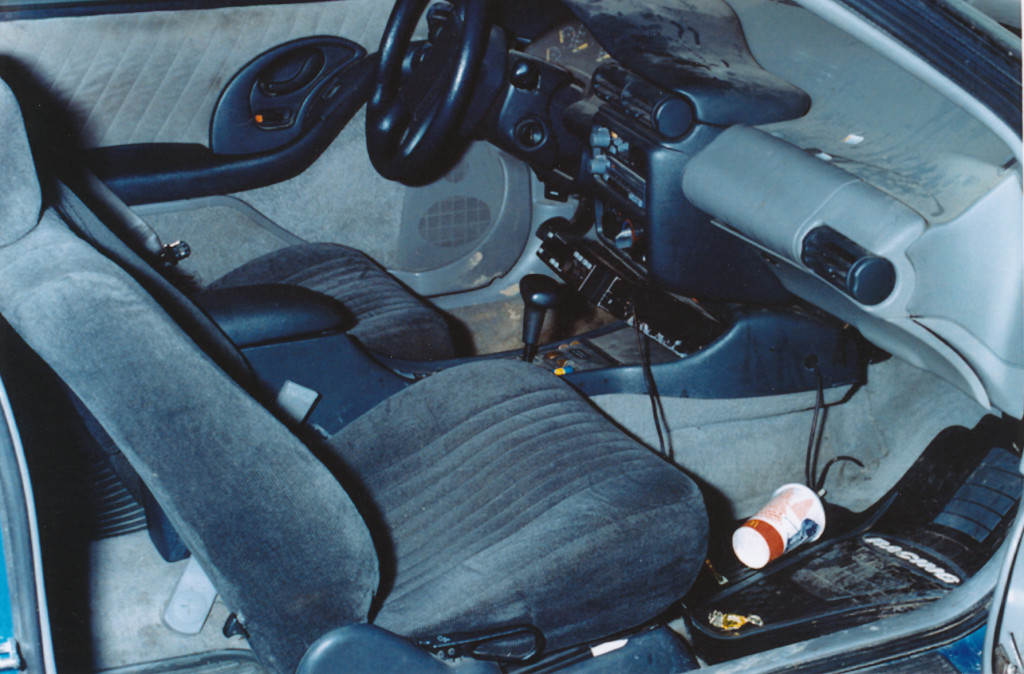
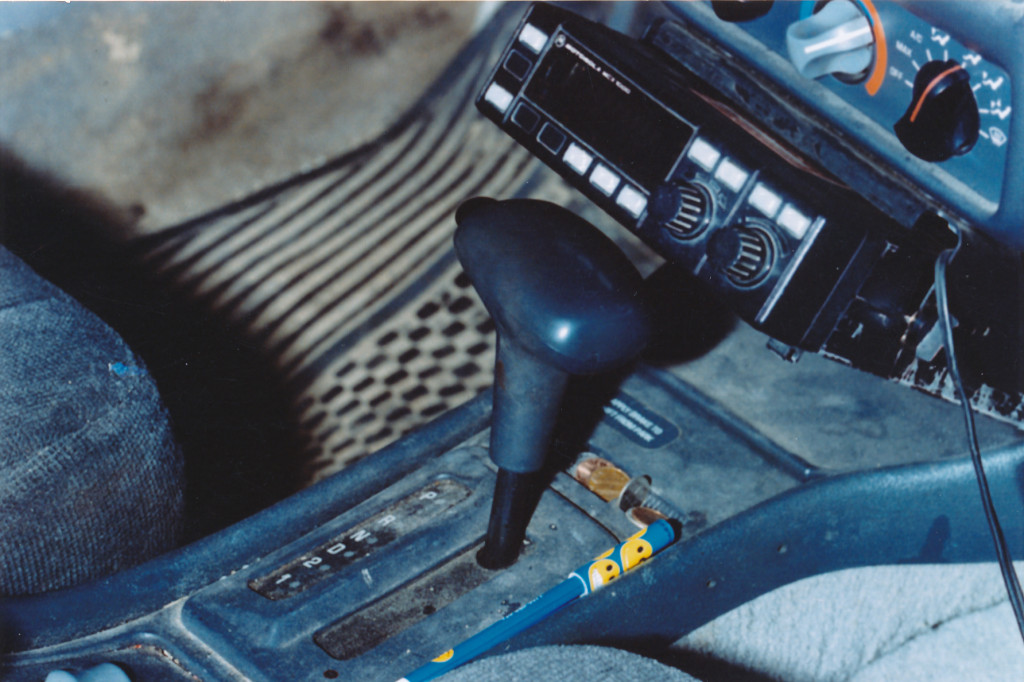
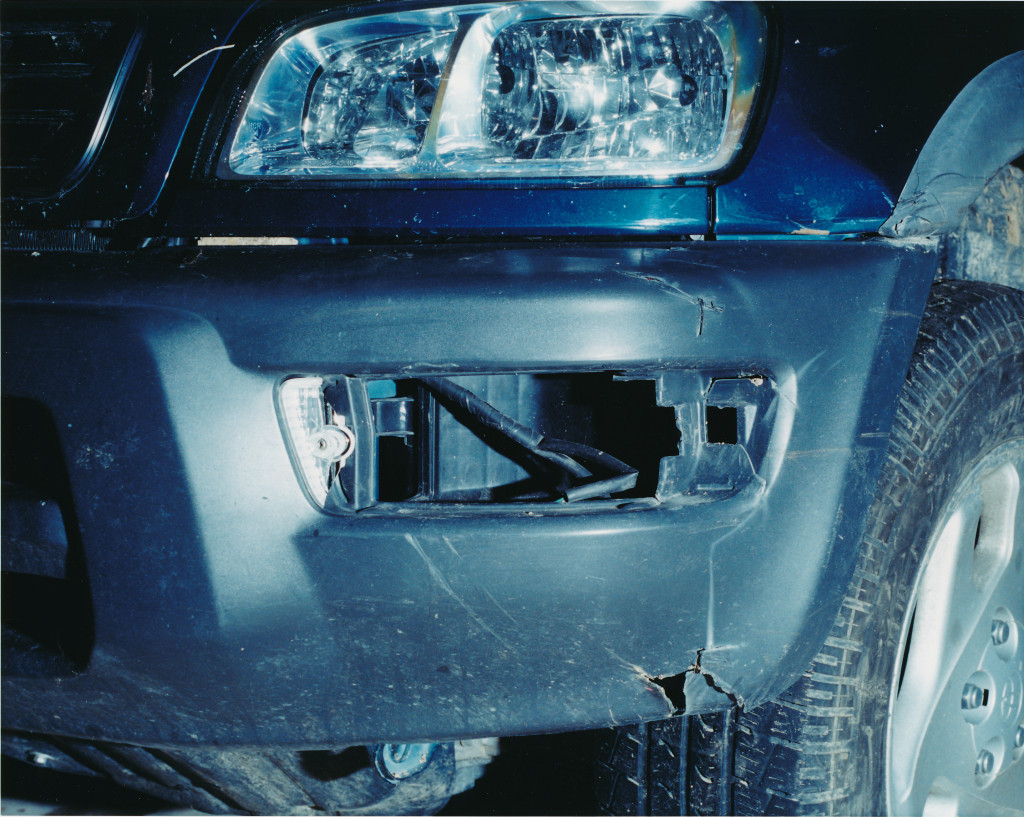
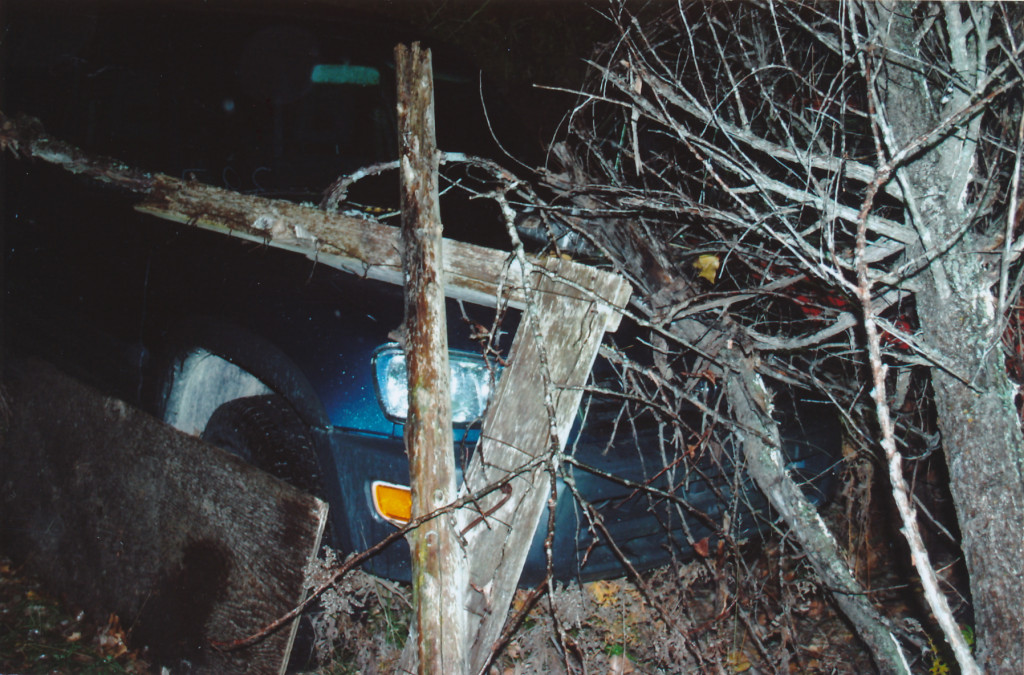
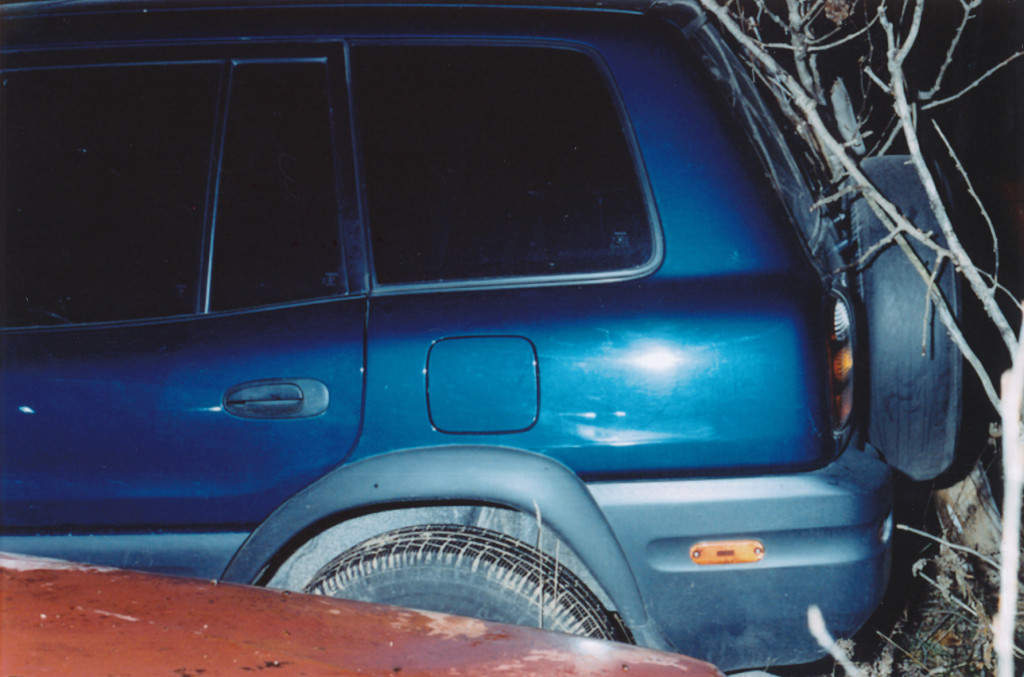
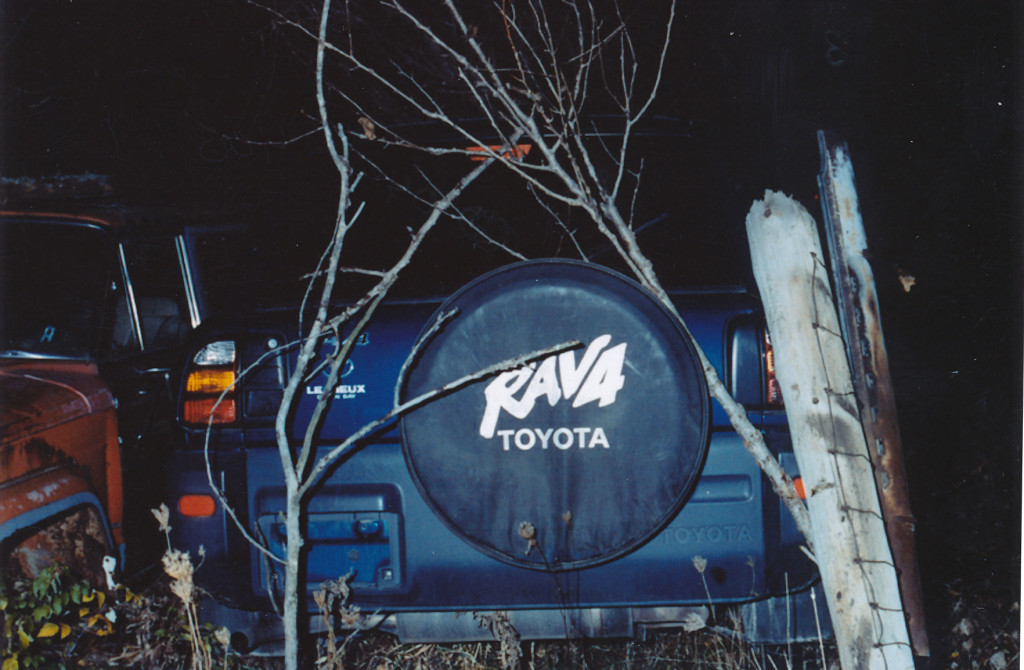
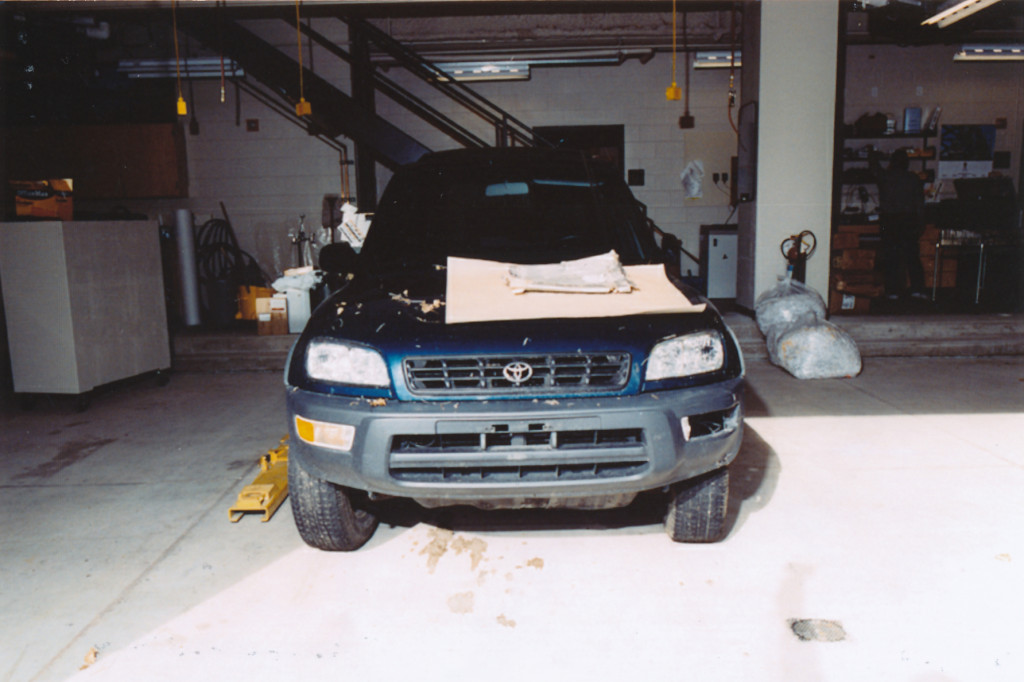
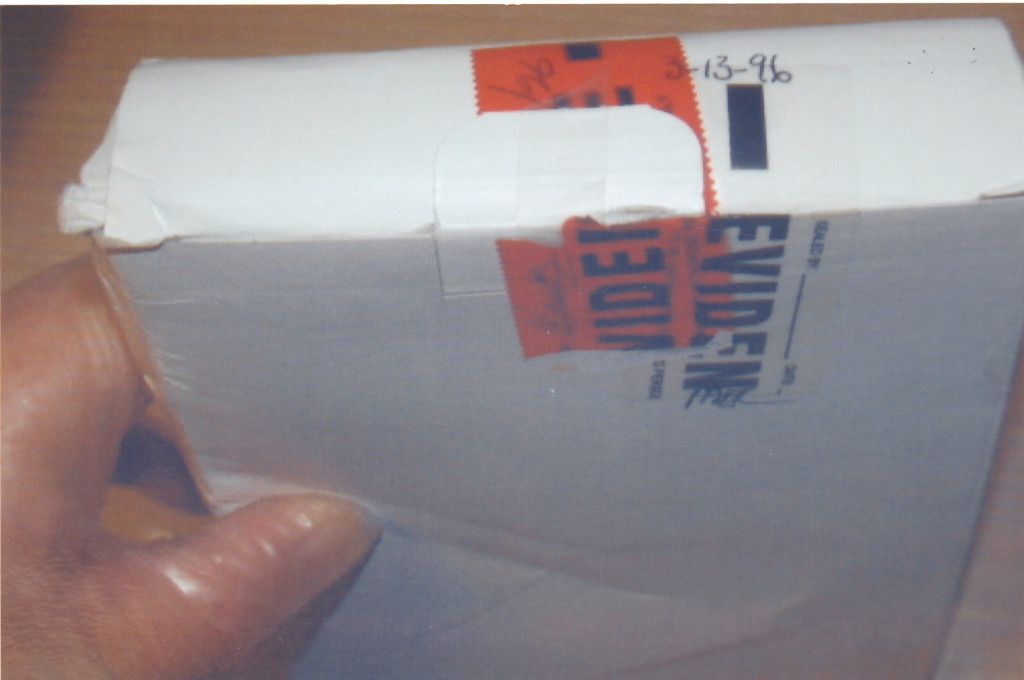
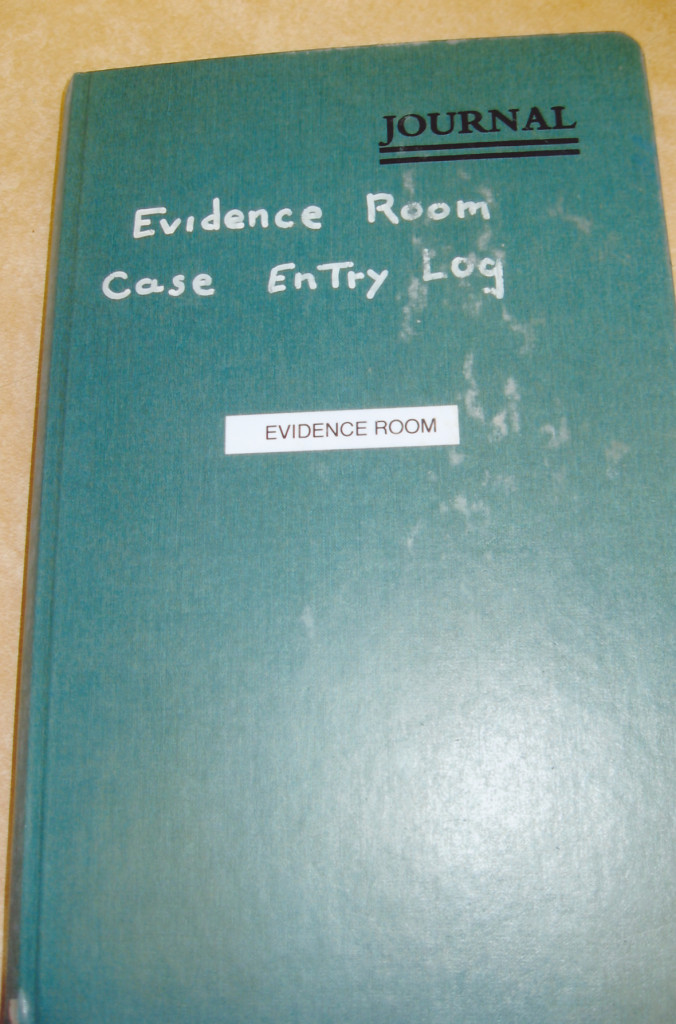
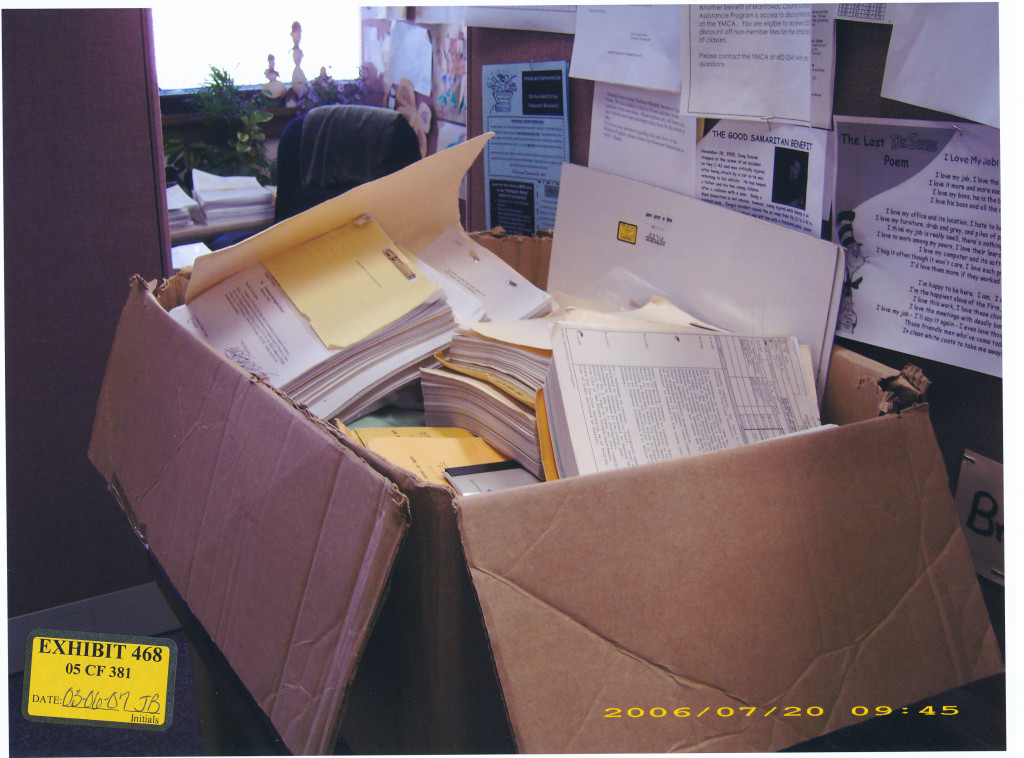
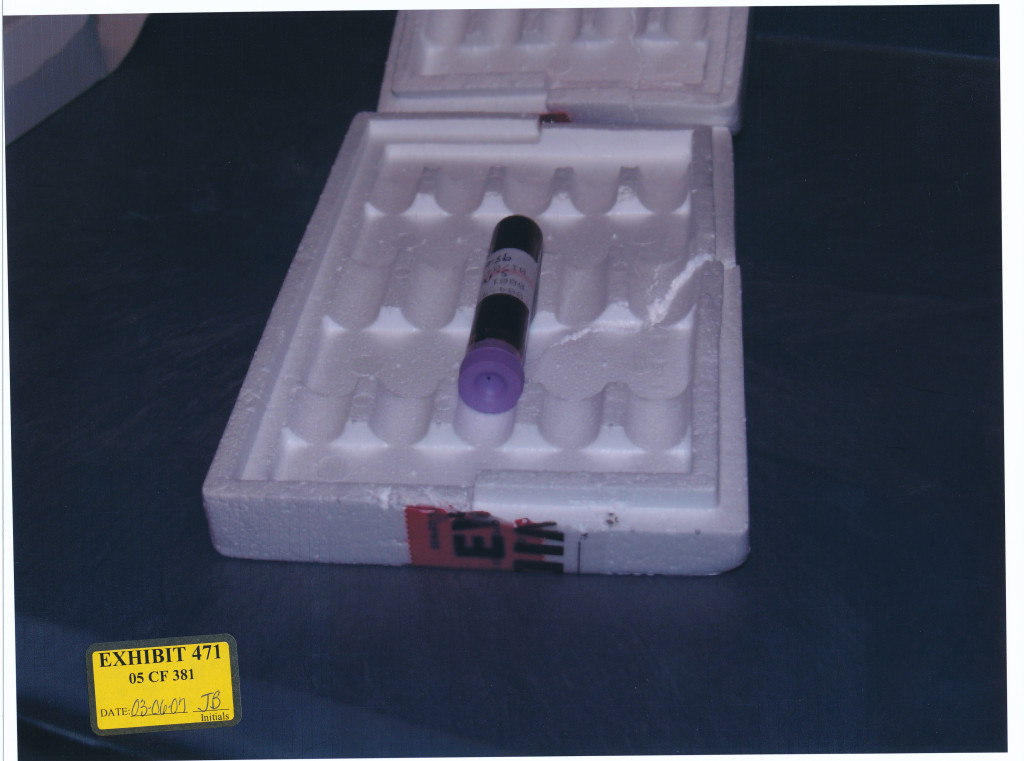
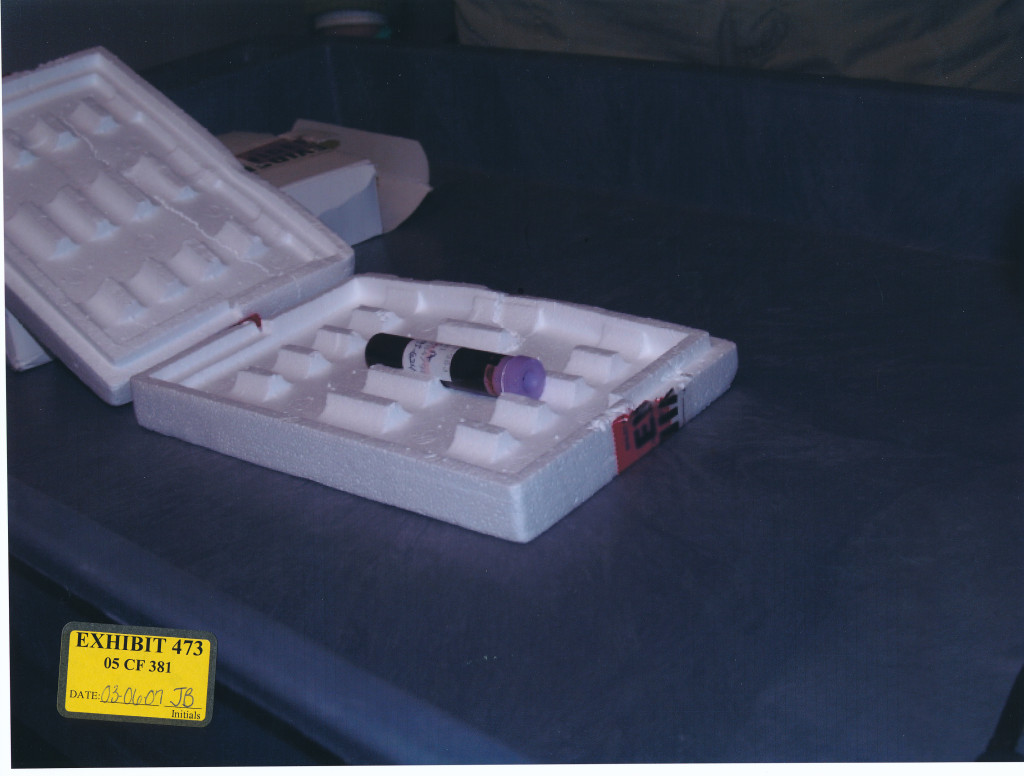
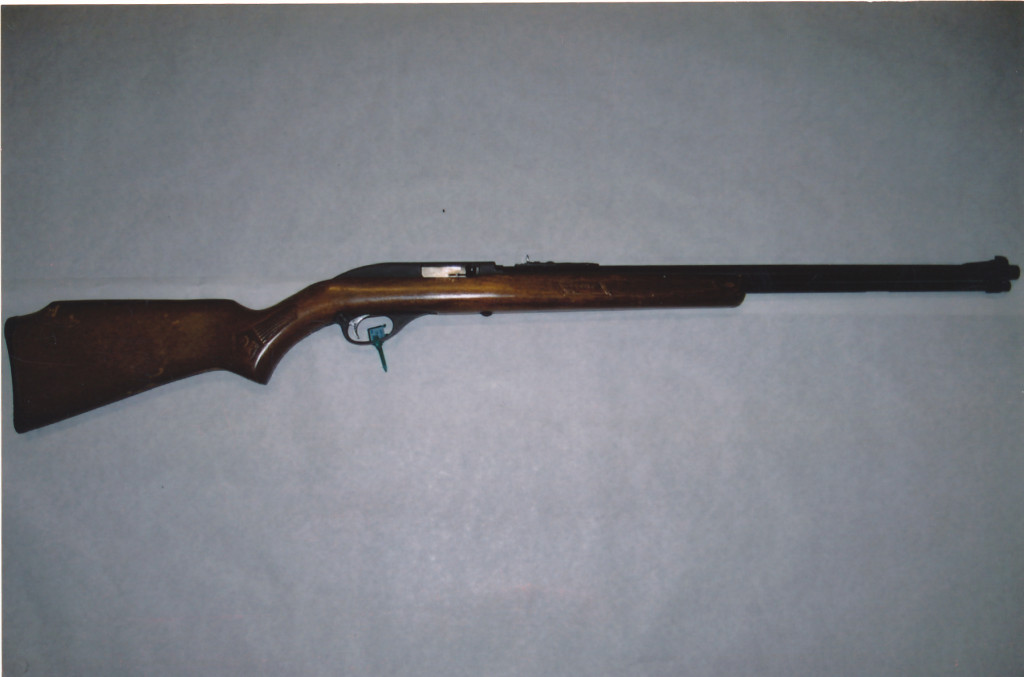
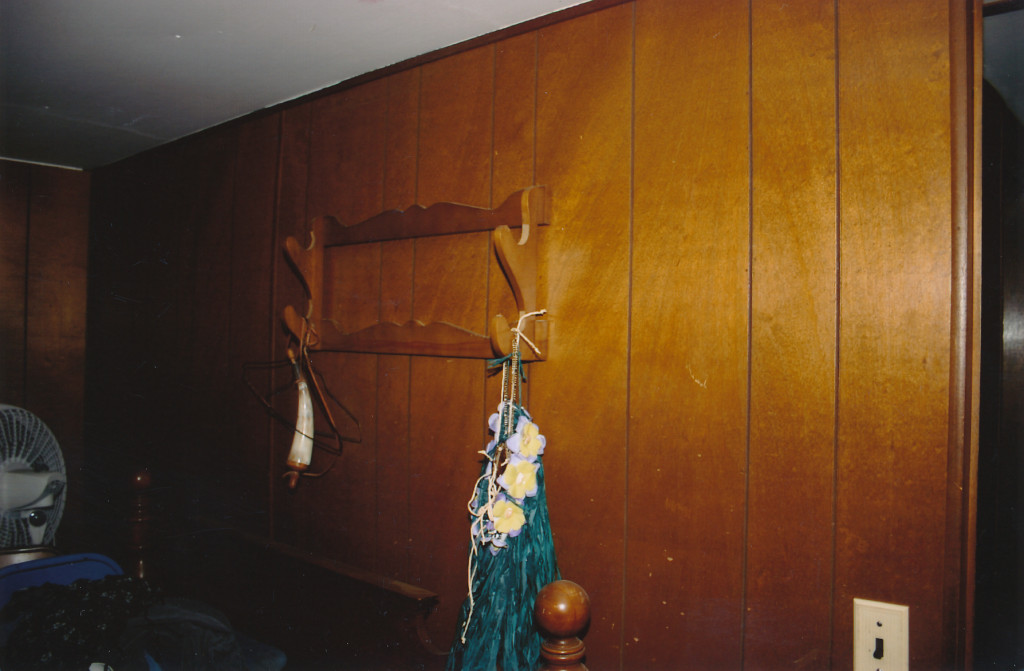
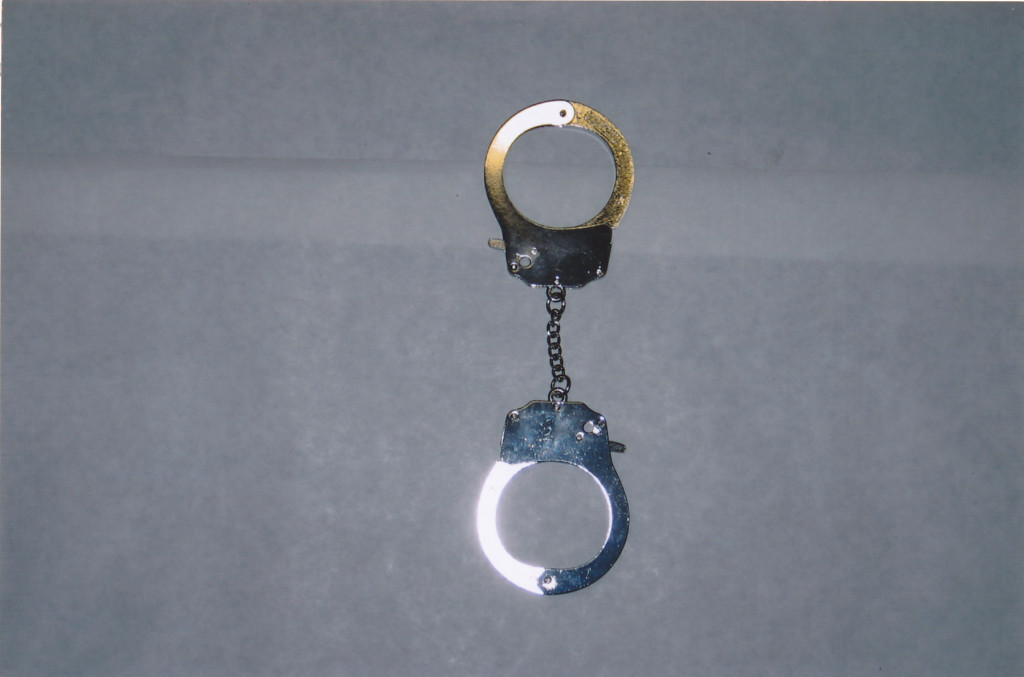
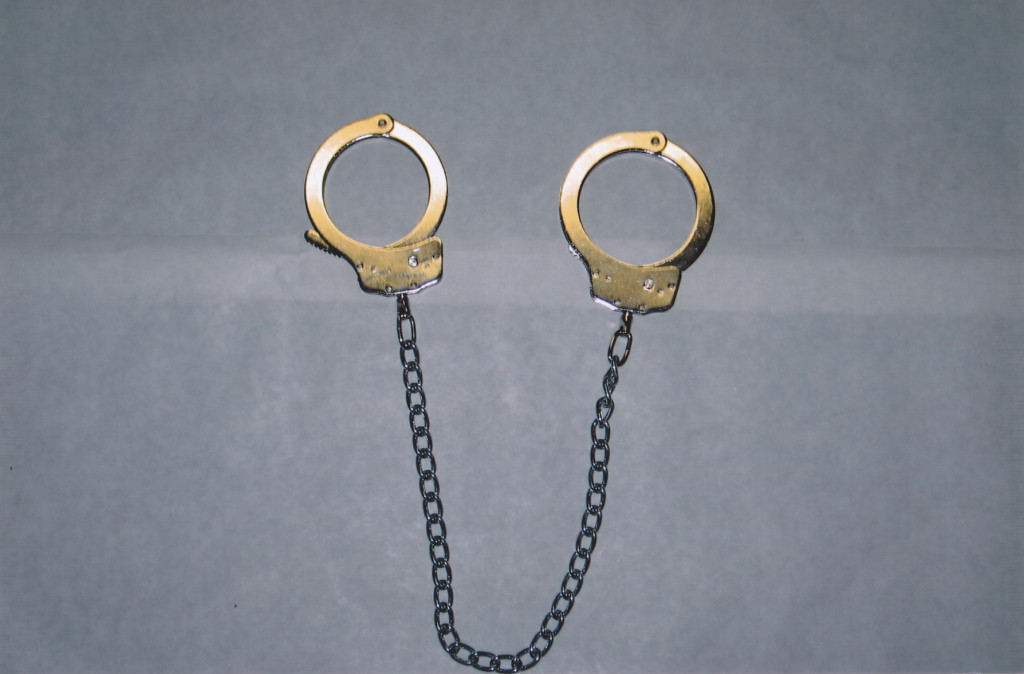
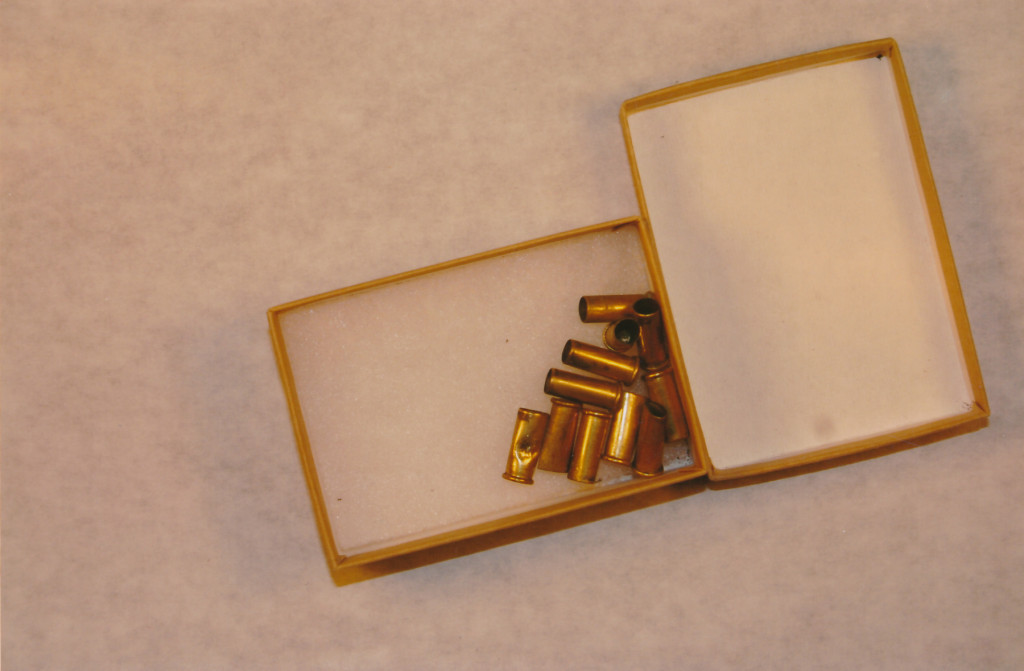
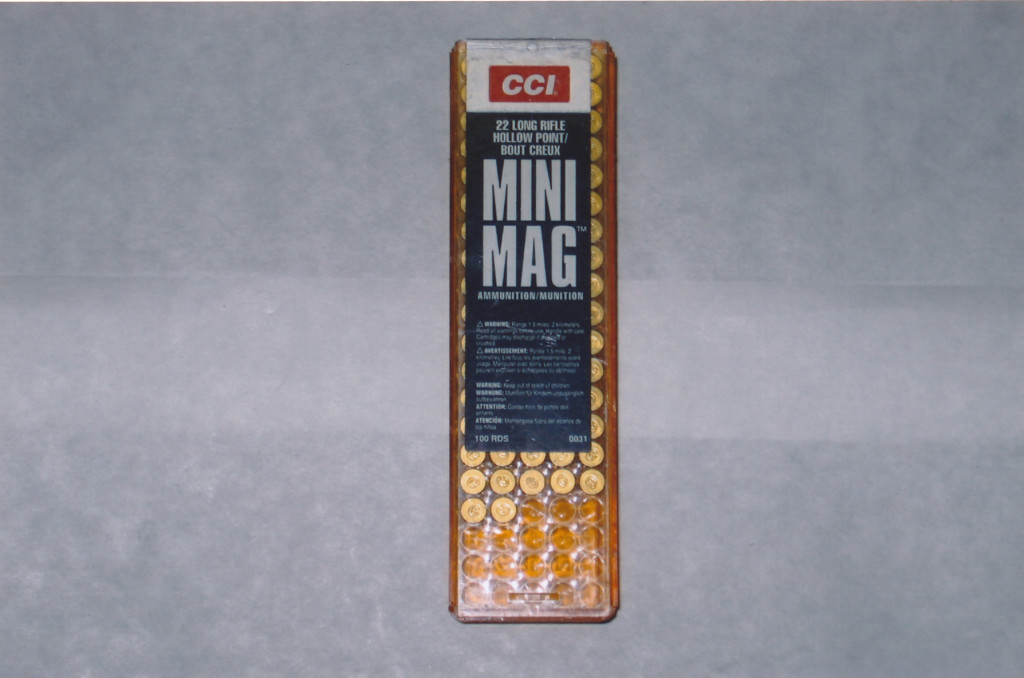
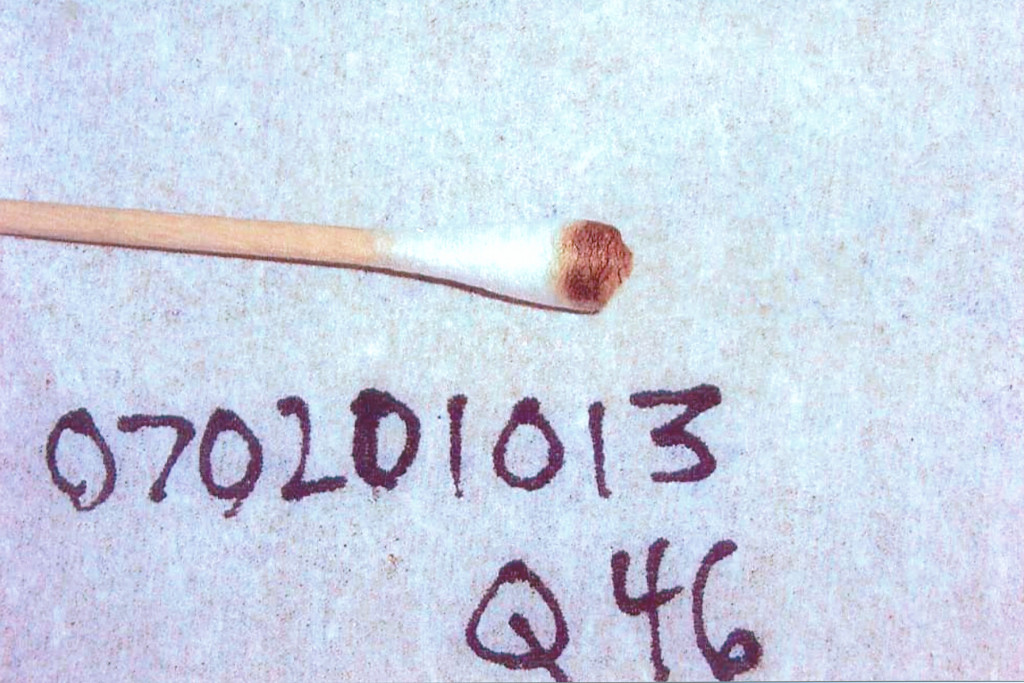
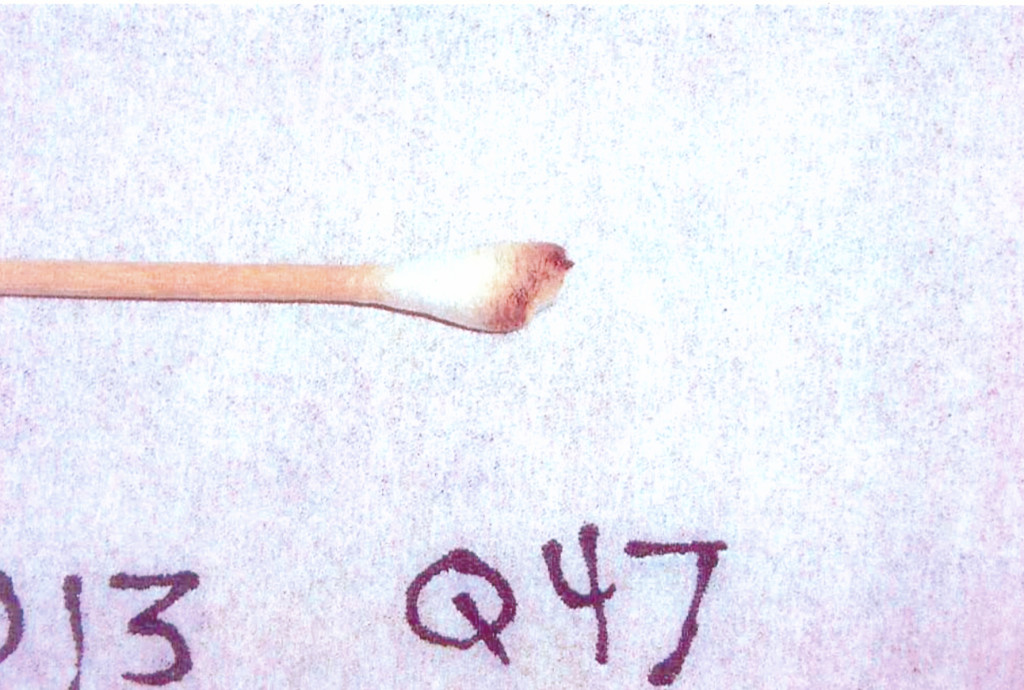
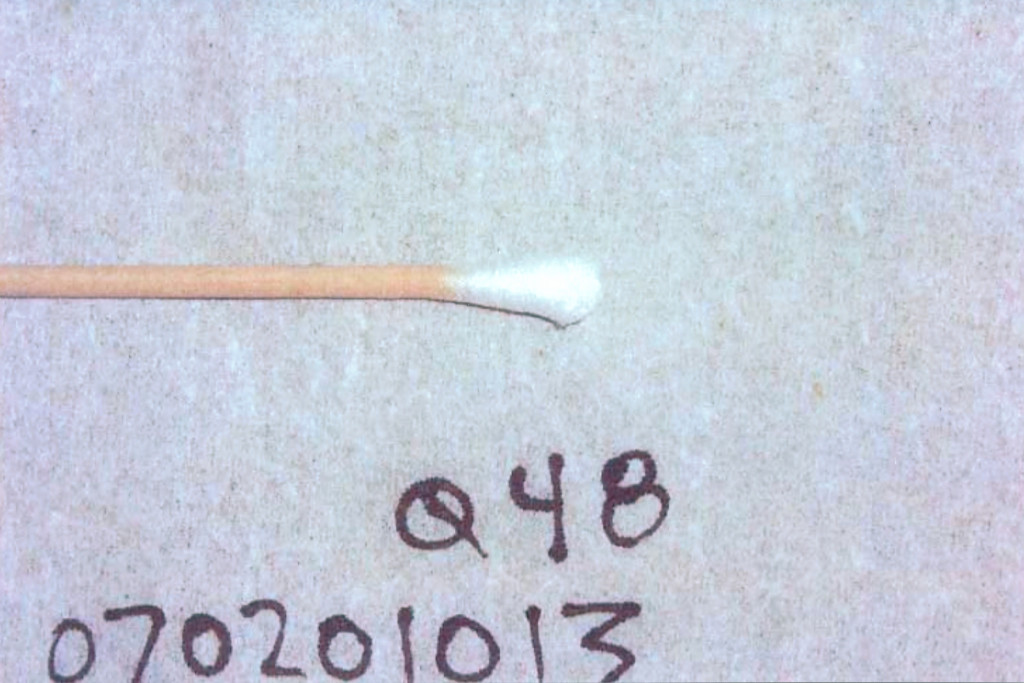
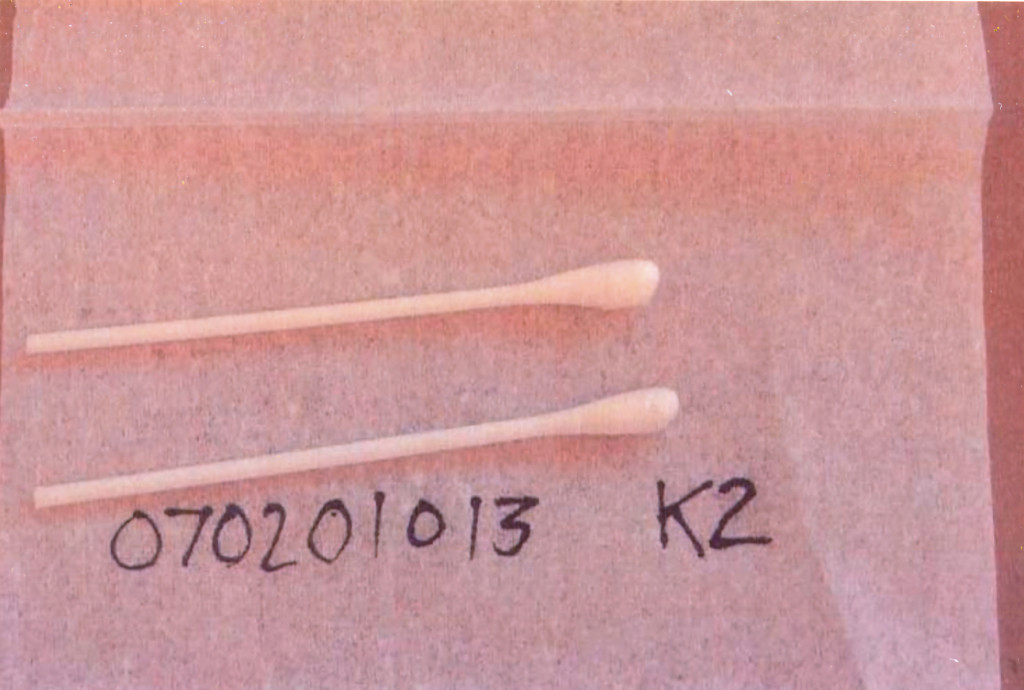
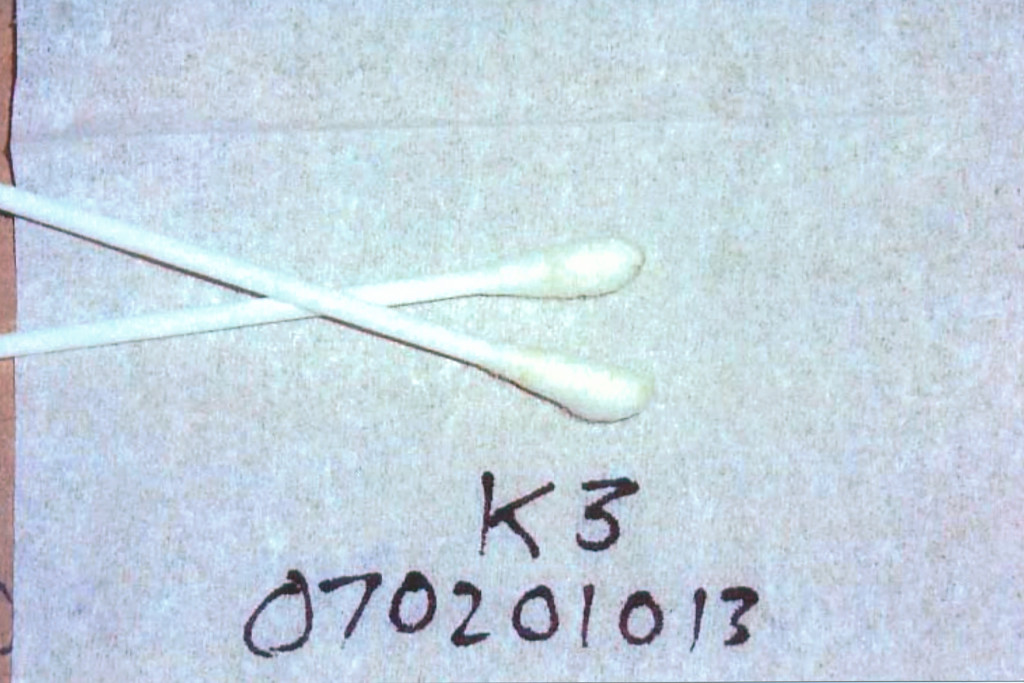
Below are evidence photos that were taken during searches of the Avery property. They give you a little more behind the scenes look at what was all involved in the case. Do any of the photos stand out to you? Does anything make you change your opinion about the case – whether you’re now thinking Steven Avery and Brendan Dassey are guilty/not guilty?


exhibit-267-paint-thinner exhibit-rifle-1 exhibit-rifle-2 exhibit-rifle-3 exhibit-183-bleach-bottle exhibit-193-injury-to-Avery-finger exhibit-275-rivet exhibit-391-skull-bones exhibit-bones-1 exhibit-bones-7 exhibit-burnt-cell-phone exhibit-burnt-pieces-1 exhibit-burnt-pieces-2 exhibit-burnt-pieces-3 exhibit-bones-2 exhibit-bones-3 exhibit-bones-4 exhibit-bones-5 exhibit-bones-6 exhibit-misc-1 exhibit-overhead-view exhibit-road-1 exhibit-road-2 exhibit-wide-view Exhibit-48-behind-garage-1024x679 Exhibit-51-Avery-burn-barrel-1024x671 Exhibit-52-Yanda-Dassey-burn-barrels-1024x674 exhibit-burn-barrel-evidence exhibit-burn-pit-2 exhibit-burn-pit-chair-frame exhibit-burn-pit-dog exhibit-burn-pit-view exhibit-chair-frame exhibit-fire-pit-hammer exhibit-book-case-1 exhibit-book-case-2 exhibit-book-case-3 exhibit-book-case-4 exhibit-book-case-5 exhibit-book-case-6 exhibit-burn-pit-1 exhibit-key-3 exhibit-192-hood-latch exhibit-292-items-on-seat exhibit-293-passenger-door-view exhibit-308-RAV4-spare-tire exhibit-key-1 exhibit-key-2 exhibit-key-4 exhibit-RAV4-blood-1 exhibit-RAV4-door-2 exhibit-RAV4-door-handle exhibit-RAV4-door Exhibit-12-RAV4-rear-interior-1024x805 Exhibit-30-RAV4-side-1024x642 Exhibit-32-RAV4-tire-1024x687 Exhibit-33-RAV4-side-1024x675 Exhibit-34-RAV4-top-1024x685 exhibit-RAV4-blood-4 exhibit-RAV4-blood-5 exhibit-RAV4-blood-6 exhibit-RAV4-blood-7 exhibit-RAV4-evidence exhibit-RAV4 exhibit-garage-1 exhibit-garage-bullet-marker exhibit-garage-Suziki-1 exhibit-garage-Suziki-2 exhibit-garage-tractor-1 exhibit-garage-tractor-2 exhibit-Halbach-and-vehicle exhibit-46-garage-door-open exhibit-desk-3 exhibit-garage-bullet-1 exhibit-garage-bullet-2 exhibit-garage-bullet-3 exhibit-garage-bullet-crack exhibit-garage-marking-1 exhibit-garage-markings exhibit-key-in-Avery-room exhibit-Avery-bedroom-2 exhibit-Avery-bedroom exhibit-Avery-dresser exhibit-Avery-room exhibit-desk-1 exhibit-desk-2 Exhibit-39-Avery-trailer-1024x679 Exhibit-41-Avery-trailer-close-1024x668 Exhibit-42-Avery-trailer-pool-1024x673 Exhibit-43-Avery-trailer-back-1024x668 exhibit-Avery-bed-1 exhibit-Avery-bed-2 exhibit-Avery-bed-3 exhibit-3-diagram-of-Avery-home Exhibit-11-Avery-trailer-1024x690 Exhibit-19-aerial-1024x1002 Exhibit-25-aerial-1024x618 Exhibit-37-Avery-trailer-and-barrel-1024x666 Exhibit-40-Avery-front-door-1024x680 Exhibit-44-Avery-trailer-truck-garage-1024x677 Exhibit-115-Animation-Photos-1024x690 Exhibit-116-Animation-Photos-1024x681 Exhibit-389-Graphic-Skeletons-1024x680 Exhibit-396-Graphic-Skeleton-Parietal-Defect-1024x684 Exhibit-399-Graphic-Skeleton-Occipital-Defect-1024x683 Exhibit-400-Graphic-Showing-Bones-Found-in-Burn-Pit-1024x686 Exhibit-104-Animation-Photos-1024x680 Exhibit-105-Animation-Photos-1024x686 Exhibit-106-Animation-Photos-1024x682 Exhibit-107-Animation-Photos-1024x687 Exhibit-108-Animation-Photos-1024x685 Exhibit-109-Animation-Photos-1024x692 Exhibit-110-Animation-Photos-1024x688 Exhibit-111-Animation-Photos-1024x690 Exhibit-112-Animation-Photos-1024x687 Exhibit-113-Animation-Photos-1024x687 Exhibit-114-Animation-Photos-1024x680 Exhibit-97-Animation-Photos-1024x685 Exhibit-98-Animation-Photos-1024x685 Exhibit-99-Animation-Photos-1024x685 Exhibit-100-Animation-Photos-1024x684 Exhibit-101-Animation-Photos-1024x687 Exhibit-102-Animation-Photos-1024x688 Exhibit-103-Animation-Photos-1024x682 Exhibit-91-Animation-Photos-1024x684 Exhibit-92-Animation-Photos-1024x685 Exhibit-93-Animation-Photos-1024x691 Exhibit-94-Animation-Photos-1024x679 Exhibit-95-Animation-Photos-689x1024 Exhibit-96-Animation-Photos-695x1024 Exhibit-368-Screwdriver-Located-At-Burn-Pit-1024x669 Exhibit-369-Masonry-Tool-Located-At-Burn-Pit-1024x671 Exhibit-123-Deer-and-Tag-1024x670 Exhibit-151-AT-Bill-Of-Sale-1024x677 Exhibit-154-Cell-Phone-Remains-1024x671 Exhibit-155-Cell-Phone-Remains-1024x677 Exhibit-370-Shovel-Located-At-Burn-Pit-676x1024 Exhibit-411-Camera-Lens-Cover-1024x678 Exhibit-412-Burnt-Cell-Phone-Pieces-1024x674 Exhibit-413-Burnt-Pieces-Laid-Out-1024x677 Exhibit-429-Cranial-Bone-Fragments-Outer-Defect-1024x680 Exhibit-430-Cranial-Bone-Fragments-Inner-Defect-1024x684 Exhibit-431-Xray-Bone-Fragments-1024x681 Exhibit-156-Burned-Circuit-Board-1024x669 Exhibit-158-Wheel-Rim-1024x671 Exhibit-232-Garage-Rear-1024x668 Exhibit-233-Garage-Rear-West-1024x679 Exhibit-237-Garage-Floor-With-Snowmobile-Removed-1024x672 Exhibit-238-Garage-Floor-Center-1024x676 Exhibit-240-Garage-Floor-South-1024x668 Exhibit-241-Garage-Overall-672x1024 Exhibit-242-Garage-Tents-1024x668 Exhibit-269-Garage-Crack-1024x683 Exhibit-74-Overview-of-Salvage-Yard-1024x675 Exhibit-75-Overview-of-Salvage-Yard-1024x675 Exhibit-76-Overview-of-Salvage-Yard-1024x679 Exhibit-77-Overview-of-Salvage-Yard-1024x657 Exhibit-78-Overview-of-Salvage-Yard-1024x674 Exhibit-118-SE-Part-of-Salvage-Yeard-1024x693 Exhibit-127-Aerial-View-of-Avery-Road-1024x686 Exhibit-227-Garage-and-Door-1024x668 Exhibit-262-Engine-Hoist-1024x677 Exhibit-266-Creeper-And-Air-Compressor-1024x681 Exhibit-66-Car-Crusher-1024x671 Exhibit-67-Car-Crusher-Front-1024x661 Exhibit-68-Car-Crusher-Back-1024x673 Exhibit-69-Pit-1024x676 Exhibit-145-Aluminum-Smelter-1024x671 Exhibit-481-Boiler-1024x670 Exhibit-488-Smelter-Inside-1024x676 Exhibit-494-Smelter-Area-Entrance-1024x674 Exhibit-64-Delores-Golf-Cart-1024x671 Exhibit-65-Barb-Golf-Cart-1024x677 Exhibit-175-Computer-Area-In-Avery-Livingroom-1024x677 Exhibit-184-Carpet-Cleaning-Machine-In-Avery-Home-680x1024 Exhibit-185-Blood-Spot-In-Avery-Bathroom-1024x674 Exhibit-186-Blood-Spot-In-Avery-Bathroom-1024x668 Exhibit-217-Avery-Livingroom-1024x671 Exhibit-366-Avery-Trailer-and-Burn-Pit-1024x671 Exhibit-59-Plymouth-Voyager-Van-1024x670 Exhibit-61-Plymouth-Voyager-Van-1024x700 Exhibit-131-RAV4-Hood-1024x671 Exhibit-139-Station-Wagon-Where-License-Plates-Found-1024x679 Exhibit-140-Station-Wagon-Where-License-Plates-Found-1024x668 Exhibit-141-License-Plates-As-Found-1024x674 Exhibit-290-RAV4-Front-Drivers-697x1024 Exhibit-298-RAV4-Cargo-Area-Molding-Frame-1024x677 Exhibit-299-RAV4-Cargo-Door-1024x687 Exhibit-300-RAV4-Cargo-Area-1024x677 Exhibit-301-RAV4-Cargo-Drivers-Side-1024x680 Exhibit-302-RAV4-Battery-Disconnected-1024x675 Exhibit-303-Avery-Grand-Am-1024x679 Exhibit-304-Avery-Grand-Am-Passenger-1024x674 Exhibit-305-Avery-Grand-Am-Console-1024x682 Exhibit-306-RAV4-Headlight-Missing-1024x817 Exhibit-132-RAV4-From-Passenger-1024x675 Exhibit-133-RAV4-Reas-Driver-1024x677 Exhibit-135-RAV4-Rear-With-Debris-1024x670 Exhibit-191-RAV4-Front-1024x682 Exhibit-289-RAV4-Drivers-Exterior-1024x683 Exhibit-307-RAV4-Back-1024x812 Exhibit-447-Entry-Door-Office-1024x677 Exhibit-450-Blood-Sample-Container-1024x670 Exhibit-451-Blood-Sample-Container-1024x680 Exhibit-467-Evidence-Log-Book-676x1024 Exhibit-468-Avery-File-Box-1024x758 Exhibit-471-Blood-Vial-1024x761 Exhibit-473-Blood-Vial-1024x776 Exhibit-164-22-Calibre-Rifle-1024x677 Exhibit-166-Gun-Rack-1024x671 Exhibit-173-Handcuffs-1024x677 Exhibit-174-Leg-Irons-1024x674 Exhibit-220-Box-of-Shell-Casings-1024x671 Exhibit-246-Ammunition-1024x678 Exhibit-458-Blood-Swab-RAV4-Ignition-Area-1024x683 Exhibit-459-Blood-Swab-RAV4-Rear-Passenger-Door-1024x690 Exhibit-460-Blood-Swab-RAV4-CD-Case-1024x683 Exhibit-461-Control-Swabs-RAV4-Ignition-Area-1024x690 Exhibit-462-Control-Swabs-RAV4-Rear-Passenger-Door-1024x683 Exhibit-463-Control-Swabs-RAV4-CD-Case-1024x688


-TID

theinspiringdad.com

By The Inspiring Dad

A husband and dad wanting to inspire you!

Leave Your Thoughts Here: